In this tutorial, we will look at how to install Nextcloud on TrueNAS.
Nextcloud is an extremely popular program, especially when using TrueNAS as there are no first-party applications that will function similarly to Nextcloud. There are many devices that you can install TrueNAS on, but if you’re storing all of your data on TrueNAS, this is most likely the best place to run Nextcloud. There are other devices that you can run Nextcloud on (like a Synology NAS), but if you’re running TrueNAS, there’s probably a pretty good chance that you don’t have a Synology NAS.
We will look at how to install Nextcloud on TrueNAS Scale and TrueNAS Core below. The process is extremely similar for both, but there are minor differences that we’ll cover.
How to Install Nextcloud on TrueNAS
We will look at how to install Nextcloud on TrueNAS Scale and TrueNAS Core below.
TrueNAS Scale
1. Select Apps, then select Install on the Nextcloud application.

2. Enter an Application Name, then select Next.

3. There are a bunch of settings here that can be modified, but none of them other than the username and password are required. If you’d like to change the data directory or port, you can change them here as well – however, the default settings are fine for most. Select Next after you’ve modified the settings.

4. Select Enable Host Path for Nextcloud Data Volume, then select a path on your TrueNAS instance. This will be different for everyone, but I am selecting my home folder for this demo.
NOTE: You can also enable a path for the Postgres data or enable Postgres backups, but this step is not mandatory.

5. Select Enable cronjobs for Nextcloud, then select Next.

6. The rest of the settings can stay as default (though you might need to use them for advanced configurations). Confirm your settings, then select Save to create the application! The application will now install!

7. Select Installed Applications and after a few minutes, you’ll be able to select Web Portal next to Nextcloud to launch the webpage that you’ll access Nextcloud from.

8. Enter the Username and Password you configured above, then select Next.

9. After running through a few quick slides explaining what Nextcloud is, Nextcloud will be set up and can be used!

TrueNAS Core
1. Select Plugins, then Nextcloud.

2. Give the plugin a name, then select Save to install Nextcloud!

3. The application will take a few minutes to install. When it’s done, select the arrow all the way to the right to expand the application settings.

5. Select Post Install Notes to get the Nextcloud Admin User and Nextcloud Admin Password.

6. Navigate to the Admin Portal of Nextcloud (listed as one of the columns in the Plugins section), then sign in with the username and password from above.

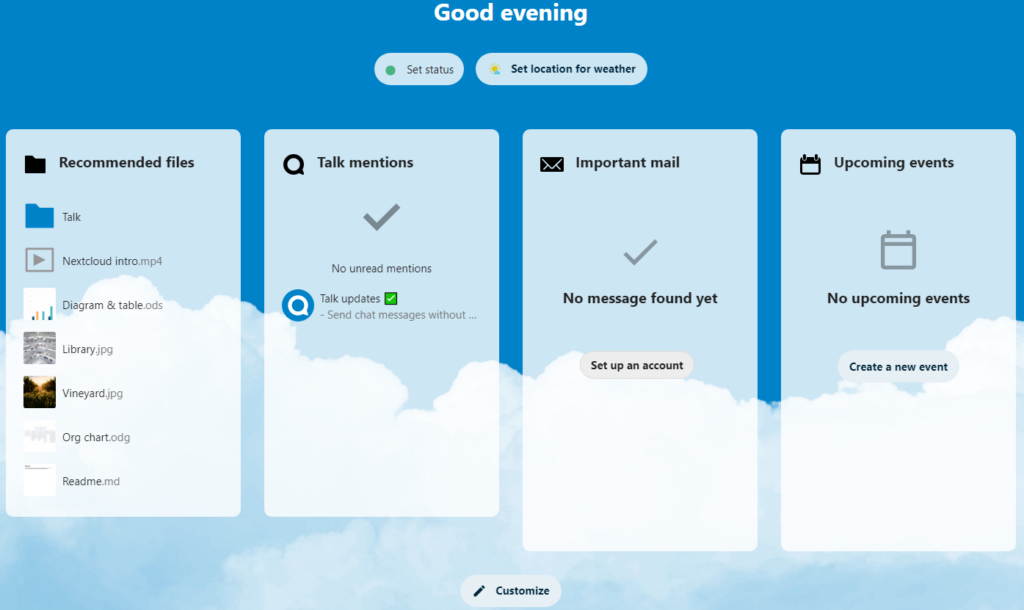
7. After a few slides explaining what Nextcloud is, you’ll be brought straight to the dashboard!

Conclusion & Final Thoughts: Nextcloud on TrueNAS
This tutorial looked at how to install Nextcloud on TrueNAS Scale and TrueNAS Core. The installation process is fairly different when comparing TrueNAS Scale to TrueNAS Core as TrueNAS Core installs the application in a Jail. When running Nextcloud in a Jail (TrueNAS Core), it’s drastically different than the way TrueNAS Scale handles the installation. The best thing to do is understand how Jails work, as that will give you the best understanding of how these installation processes differ.
Thanks for checking out the tutorial on how to install Nextcloud on TrueNAS Scale and TrueNAS Core. If you have any questions on how to install Nextcloud on TrueNAS Scale or TrueNAS Core, please leave them in the comments!


