QCOW2 is a common disk image that users try to import into Proxmox. QCOW2 disk images are often exported from other types of virtualization software and imported into others, and Proxmox is a common (and versatile) option as a hypervisor. In this article, we’ll look at how to import QCOW2 Images in Proxmox.
How to Import QCOW2 Images in Proxmox
The first step before you can import QCOW2 images in Proxmox is actually having a QCOW2 image. This means you’ll generally have to export it from a different virtualization server and have it accessible in Proxmox.
You can either move the image to the Proxmox hypervisor or have it on a shared resource like an NFS share on a NAS (step 1 of this Proxmox backup tutorial). As soon as the image is accessible in Proxmox, you can start the process below to import.
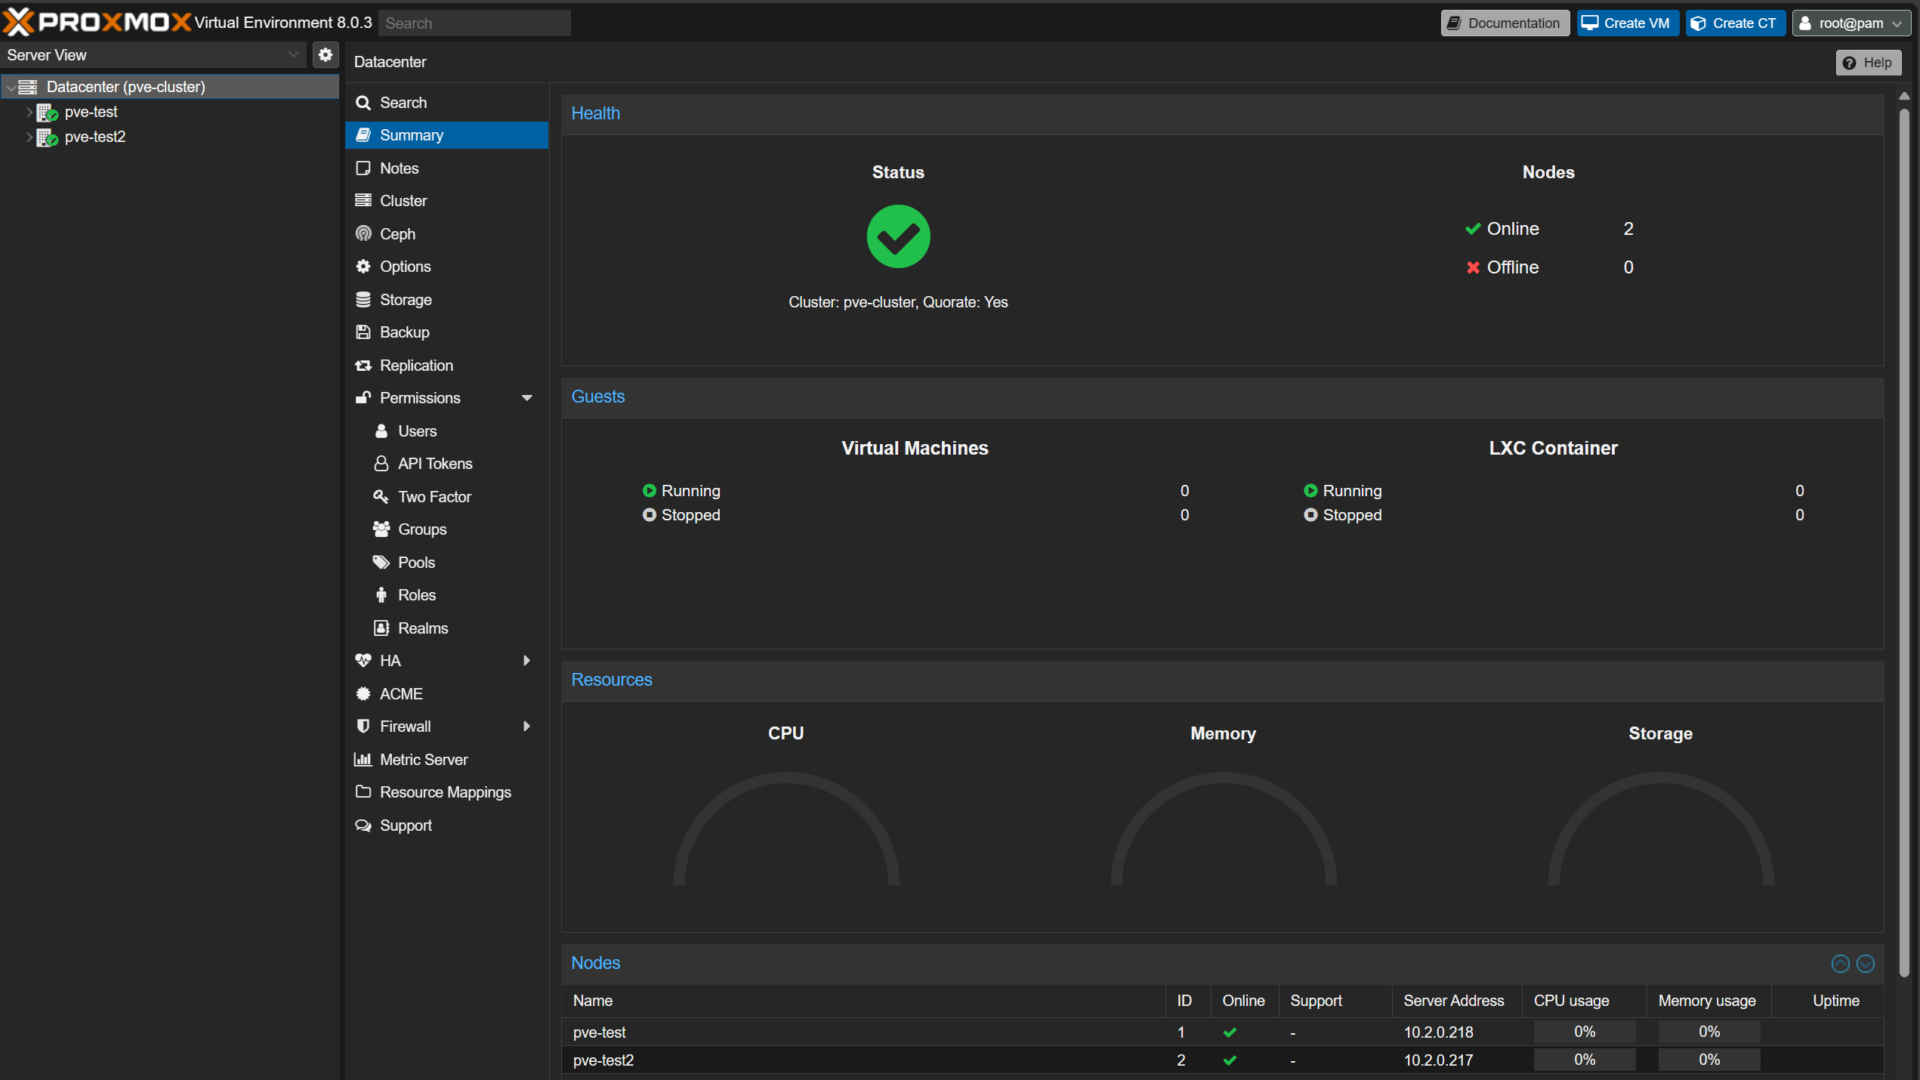
1. The easiest way to import a QCOW2 image is to create a blank virtual machine. From there, you can import the disk and set it as the default boot disk. Log in to Proxmox and create a new Virtual Machine.
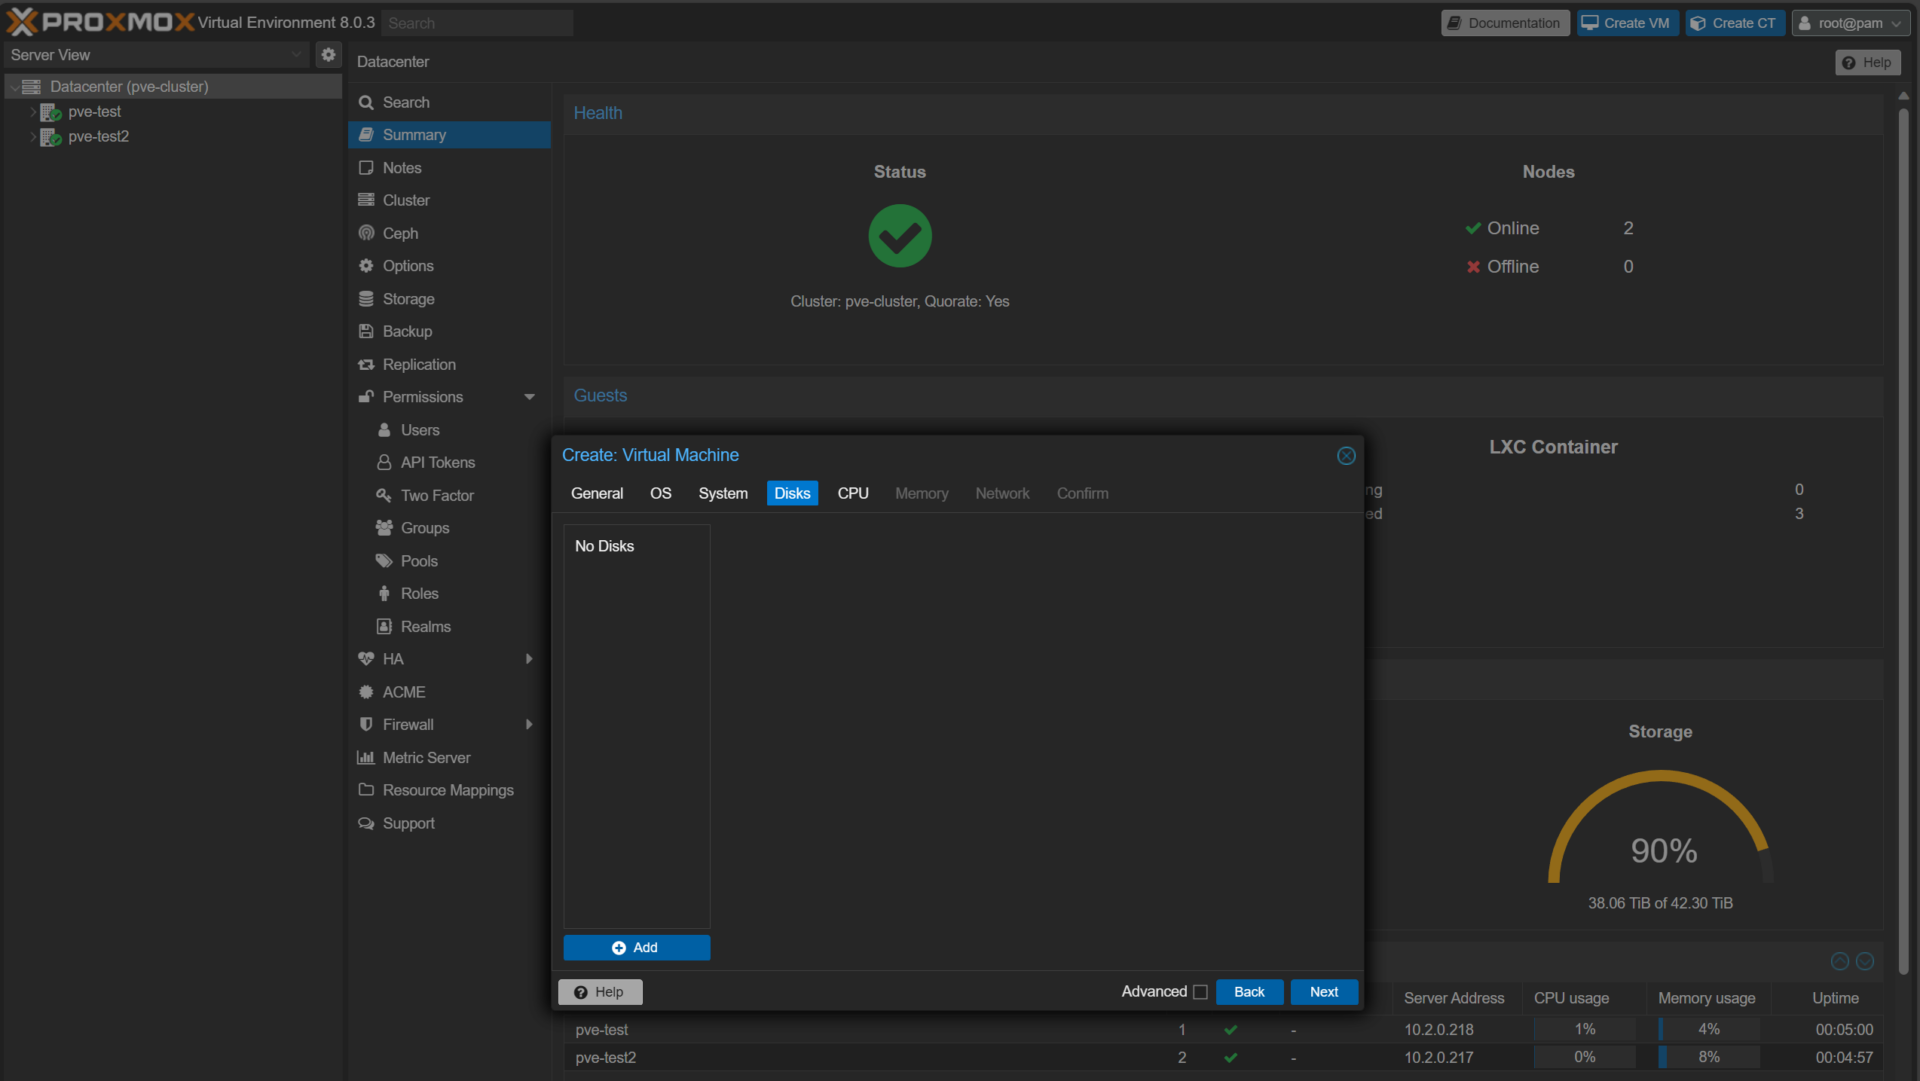
2. Create the VM without any media and in the Disks section, delete the default disk. The goal is to create a completely blank VM (so you don’t have to delete disks later).
3. Continue with the creation of the VM and note down the VM ID. We will need that for a later step, but as soon as it’s created. access the Shell of the Proxmox host.
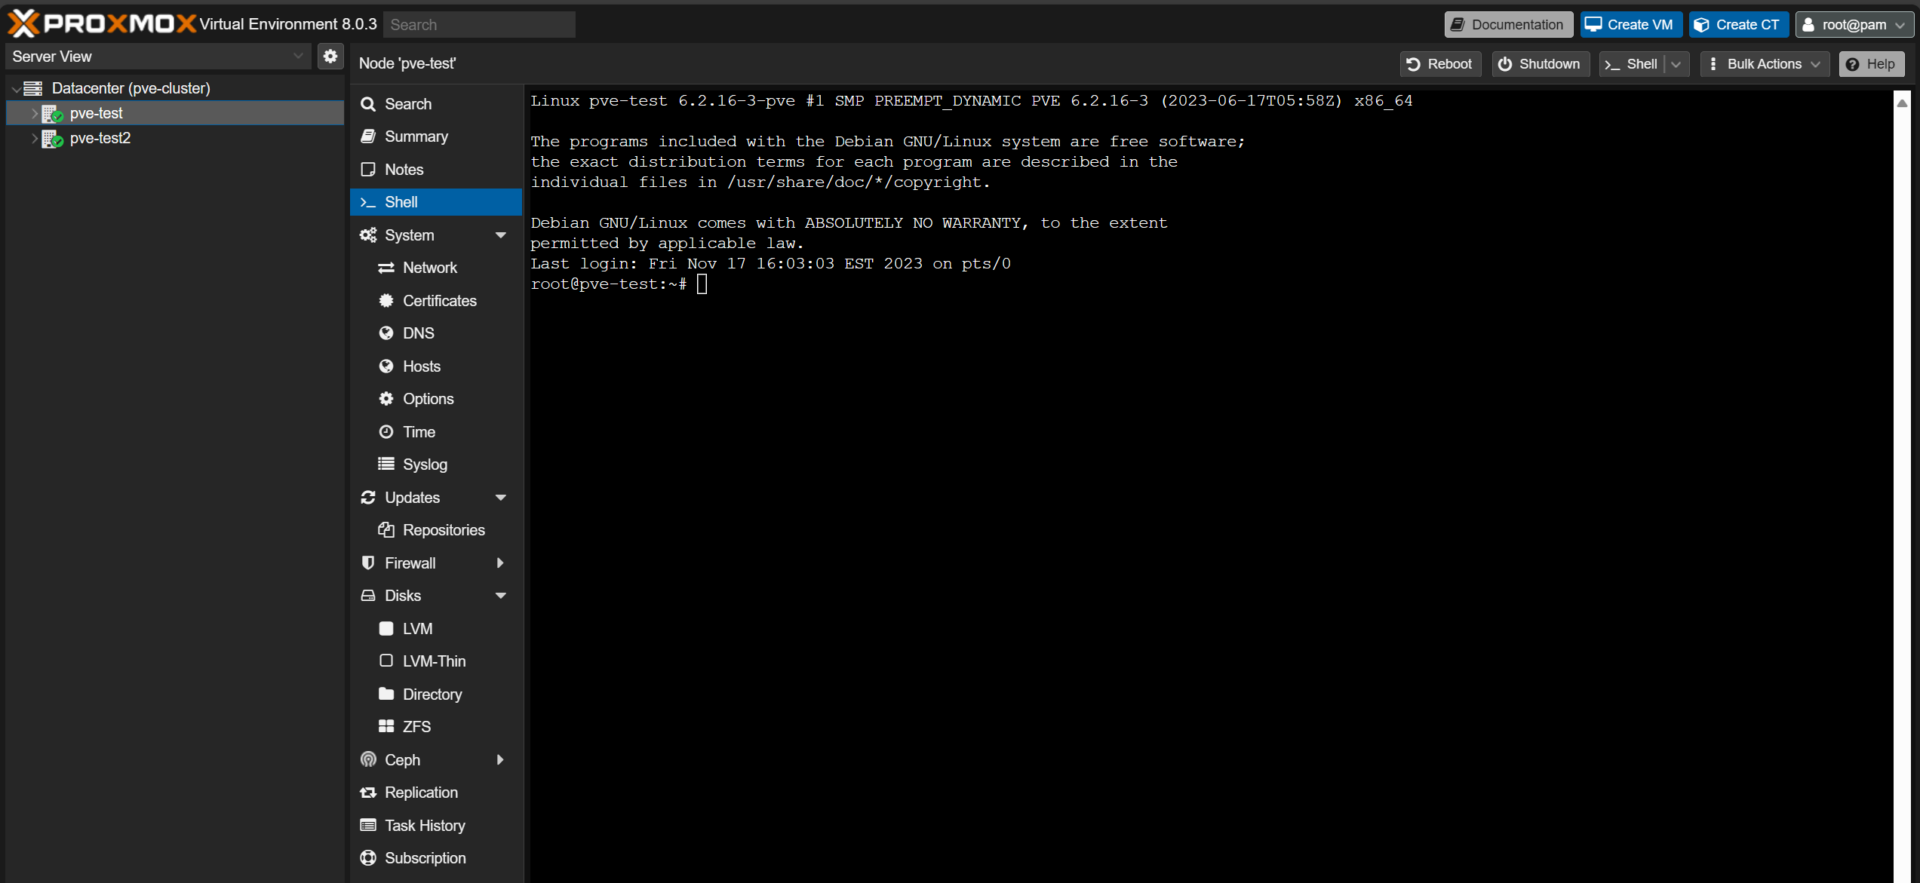
4. This step will be different for everyone. You must find the actual QCOW2 image from your Proxmox host. This will allow you to import the image into the blank VM that we created in a prior step. My QCOW2 image is stored on my Synology NAS, so I navigated to the path where the image exists.

5. With the VM ID for the blank virtual machine, run the command below to import the QCOW2 image to the disk. Keep in mind that you must use the correct information as shown below:
- VM_ID: Virtual Machine ID (in my example, 117).
- IMAGE_NAME: The name of the QCOW2 file (in my case, wundertech.qcow2).
- VM_STORAGE: If you’d like to use a specific disk, you can specify it here.
qm importdisk [VM_ID] [IMAGE_NAME] [VM_STORAGE]
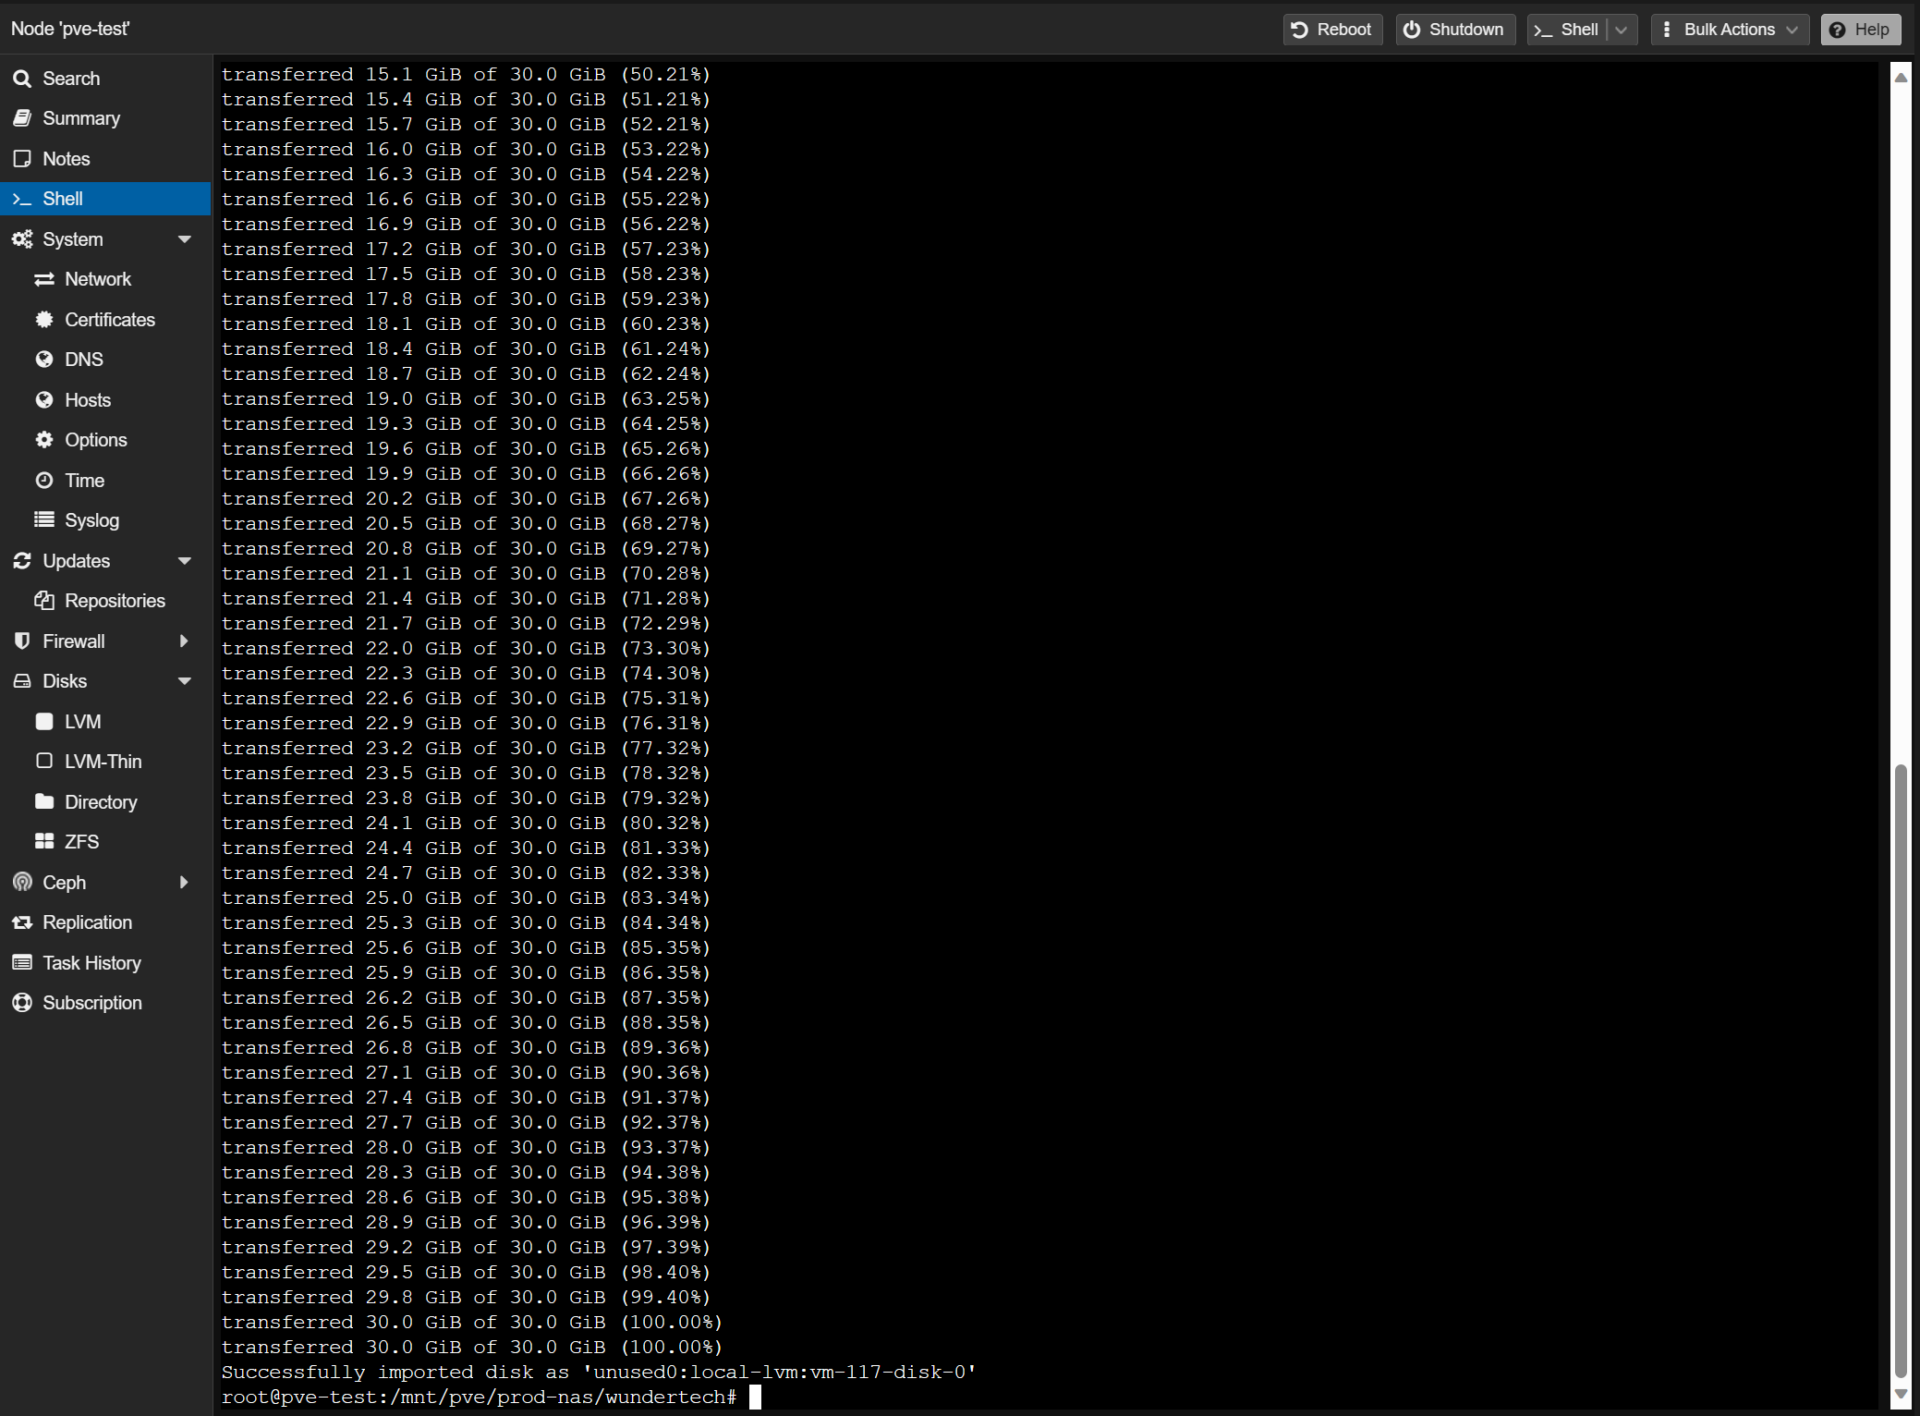
6. Wait for the transfer to complete (it’ll take a little while depending on the size of the QCOW2 file), then open the virtual machines settings (where you just added the disk).
Adding the Imported Disk to the Virtual Machine
Now that the virtual machine has the disk imported, we can import it into the blank virtual machine that we created earlier.
1. Open the settings for it and select Hardware. From there, you should see your new disk (it will be unused). Double-click the new disk (or edit it) so that we can add it to the VM.

2. Select Add to add the disk to the virtual machine.
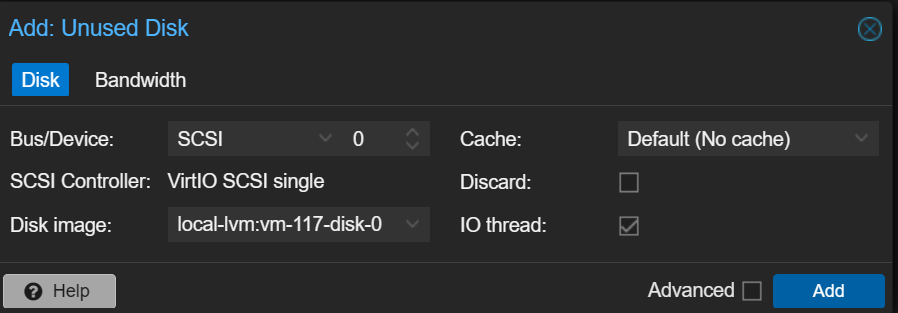
3. After the disk has been edited, select Options, edit the Boot Order, then select the disk we added and move it to the top. After modifying this, the virtual machine will use this VM as the boot disk.

4. You can now start the VM! If the disk you imported had a valid operating system on it, you should be able to log in the way you did on the last hypervisor inside of the Console window.
Conclusion & Final Thoughts on Importing QCOW2 Images
If you’re ever in a position where you’re switching to Proxmox, you may want to import QCOW2 images directly into Proxmox which will be the fastest and least intrusive way to migrate a VM. While this isn’t something everyone will do and isn’t an export option from various hypervisors, if you can export an image in QCOW2, this is one of the easiest ways to import a VM.
Thanks for checking out the article on how to import QCOW2 images in Proxmox. If you have any questions, feel free to leave them in the comments!


