One of the first things that I wanted to do as soon as my home lab started growing was to configure a self-hosted dashboard. It makes accessing your services quick and easy and quite honestly, keeps everything that you may access throughout the day directly in front of you. There are a bunch of options out there and I checked which one made the most sense for me, and I settled on Homarr, but I’ll explain why below.
Home Lab Dashboard Options
There are a lot of different options and I always used the Homer dashboard, which to be clear, I love. The problem was that everything was modified through a YAML configuration file which made modifications more of a chore than I’d like. With that said, I’d never push anyone away from it as I genuinely liked it, it just wasn’t a great fit for my personal use case.
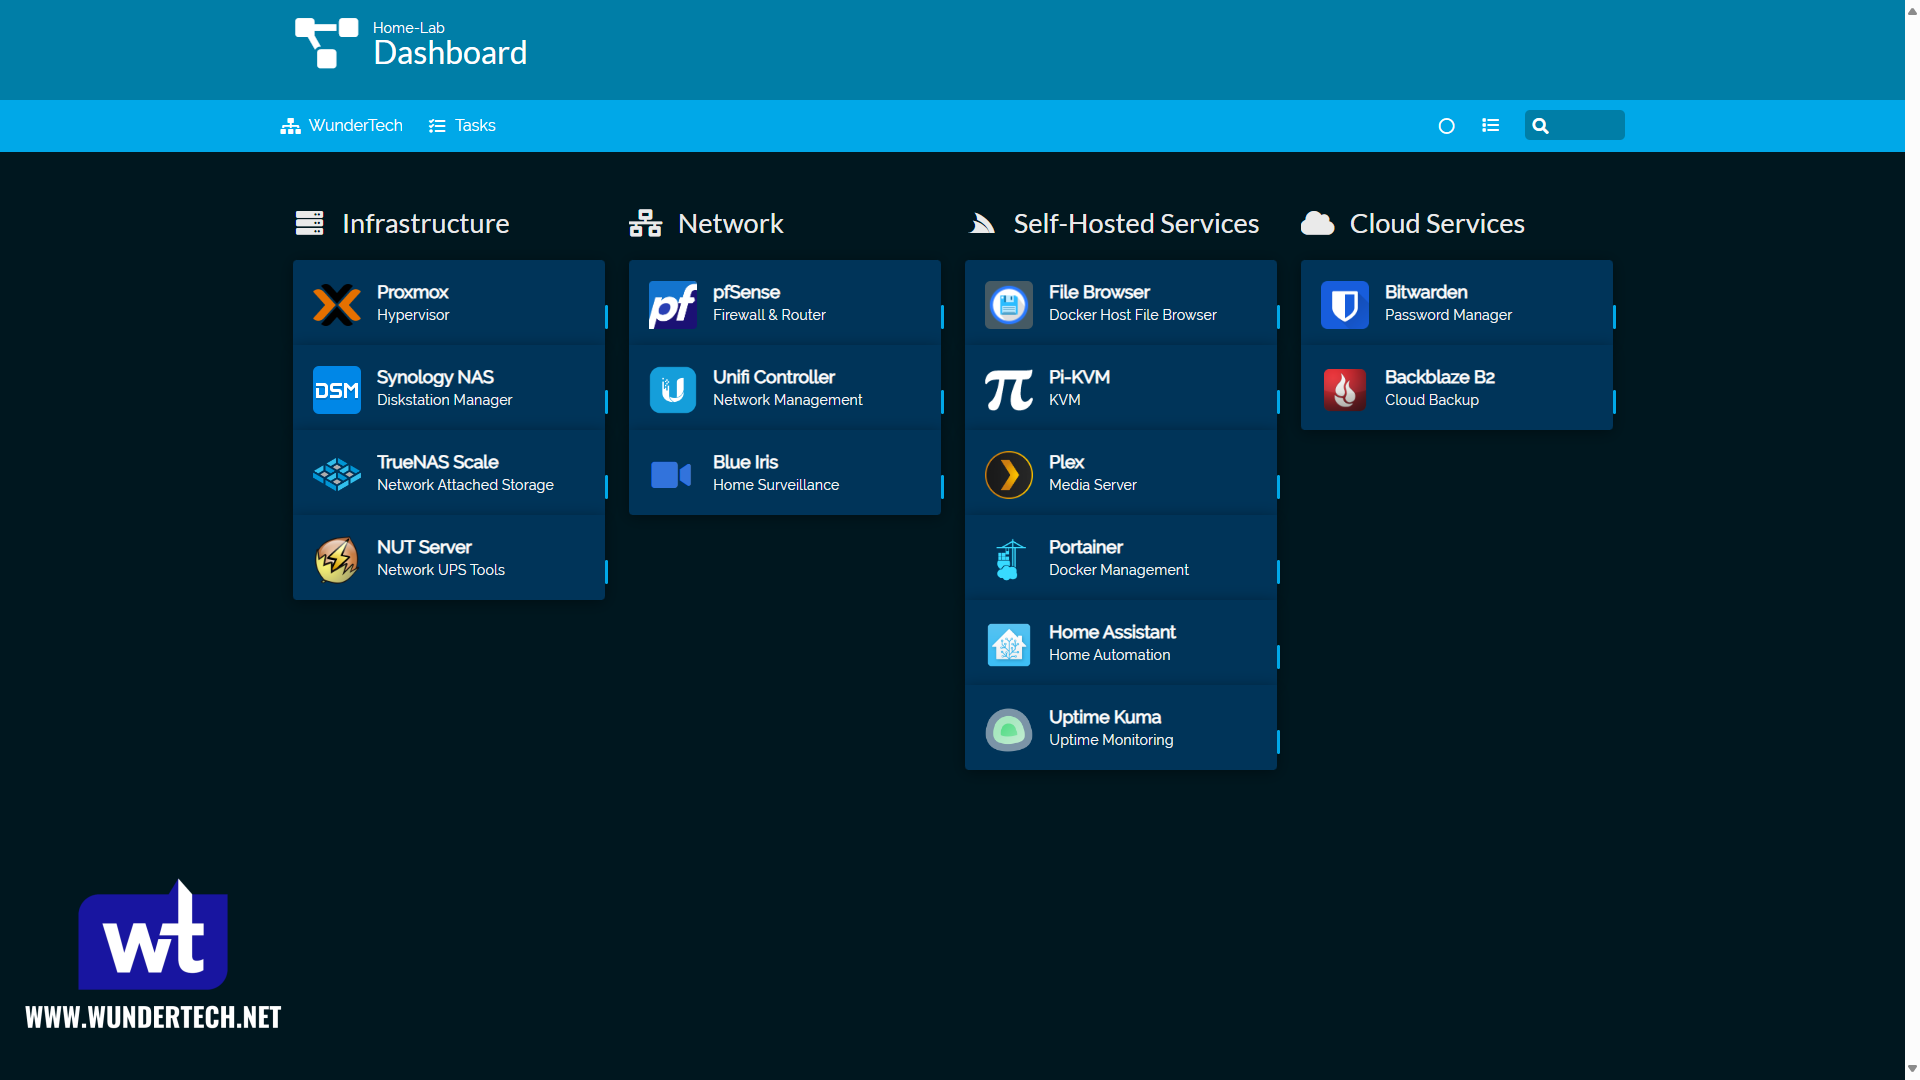
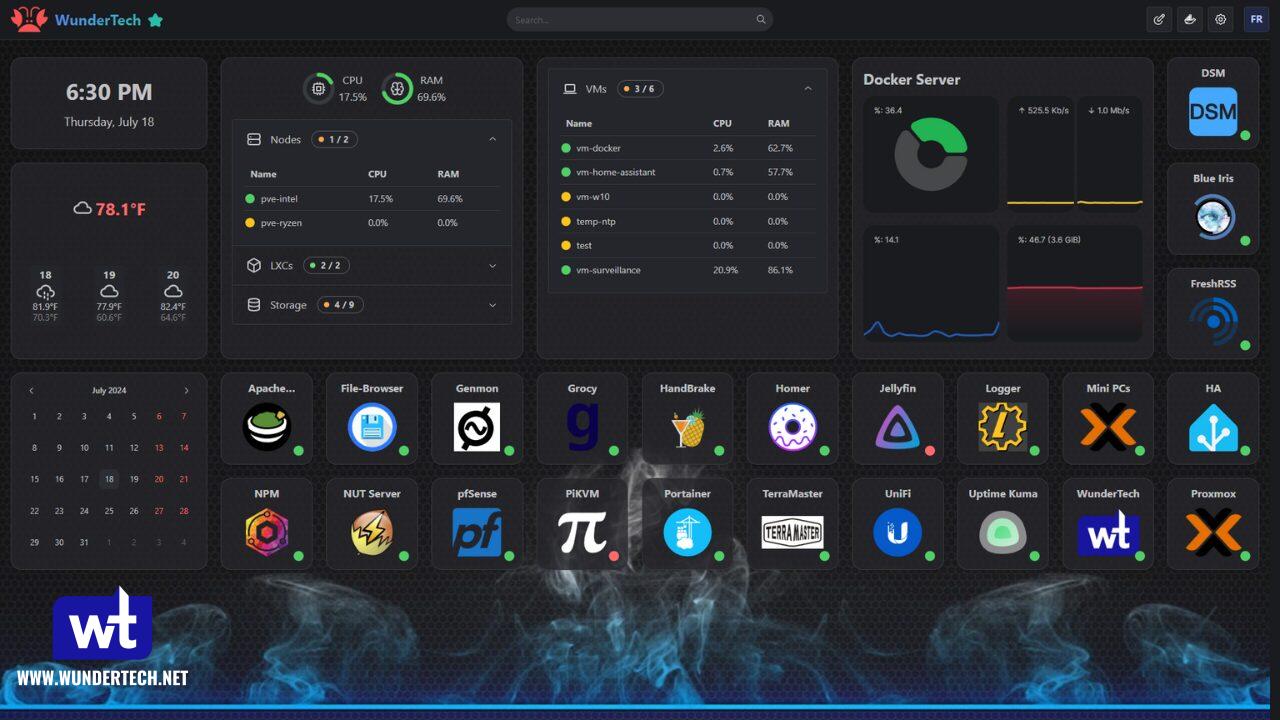
In my quest to find a better self-hosted dashboard for my home lab needs, I came across Homarr and I can honestly say that it’s everything that I want in a dashboard. It’s minimal, customizable, and everything is done through the GUI which makes management extremely easy.
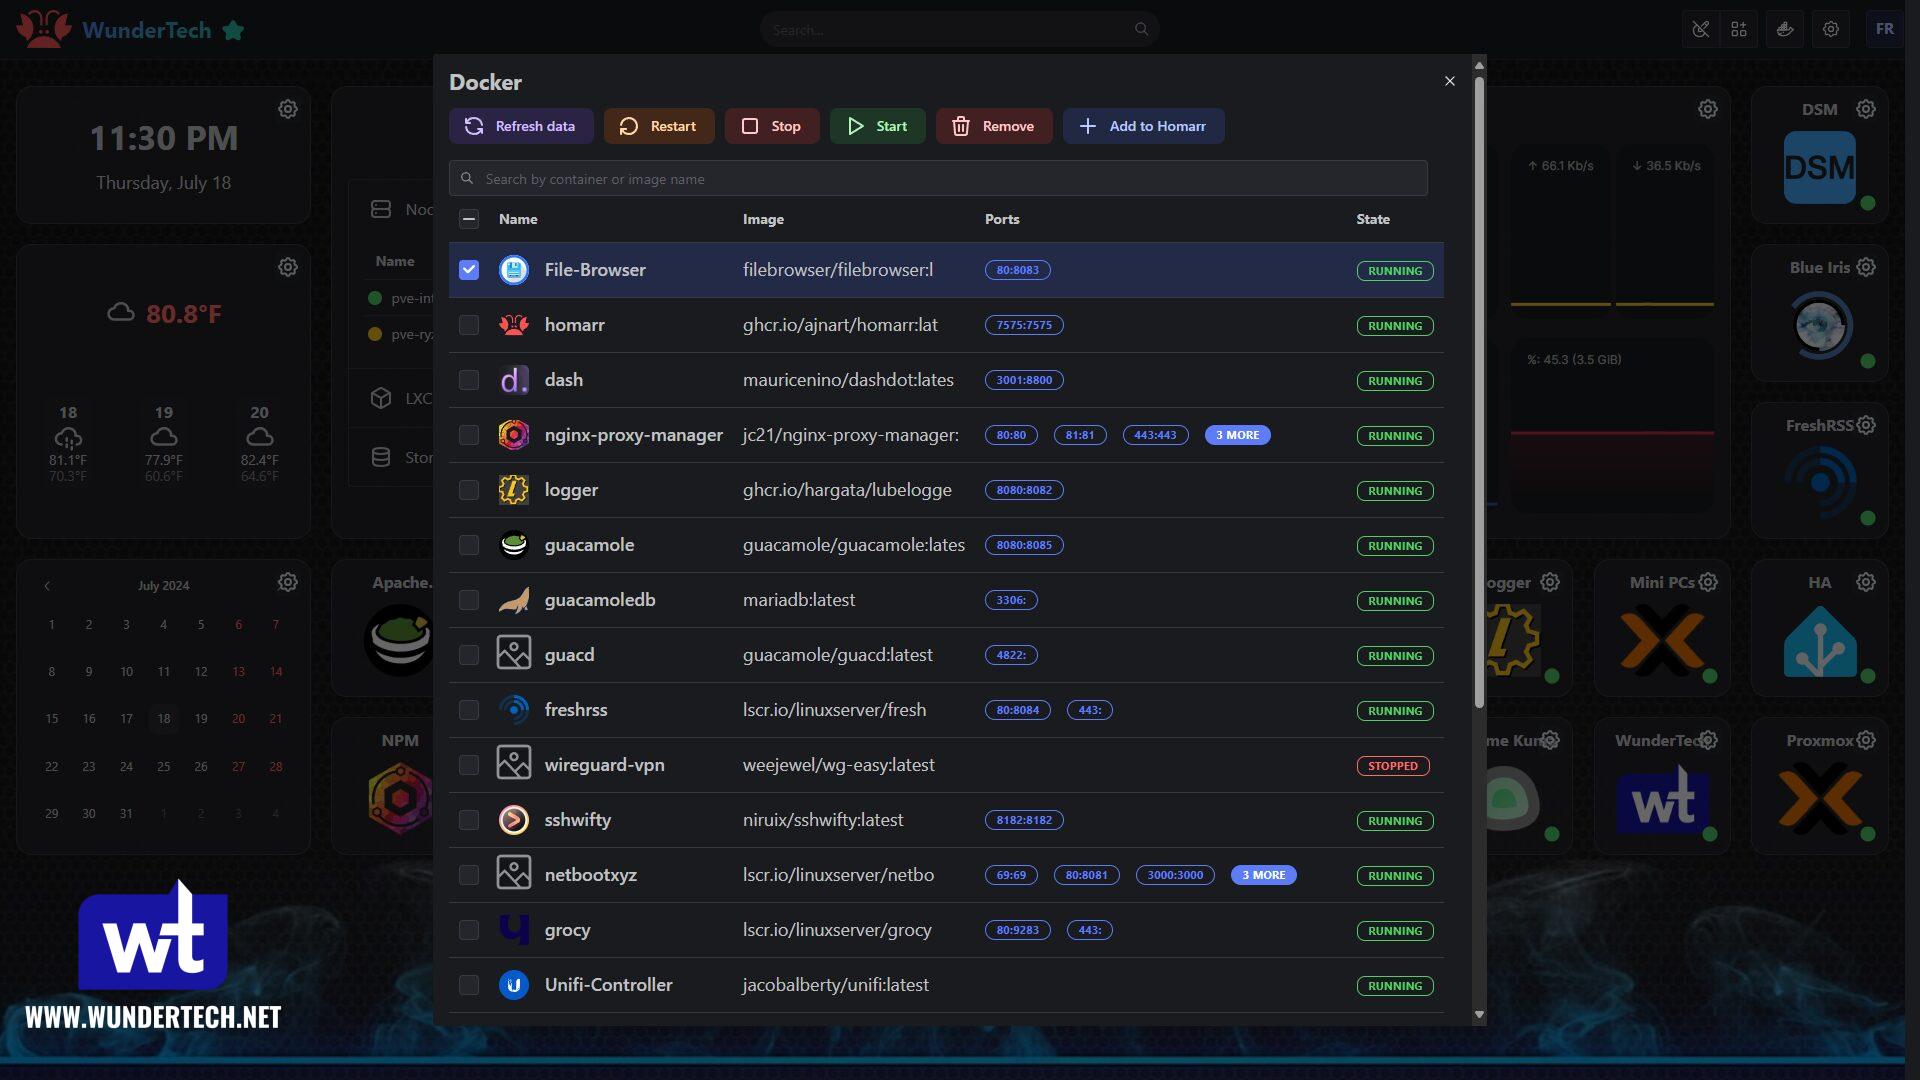
It also allows me to manage my docker containers directly from the dashboard which I love, as it’s a quick way to start/stop/restart docker containers without having to log in to Portainer.
Homarr also has incredible documentation which makes everything a lot easier to manage.
How to Configure the Self-Hosted Dashboard Homarr on Docker
If you’re interested in implementing Homarr, the easiest way to configure it is by using Docker. If you’re using a dedicated Docker server that supports Docker Compose (Portainer, Dockge, etc), you can copy the Docker Compose file below to implement it.
Keep in mind that you may have to modify the volume mounts and timezone below based on your individual system!
If you do NOT want to manage Docker inside of the Dashboard, remove the /var/run/docker.sock:/var/run/docker.sock volume!
version: '3'

services:
  homarr:
    container_name: homarr
    image: ghcr.io/ajnart/homarr:latest
    restart: unless-stopped
    volumes:
      - /var/run/docker.sock:/var/run/docker.sock
      - ./homarr/configs:/app/data/configs
      - ./homarr/icons:/app/public/icons
      - ./homarr/data:/data
      - ./homarr/imgs/backgrounds:/app/public/imgs/backgrounds
    ports:
      - '7575:7575'
    environment:
      TZ: America/New_York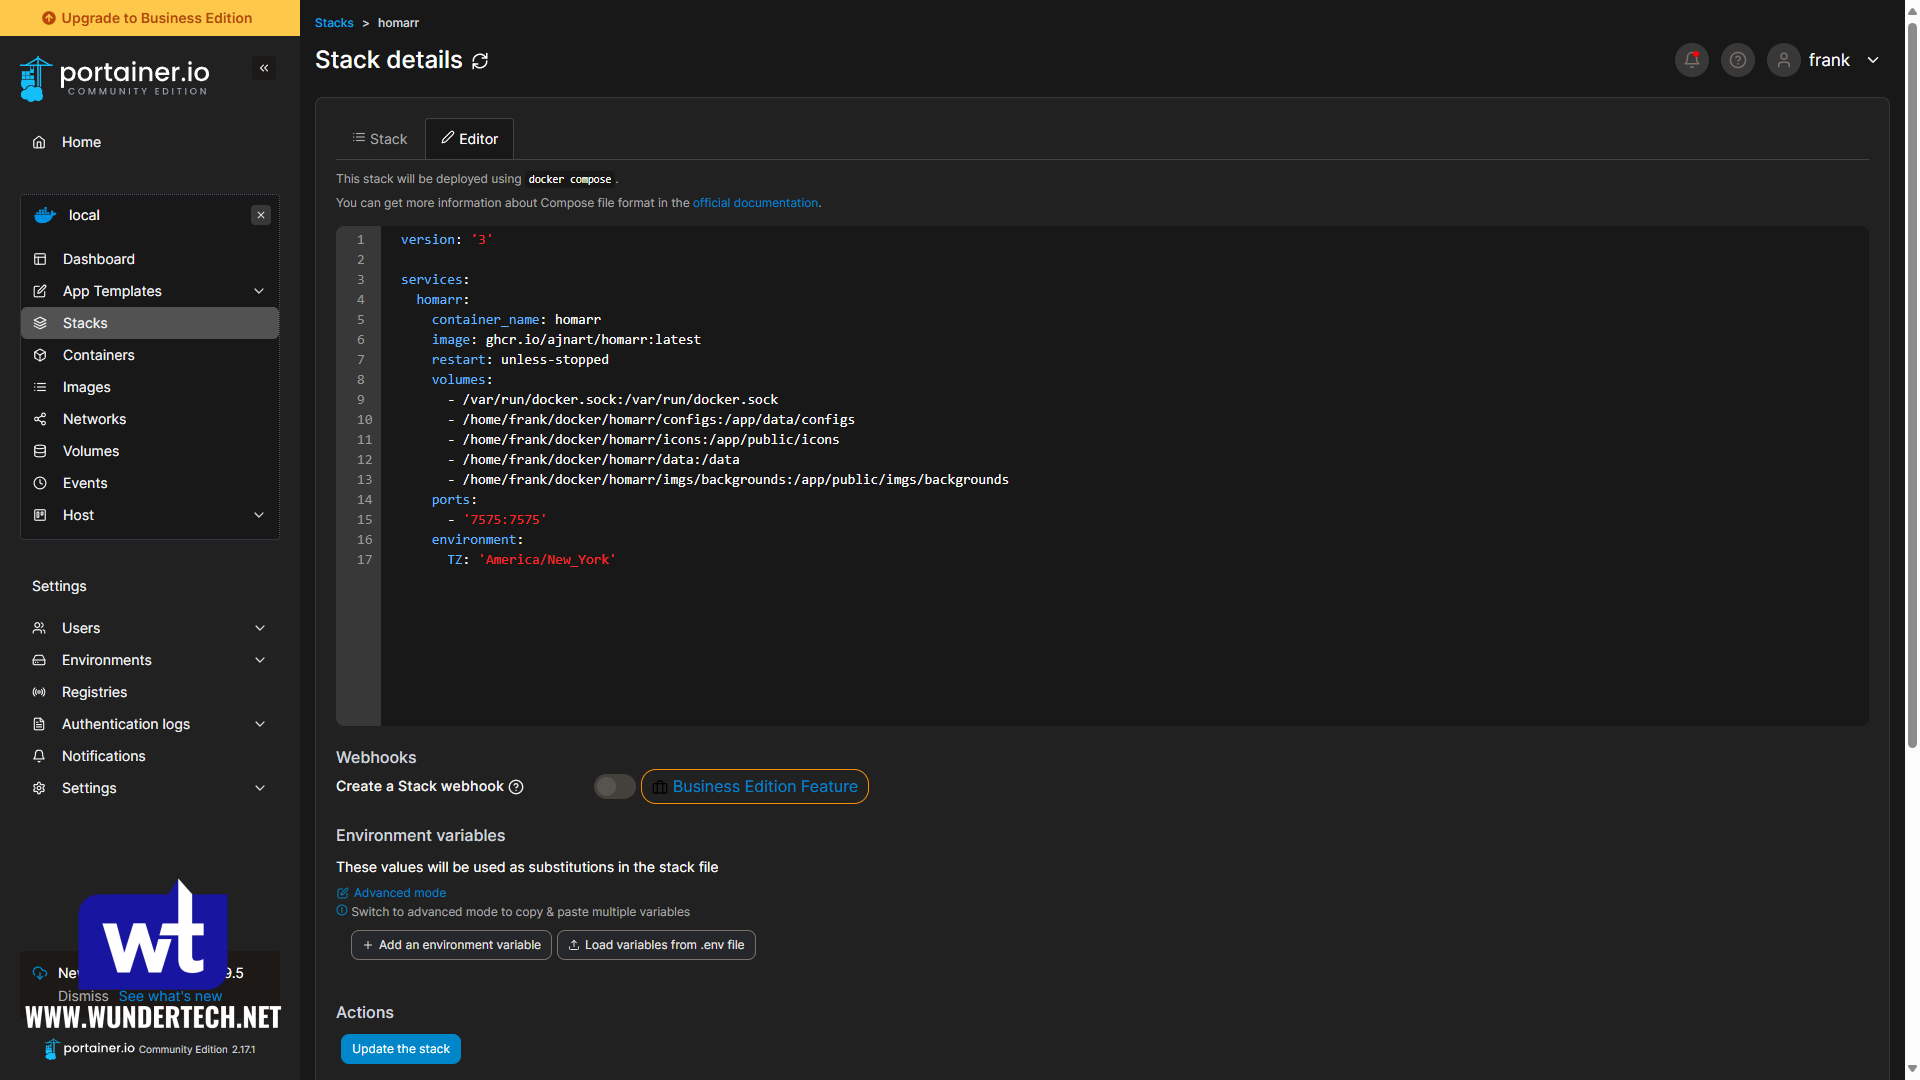
If you’re using a device like a Synology NAS, you can use the Docker Compose file below. Just keep in mind that you’ll have to create all of the folders below in the Docker folder in File Station (a subfolder folder called homarr in the docker folder, then configs, icons, data, and imgs subfolders in the homarr folder).
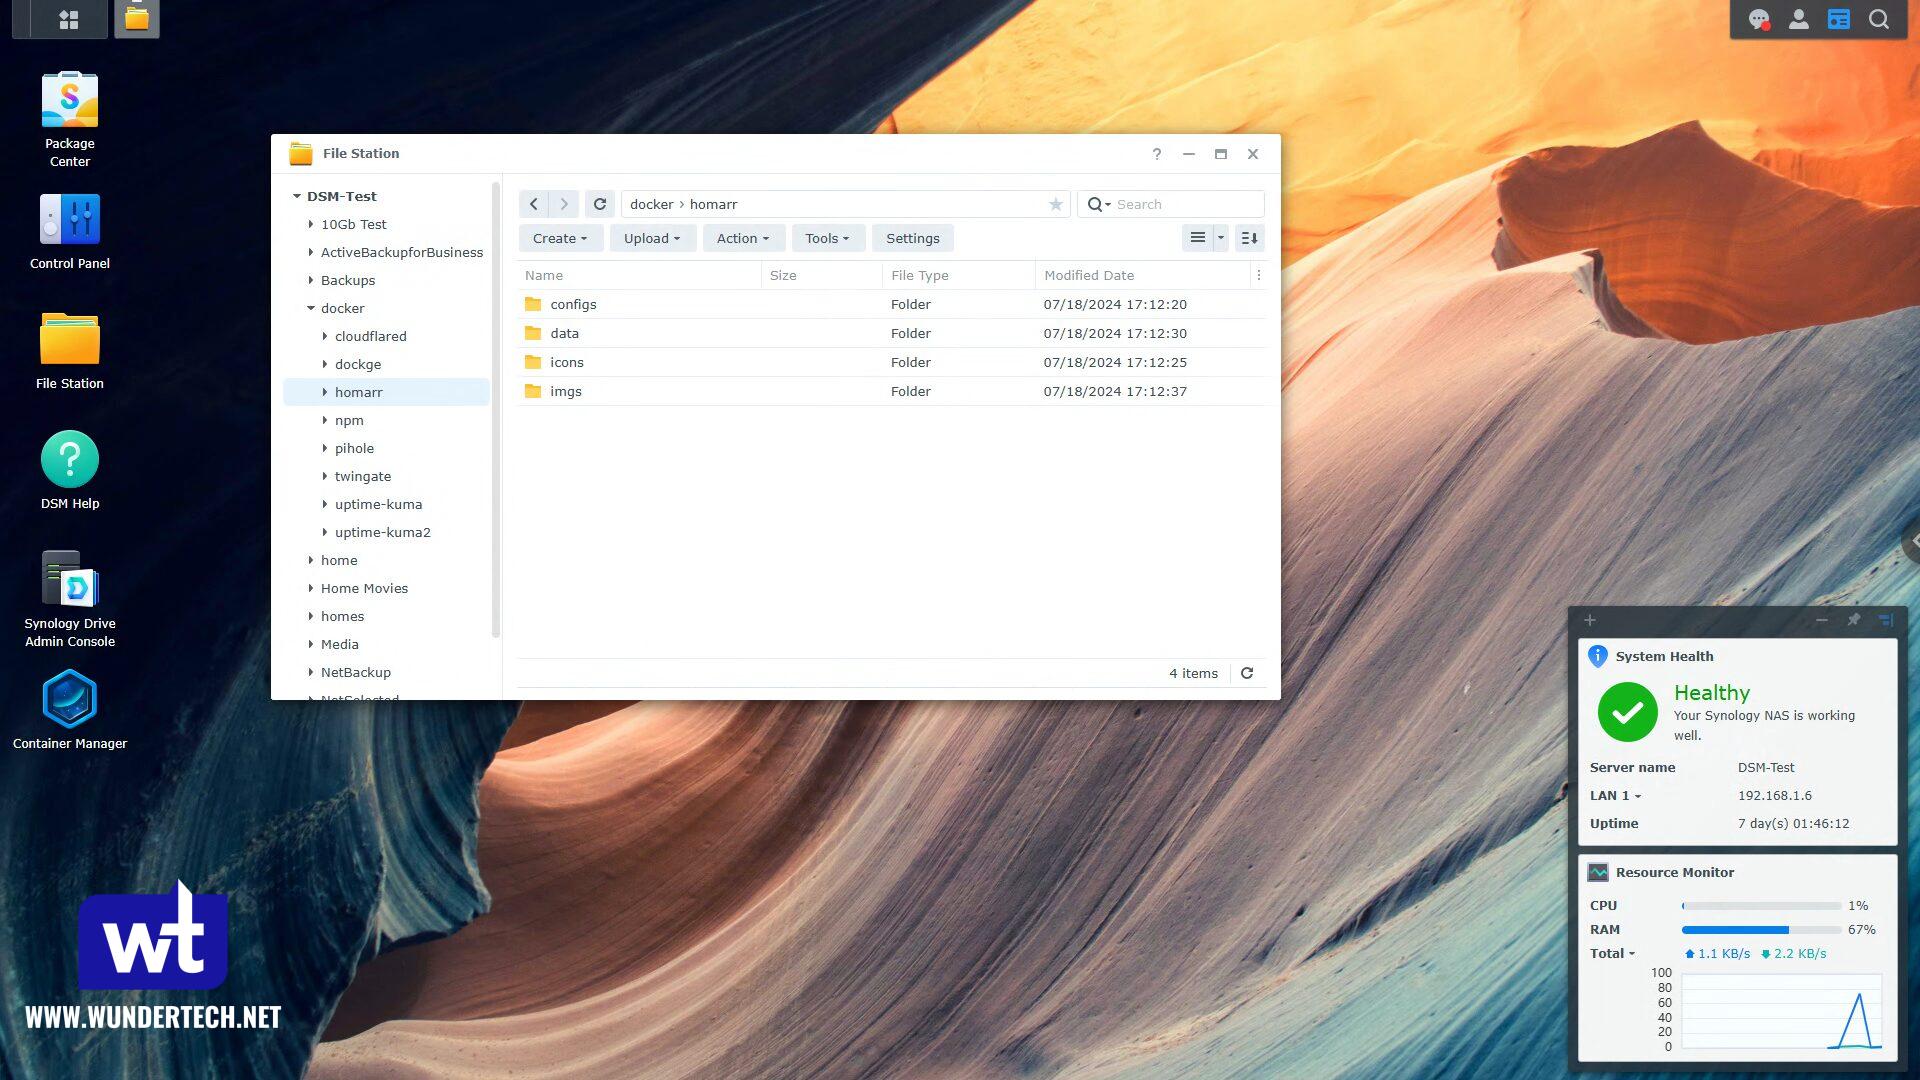
After the folders are created, you can use the Docker Compose file below to create a Project in Container Manager.
version: '3'

services:
  homarr:
    container_name: homarr
    image: ghcr.io/ajnart/homarr:latest
    restart: unless-stopped
    volumes:
      - /var/run/docker.sock:/var/run/docker.sock
      - /volume1/docker/homarr/configs:/app/data/configs
      - /volume1/docker/homarr/icons:/app/public/icons
      - /volume1/docker/homarr/data:/data
      - /volume1/docker/homarr/imgs/backgrounds:/app/public/imgs/backgrounds
    ports:
      - '7575:7575'
    environment:
      TZ: America/New_York
Once Homarr is configured you can follow this video to learn how to use Homarr as it goes through all steps required. If you want to customize your dashboard and don’t have a way to easily add images to your docker instance, check out File Browser!
Final Thoughts
Overall, Homarr is an awesome tool that I have really learned to love. The Docker management is so incredibly helpful that it’s hard for me to remember life before it as I’m constantly monitoring services and it just makes everything easier. The actual configuration for the self-hosted dashboard Homarr is easy as well, which is what I wanted after coming from configuration files, and since it’s so easy to set up, I highly suggest you try it out!


