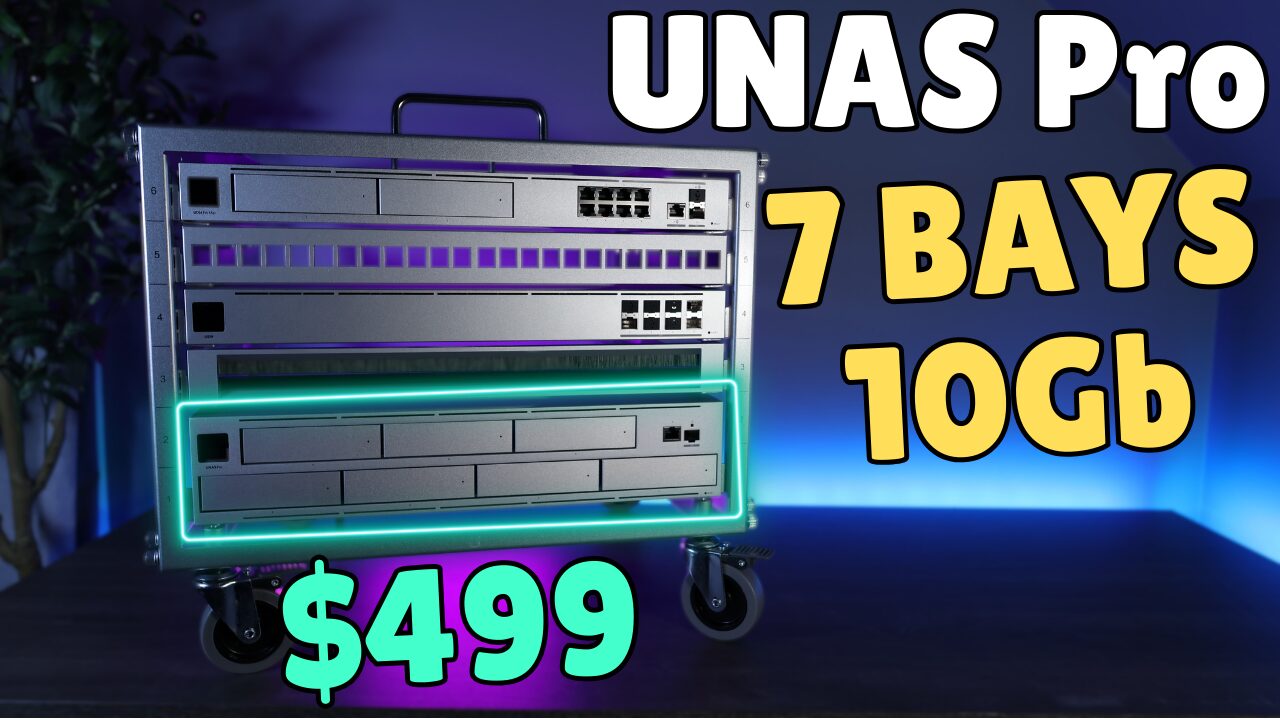
This article will be supplementary to the video below, which highlights how to add Docker and Jellyfin to the UNAS Pro using a Mini PC. This allows you to utilize the UNAS Pro for Snapshots and Backups, but leave the heavy lifting to the Mini PC.
Disclosure: Some links on this page are Amazon affiliate links which means that I earn a percentage of each sale at no cost to you. Thank you for your support.
Adding Docker & Jellyfin to the UNAS Pro
The commands below will be shown in order, based on how they appear in the video above. If you’d like to install Docker as well, please use this tutorial. This first batch of commands installs cifs-utils, makes three folders we’ll use later, and creates a hidden file with the credentials for SMB.
sudo apt install cifs-utilssudo mkdir /mnt/unaspro
sudo mkdir /mnt/unaspro/docker
sudo mkdir /mnt/unaspro/medianano ~/.smbcredentialsInside the smbcredentials file above, add two lines for the username and password, then save (CTRL + O).
username=[UNAS Pro User]
password=[Password]
Finally, modify the permissions to only be accessible for this user.
chmod 600 ~/.smbcredentialsAfter that, we’ll map the directories above to the fstab file so they mount on boot.
sudo nano /etc/fstabPaste these lines at the bottom making the necessary adjustments (UNAS Pro IP, change the user account).
//192.168.1.33/docker  /mnt/unaspro/docker    cifs    credentials=/home/frank/.smbcredentials,iocharset=utf8  0       0
//192.168.1.33/media  /mnt/unaspro/media    cifs    credentials=/home/frank/.smbcredentials,iocharset=utf8  0       0
After the lines are added and saved, run the command below to mount the drives.
sudo mount -aInstalling Jellyfin
Jellyfin is extremely easy to install since it’s just a script, so run the commands below, in order.
sudo sucurl https://repo.jellyfin.org/install-debuntu.sh | bashIf you’d like to test iGPU Transcoding (as shown in the video), these are the two commands that will install, and run the tool.
sudo apt install intel-gpu-toolssudo intel_gpu_top


