This tutorial will take a look at how to backup a Synology NAS to Backblaze B2.
In the last post that I created, we took a look at how to backup your Synology NAS to a Raspberry Pi. I think that for large, non-important data backups (>2-4 TB), using a Raspberry Pi offsite with an external hard drive is a great way to save money and have a similar off-site backup process.
However, I have been a Backblaze B2 customer for a while and think they offer a great service for a reasonable price.
For the data that is incredibly important to me, I have always used Backblaze B2 configured with Synology’s Cloud Sync, but Backblaze recently implemented an Amazon S3 compatible API which is awesome!
This allows us to connect to Backblaze B2 directly from Synology’s Hyper Backup which was never possible! To learn how to backup a Synology NAS to Backblaze B2 using Hyper Backup, follow the instructions below.
Creating a Bucket in Backblaze B2
First, we have to create a bucket in Backblaze that we will write our data to. Select Buckets, then Create a Bucket.

Give the Bucket a unique name, then select Create a Bucket.
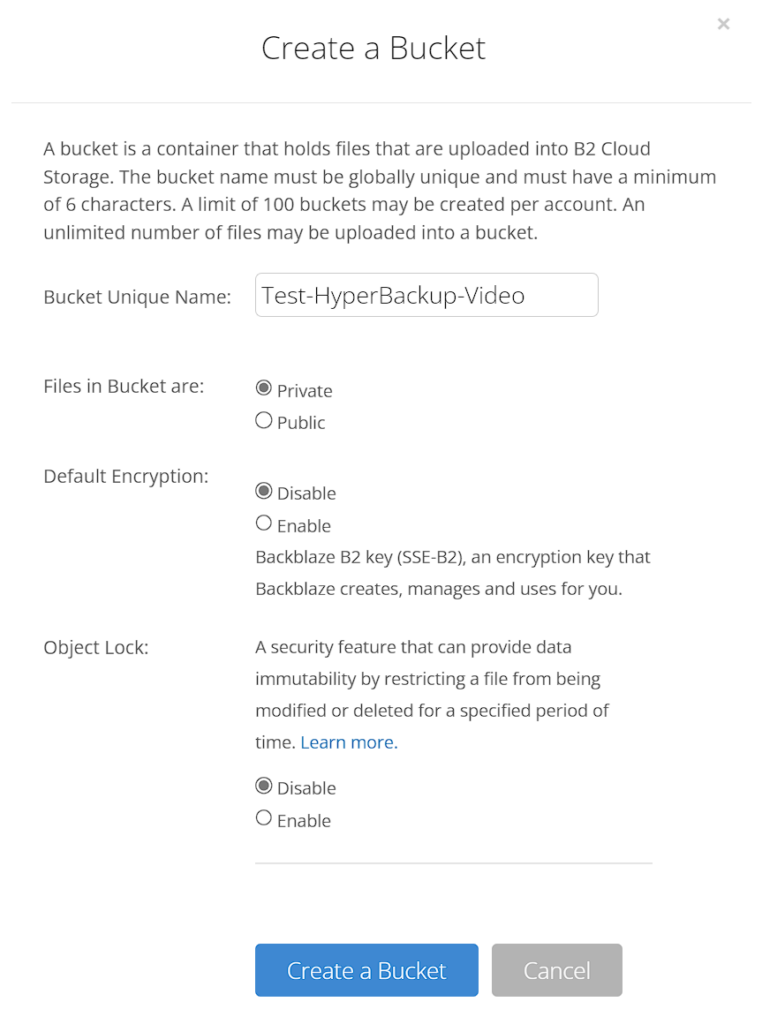
How to Backup a Synology NAS to Backblaze B2
1. The bucket you created will automatically have an endpoint. We’ll need this for a future step.
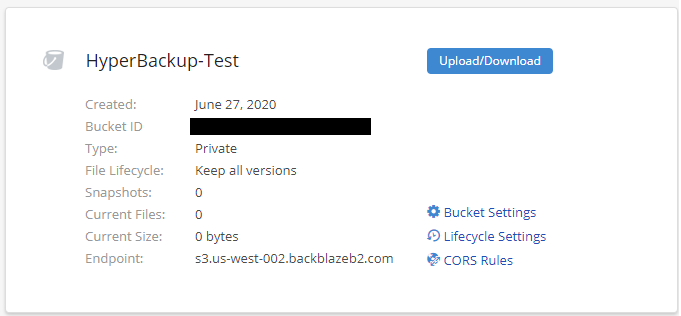
2. The next step is to ensure that you have an Application Key that is compatible with the Amazon S3 API. If you don’t have one, you’ll have to create a new application key.
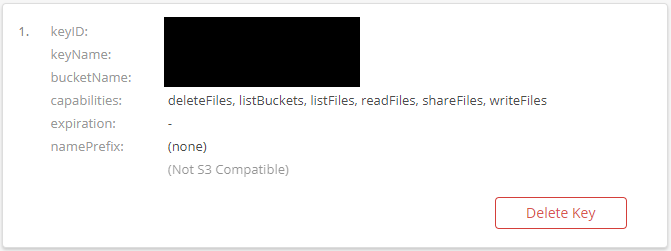
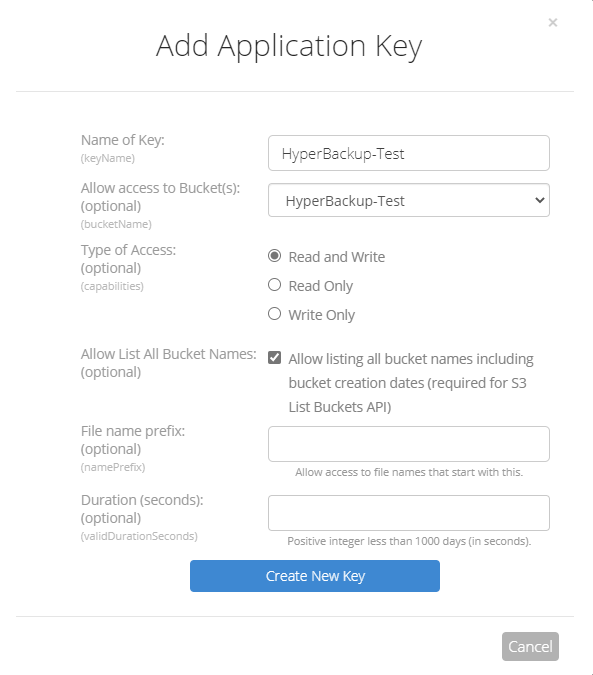
3. If you need to, create a new Application Key that has permission to your new bucket and ensure that it has an Amazon S3 Endpoint. This is what will ensure that Hyper Backup can connect to the bucket using these credentials.
Make sure that you note down the KeyID and Application Key as we will need this information for Hyper Backup. Also, ensure that “Allow listing all bucket names including bucket creation dates” is checked off. Without this setting, Hyper Backup will be unable to find your bucket.
6. Now that Backblaze B2 is configured, launch DSM and open Hyper Backup. Add a new “backup task” and select “S3 Storage”.

7. Under the “S3 Server” select “Custom Server URL”.
8. We need to configure our server information, but before doing so, I want to make an important point. Since we are dealing with a cloud provider, the provisioning is not always immediate. You may have to wait upwards of 10-15 minutes for your Bucket, KeyID, and Application Key to work properly in Hyper Backup. If you receive errors, give it a little more time and try again.
When ready, enter the information as follow:
a. Server address: S3 Address from your Backblaze B2 bucket Endpoint (step three)
b. Signature Version: v4
c. Access Key: KeyID (from Backblaze B2 – step five)
d. Secret Key: Application Key (from Backblaze B2 – step five)
e. Bucket name: Bucket name you created in Backblaze B2.
f. Directory: File name you’d like to use.

9. Select the shared folders and applications you’d like to backup. At the final step, enter the settings you’d like. When backing up to a cloud provider, it’s always a good idea to use client-side encryption so you know your data is always secure.

10. If you enabled client-side encryption, you will be warned that you will be unable to retrieve your data if you lose the password or encryption key. Click yes, configure the backup rotation and “Apply”. You should now be prompted to backup your system.
You will also be prompted to download the encryption key if you enabled client-side encryption. Download the key and place it somewhere SECURE! This key can save you!

11. Click “Yes” – the backup will now start!
Hyper Backup Data Restoration
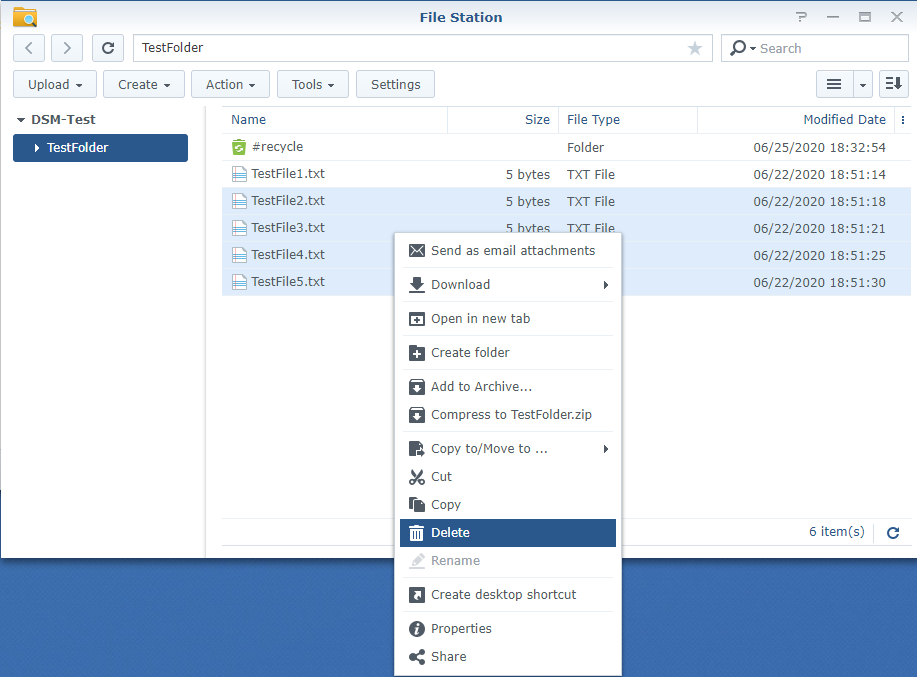
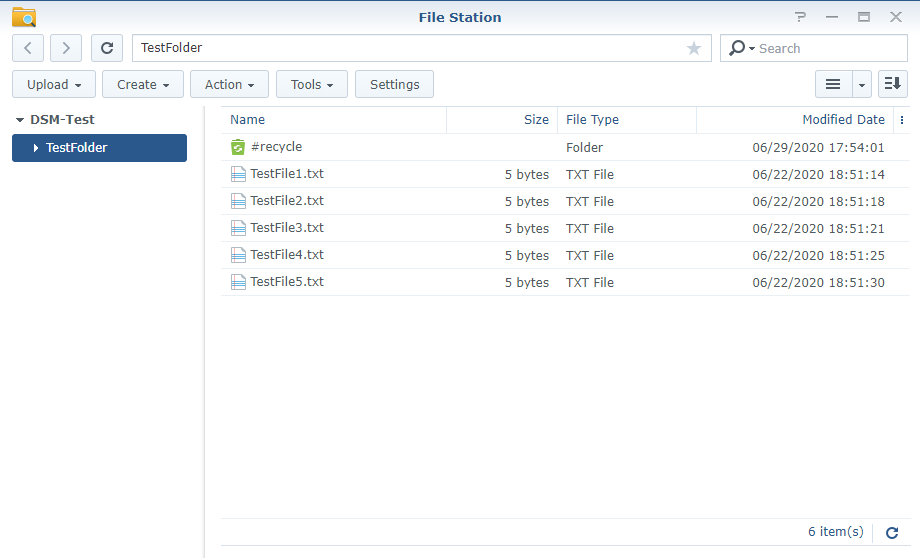
1. Backing up your data is only half the battle – you need to ensure that you can restore the data if it is ever lost. I will be deleting a few files from my test directory and restoring them to ensure the process works.
2. Select the “Restore” button and select “Data”.
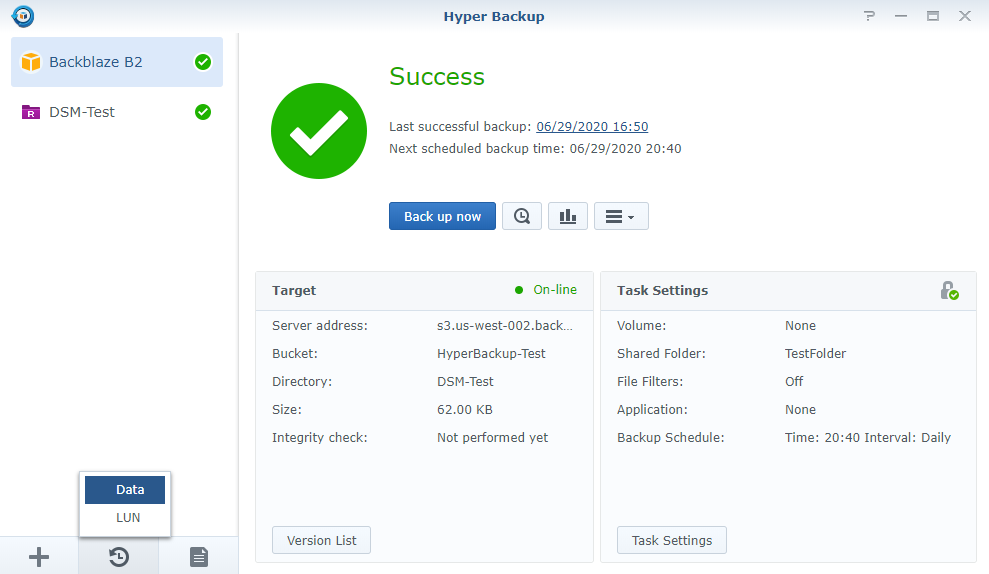
3. Pick the task that is backing up to Backblaze B2. Enter the encryption password if prompted.
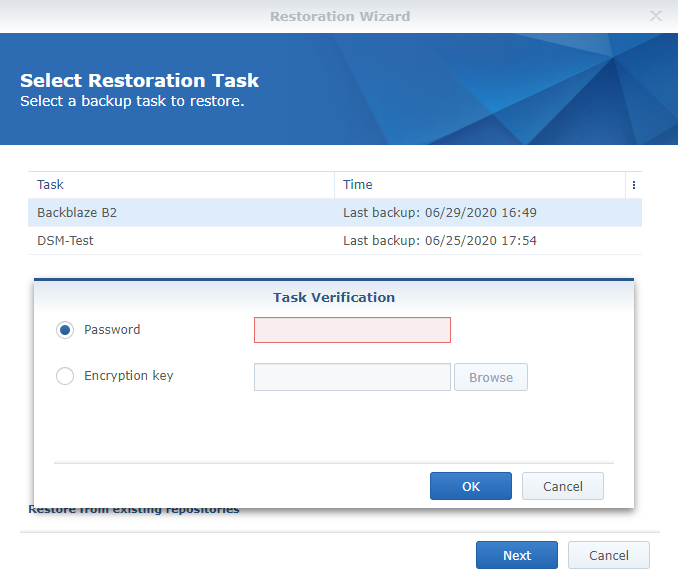
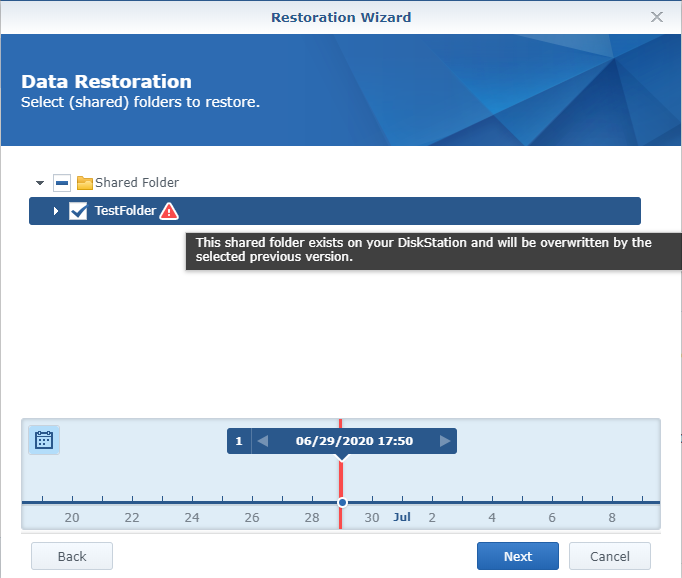
4. Navigate through the settings and ensure that you are restoring the correct folder.
NOTE: if the folder exists on the local NAS, the folder will be overwritten with the server version.
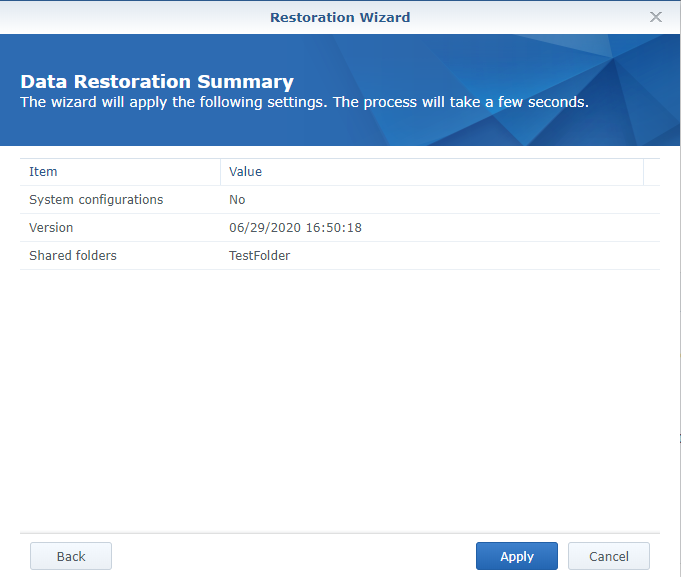
5. When finished selecting your configuration, applications, and folders, select “Apply”. This will restore the folder.
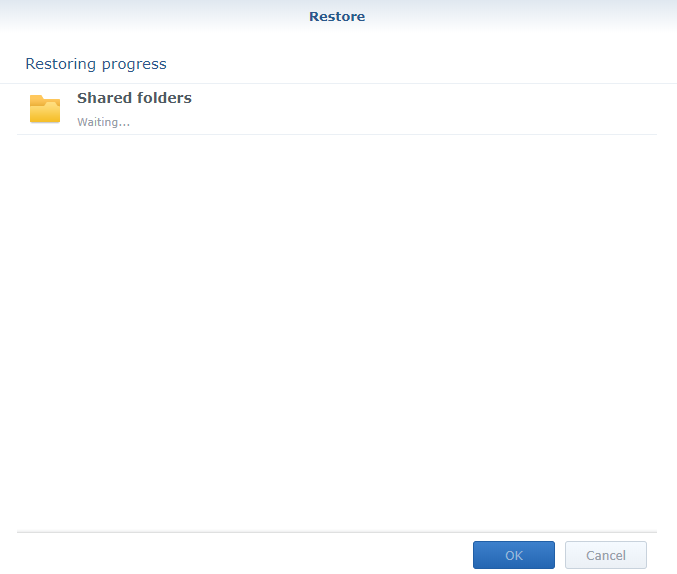
6. Your folders should now restore. When complete, you should see the deleted files restored! This confirms that the backup/restoration process works as expected.
Conclusion & Final Thoughts
This tutorial took a look at how to backup a Synology NAS to Backblaze B2. I’ve been using Backblaze B2 for a while and the Amazon S3 API integration made it even better. Before this, I was forced to use Synology’s Cloud Sync, which worked well but offered more of a file cloning service rather than a true backup.
In that instance, you were relying on Backblaze’s versioning as a “backup,” as corrupted or encrypted source files would simply sync to Backblaze B2. Hyper Backup is a true backup – and coupled with Backblaze B2 – a great option for important data!
Thanks for checking out the tutorial on how to backup a Synology NAS to Backblaze B2. If you have any questions, leave them in the comments of the YouTube video!

