Today we are going to look at how to enable HTTPS on a Synology NAS using an SSL certificate.
This process is fairly straight forward, but the explanation behind it is very important. For that reason, I suggest that you watch the video above as the material will be a little easier to digest, but I will do my best to explain everything below. The process that we will be utilizing is best completed by using an internal DNS server. I have a tutorial up for configuring Pi-hole on a Synology NAS or Raspberry Pi, but you can just as easily use Synology’s DNS server application in DSM. I don’t have a tutorial up for that (as I prefer Pi-hole), but if there’s interest, I can look into creating a tutorial.
1. Instructions – Synology NAS SSL Certificate
The easiest way to do this is by utilizing the DDNS hostname that you configured. Synology gives you a free synology.me DDNS hostname but you are free to use your own hostname or even a free service like DuckDNS. I have a tutorial for setting up DuckDNS and will be utilizing a free DuckDNS hostname in this tutorial, but the process is the same for other DDNS hostnames or purchased domains.
1.1 Port Forwarding & Firewall Configuration
1. Port forward 80 or 443 on your router to your Synology NAS. To get a Let’s Encrypt certificate, Let’s Encrypt needs to be able to communicate with your NAS through one of these ports. Every router is different, but here is a site that has a few different ways that you can complete this. After the certificate has been acquired, you are free to close port 80.
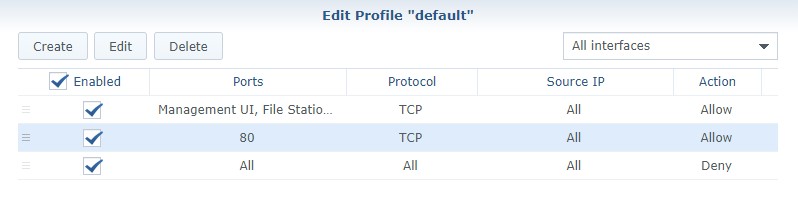
2. If you are using Synology’s Firewall, you need to create a custom rule that allows port 80 traffic to your Synology NAS. Open Control Panel, navigate to Security then Firewall. Create an allow rule for TCP port 80 or 443 (whichever you are using).
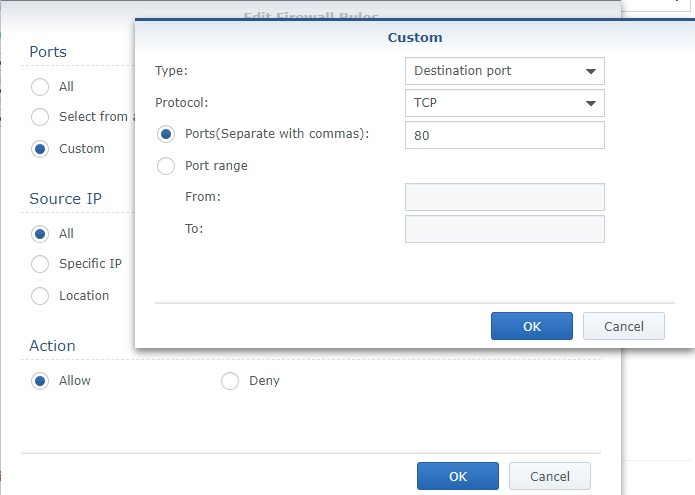
NOTE: Make sure the rule is above your deny all rule.
1.2 Certificate Setup
3. Open Control Panel, navigate to Security then Certificate. Select Add to create a new certificate.
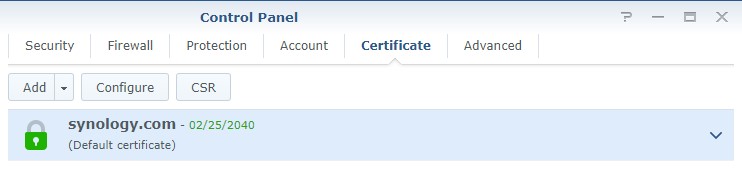
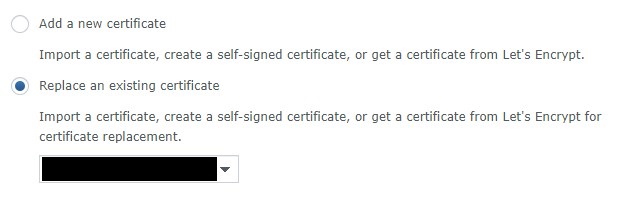
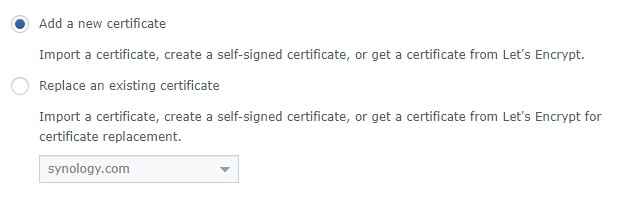
4. At this point, if you are using your free synology.me DDNS hostname, you might already have a self-signed certificate here. If you are, you can select replace an existing certificate and select the self-signed certificate. However, you are free to create a new certificate as well. If you don’t have an existing certificate, select Add a new certificate. Select Next.
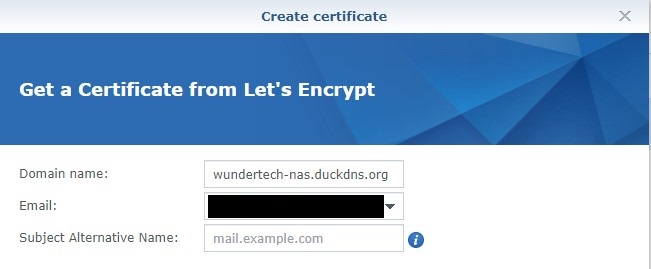
5. Select Get a certificate from Let’s Encrypt. If you will be using this as your default certificate (most people will), you can check off the box that says Set as default certificate. Select Next.

6. Enter your DDNS hostname and email address. Click Apply – this will create your certificate! NOTE: In the Subject Alternative Name section, you can enter one if it exists. This is generally a URL prefix (www, for example). If you are strictly using your DDNS hostname, then you will leave this blank.
7. We now need to ensure that the certificate we created is being used for our services. Select configure and change the certificate to your DDNS hostname. The certificate is now fully configured!
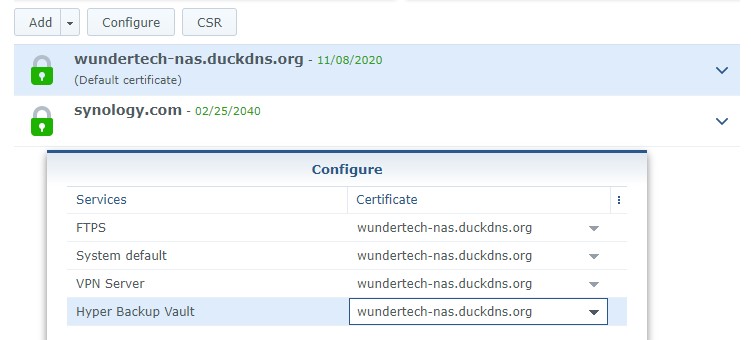
8. Certificate setup is complete!
2. Accessing a Synology NAS Using its Hostname – Synology NAS SSL Certificate
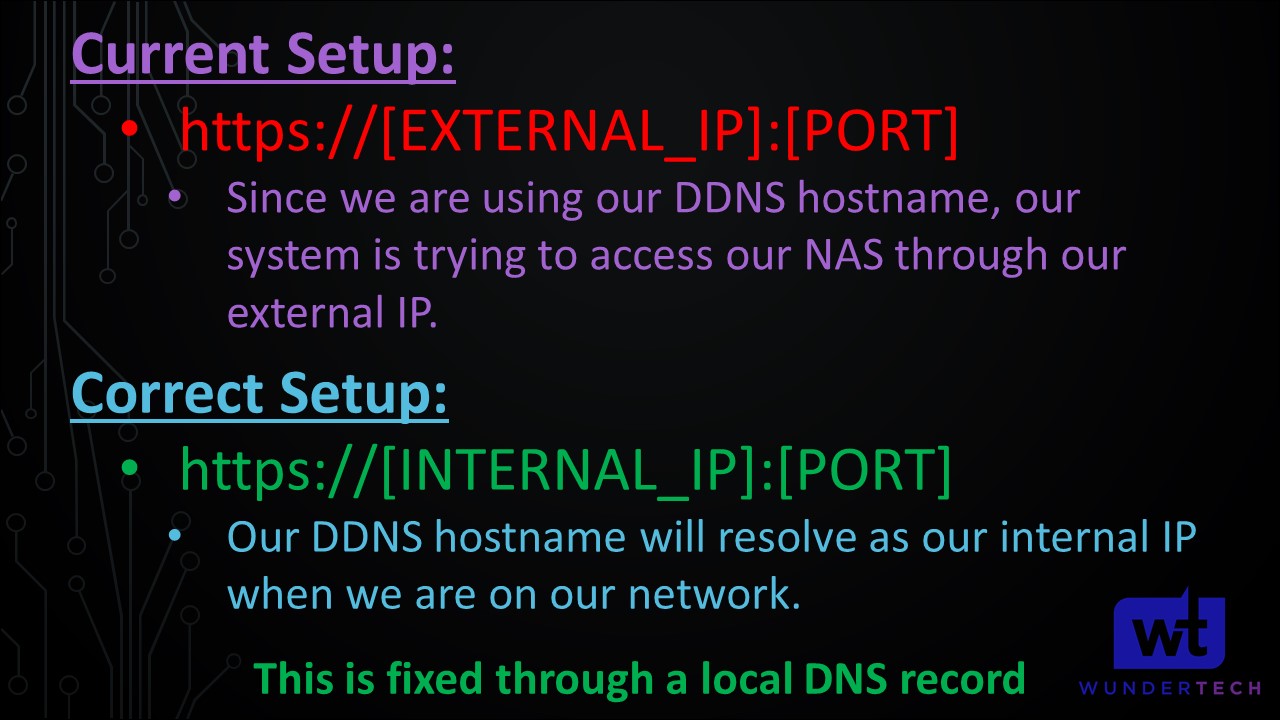
This is where the explanation in the video will help. If you try and access your NAS using the hostname you just assigned ([DDNS Hostname]:[Port]), it will not work.
When you configured your DDNS hostname, it tracks your external IP address. When you navigate to your site using your DDNS hostname and port, what you’re actually doing is navigating to your external IP address and port. If your NAS isn’t exposed to the internet (it shouldn’t be – if you want to access your NAS externally, check out our OpenVPN tutorial), this domain name will never resolve. If we want to get this to work as-is, we need to port forward 5001 (DSM HTTPS) on our router – don’t do this. Move down to the DNS configuration.
2.1 DNS Configuration
So at this point, we know that we need to access our NAS by its hostname (that was configured with the certificate) and our HTTPS DSM port. The key that we need to implement is this: when we navigate to our DDNS hostname, we need to navigate to our NAS’s internal IP address. Right now, it’s not working because it’s accessing our external IP address.
We can accomplish this two ways: the best (in my opinion) way of doing this is by creating a DNS server and creating a local DNS entry. The benefit of doing it this way is that all devices will be able to resolve your NAS using that hostname properly. I have two different guides up that will walk you through the process of creating a DNS server using Pi-hole on a Synology NAS or a Raspberry Pi. This even gives you the benefit of network-wide adblocking!
The second way is to create a local DNS lookup file on your client device. While this isn’t recommended, creating this file will allow your local devices to resolve that domain name to your NAS’s local IP address. You must be aware that when using this method, you will only be able to access your NAS using its hostname on this specific device. This option is fine if you only intend on navigating to DSM using the hostname from this specific device. At these links, you can learn how to create a local DNS host file for Windows, Mac OS, or Linux.
2.1.1 Local DNS Server Configuration
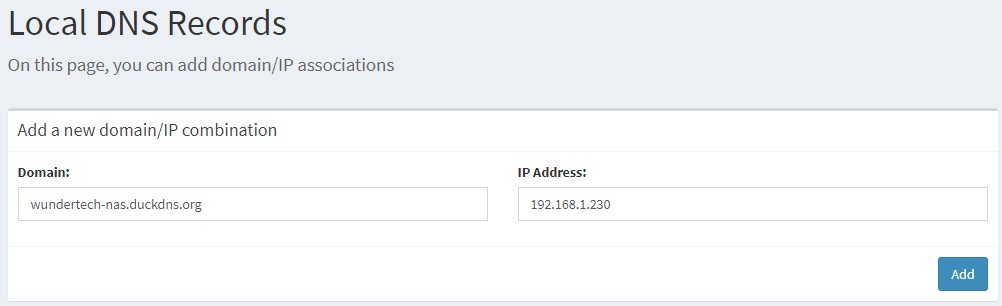
If you have a DNS server created, create a local DNS entry for the hostname you configured and your NAS’s internal IP address.
These instructions are for Pi-hole v5.0 or greater.
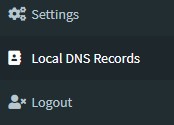
1. Open the Pi-hole web management portal. On the left menu, select Local DNS Records. NOTE: Pi-hole changes their UI somewhat regularly. If it’s not on the left hand side, it will be buried in a setting somewhere.
2. Create a local DNS entry for the hostname you configured and your NAS’s internal IP address.
You will also notice that if you run a nslookup command for your hostname, you will receive the internal IP address of your NAS. Before you create this record, you will receive your external IP address.

It is incredibly important to note that if you create a DNS record for this hostname, you will need to use this hostname when accessing your SMB/NFS shares as well. One way that you can get around this (if your NAS has more than one ethernet port), is by creating a DNS record for one of your network interfaces that is the hostname you configured and a second DNS record for the server name you defined in DSM. This is done by mapping each record to the network interfaces IP address.
After you create this record and navigate back to your site, everything will work as expected!

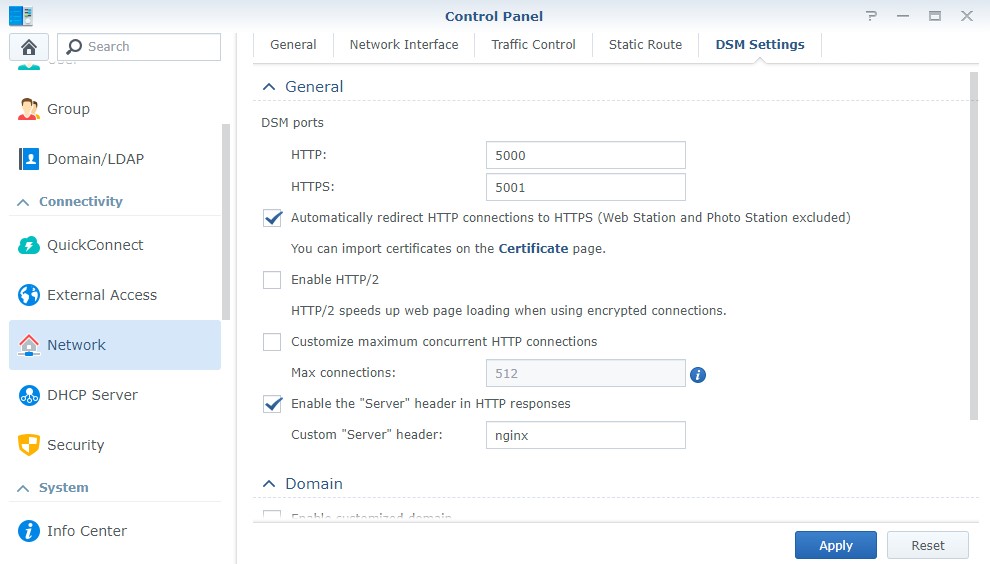
At this time, you can also go to the settings in DSM and Automatically redirect HTTP connections to HTTPS. This will ensure that you’re always using HTTPS.
3. Conclusion – Create an SSL Certificate for a Synology NAS
This process is actually pretty simple, but the key is having a DNS server. Having a DNS server allows you to keep your NAS’s DSM port closed while properly utilizing an SSL certificate. Your SSL certificate will expire after a few months, but you can open port 80, renew it, and then close port 80 again. An easy way to do this is to keep port 80 on your router open at all times, and then manage the port on your Synology’s firewall. You can create an allow rule and when the certificate has been validated, uncheck the rule which will block connections on port 80.
Thanks a lot for reading the tutorial. If you have any questions, please leave them in the comments!