Today we are going to take a look at how to access a Synology NAS remotely using DDNS. DDNS stands for Dynamic DNS, and it’s a way to automatically update a domain name with an external IP address.
Most home users have a dynamic external IP address (which means that it periodically changes), and that’s when a DDNS hostname becomes helpful. With a static IP address, this step isn’t required, but if your external IP address ever changes, a DDNS hostname will ensure you can always connect remotely.
Synology gives you a free DDNS hostname, and while you can configure remote access using DDNS and port forwarding, you can also use this hostname for a VPN server, reverse proxy, and more, making it very flexible.
How to Configure DDNS on a Synology NAS
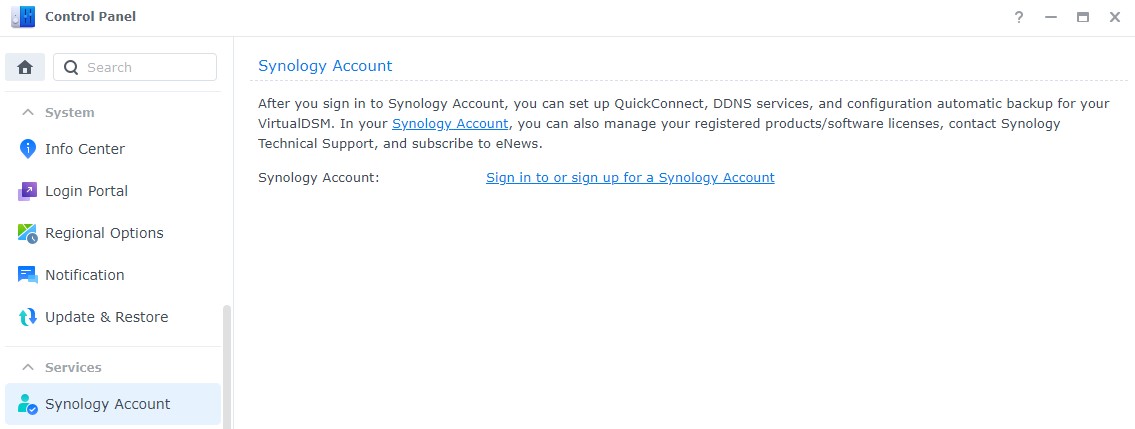
First, ensure that you have a Synology Account. We need this to sign up for our free DDNS hostname. Open the Control Panel, go to Synology Account, then Sign in to or sign up for a Synology Account.
After your account has been created, select External Access, DDNS, then Add.
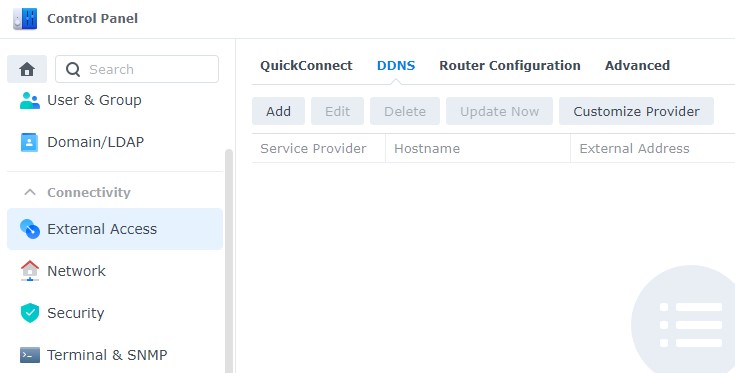
Select the service provider as Synology, then select a Hostname that you’d like to use. This must be unique and is what you’ll use moving forward. In the drop-down menu, you will see a bunch of domains (synology.me, DiskStation.me, myDS.me, etc.). Select whichever you’d like to use, then select Test Connection. The test should report back as Normal.
If you’d like to get a certificate from Let’s Encrypt, you can select the checkbox to get a certificate from Let’s Encrypt. This will fetch a new certificate and set it as the default. I prefer getting the certificate at this step, as DNS will be used moving forward for this certificate renewal. This means that ports 80/443 will not have to be open to renew the certificate.

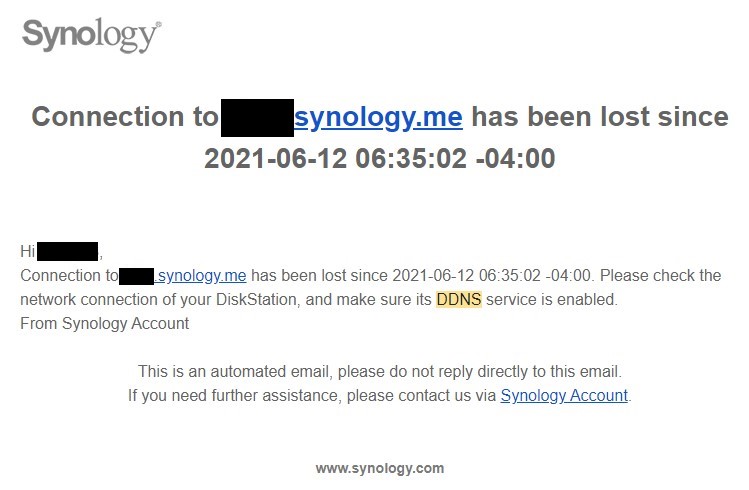
If you keep the Enable Heartbeat checkbox selected, you will receive emails informing you when the DDNS connection is lost. Select OK to continue the creation.
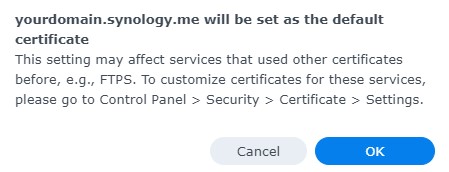
If you enabled the Let’s Encrypt certificate checkbox, you will get a message stating that services that have used the existing default certificate might have to be updated. Select OK.
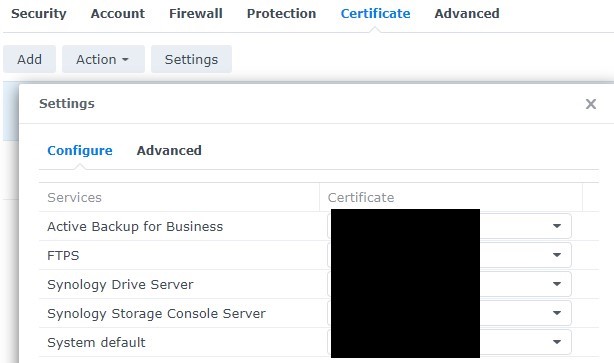
If you need to update the services to use your new certificate, select Control Panel -> Security -> Certificate -> Settings. You can then modify your services to use the correct certificate.
This is an example email you will receive if you keep the Enable Heartbeat checkbox selected.
DDNS is now properly configured! At this point, the domain name you selected will ALWAYS be updated with your home’s external IP address, as long as the Synology NAS is on and connected to the internet.

How to Access a Synology NAS Remotely
With DDNS, there are three main ways that you can connect to your Synology NAS remotely. The first is by using a VPN Server, which you can host on your Synology NAS. This is generally the safest and most secure option. The next is by port forwarding (not recommended) or by using a reverse proxy server (still not recommended, but an option for many).
If you plan on using a reverse proxy or port forwarding with your Synology NAS DDNS setup, I suggest understanding Synology NAS security and ensuring you’re implementing your remote access securely.
Video on Remotely Accessing a Synology NAS
If you’re confused about remote access, I’d suggest watching our video below that highlights five different ways to remotely access a Synology NAS. This will help you understand each option and help you make the right decision for your setup.
Conclusion & Final Thoughts: Synology NAS DDNS
This tutorial looked at how to access a Synology NAS remotely. Setting up DDNS on a Synology NAS is the first step to take if you’d like to access it remotely and have a dynamic IP address.
Again, if you have a static external IP address, DDNS on a Synology NAS might not be required (unless you need a domain name for something), but it’s extremely flexible. Need to monitor your external IP address? Need to connect to your VPN? Need to configure a reverse proxy? All of this can be done with a DDNS hostname!