After installing the Jellyfin server, one of the most common requests is how to access Jellyfin remotely. The Jellyfin server is installed on a server in your local network, so when you’re outside of your local network, you won’t be able to access it (by default).
Let’s take a look at the three main ways that you can access Jellyfin remotely below.
Port Forwarding: Jellyfin Remote Access
One common way of accessing Jellyfin remotely is by using port forwarding. Port forwarding exposes the Jellyfin service on your local network to the outside world.
To be clear, this is my least favorite option, as you must configure a Let’s Encrypt certificate manually which is more complicated than simply using a reverse proxy and allowing the reverse proxy to handle it all. With that said, you can certainly use port forwarding if you’d like.
1. To use port forwarding, you must enable HTTPS in Jellyfin by navigating to Advanced Settings > Networking > Enable HTTPS. If you don’t do this, your user credentials (when logging into Jellyfin externally) will be sent unencrypted using HTTP!
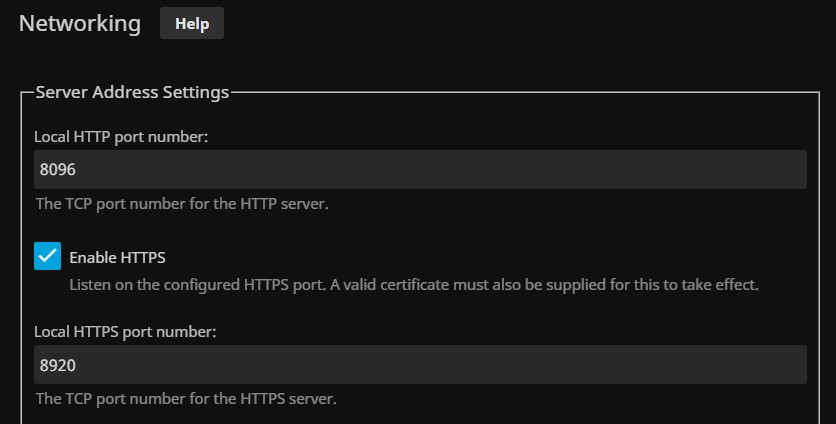
2. You also must configure a Let’s Encrypt certificate to ensure HTTPS functions properly.

3. After configuring the Let’s Encrypt certificate, you can port forward TCP Port 8920 (if you didn’t change it to something different) to your Jellyfin server.
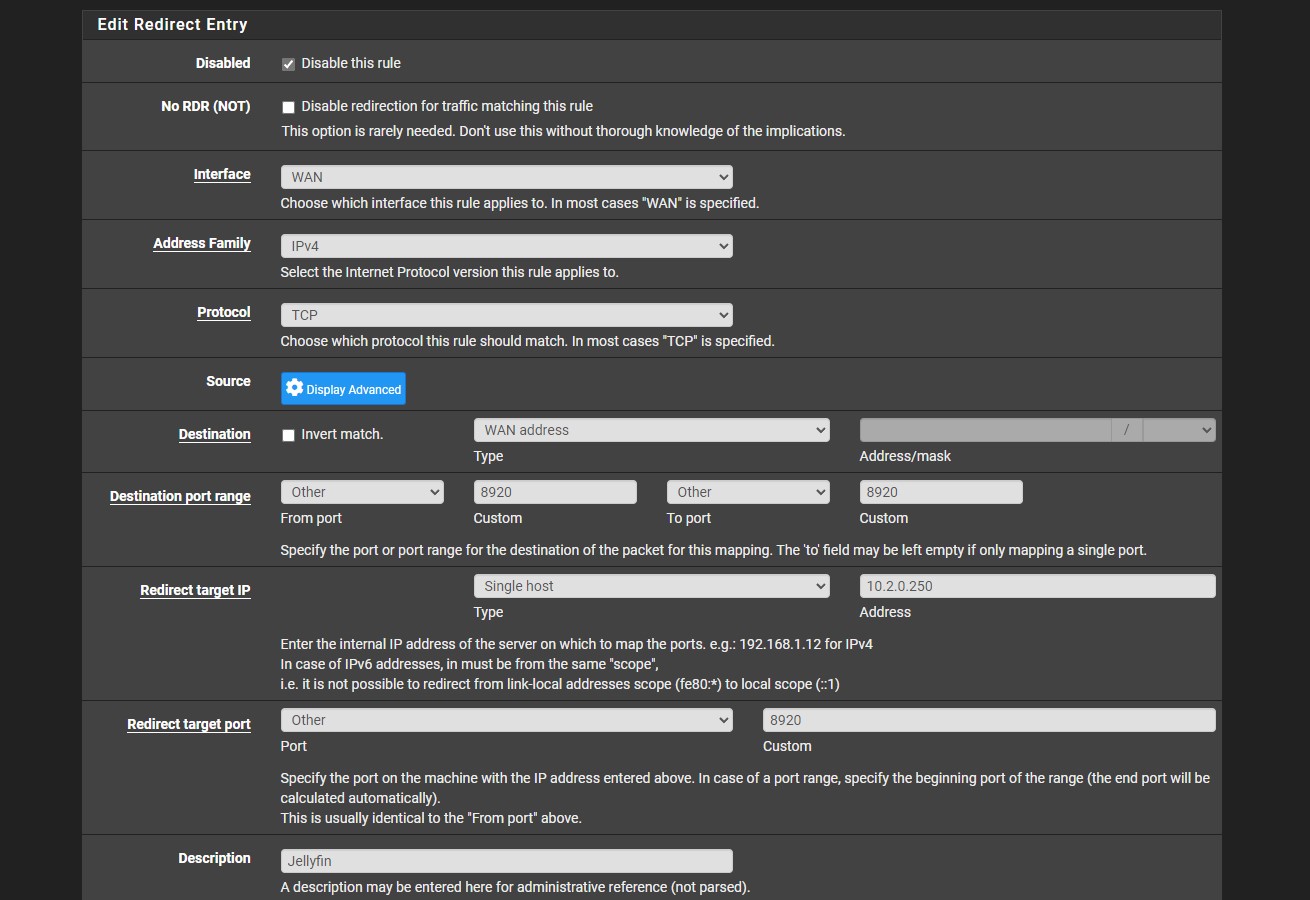
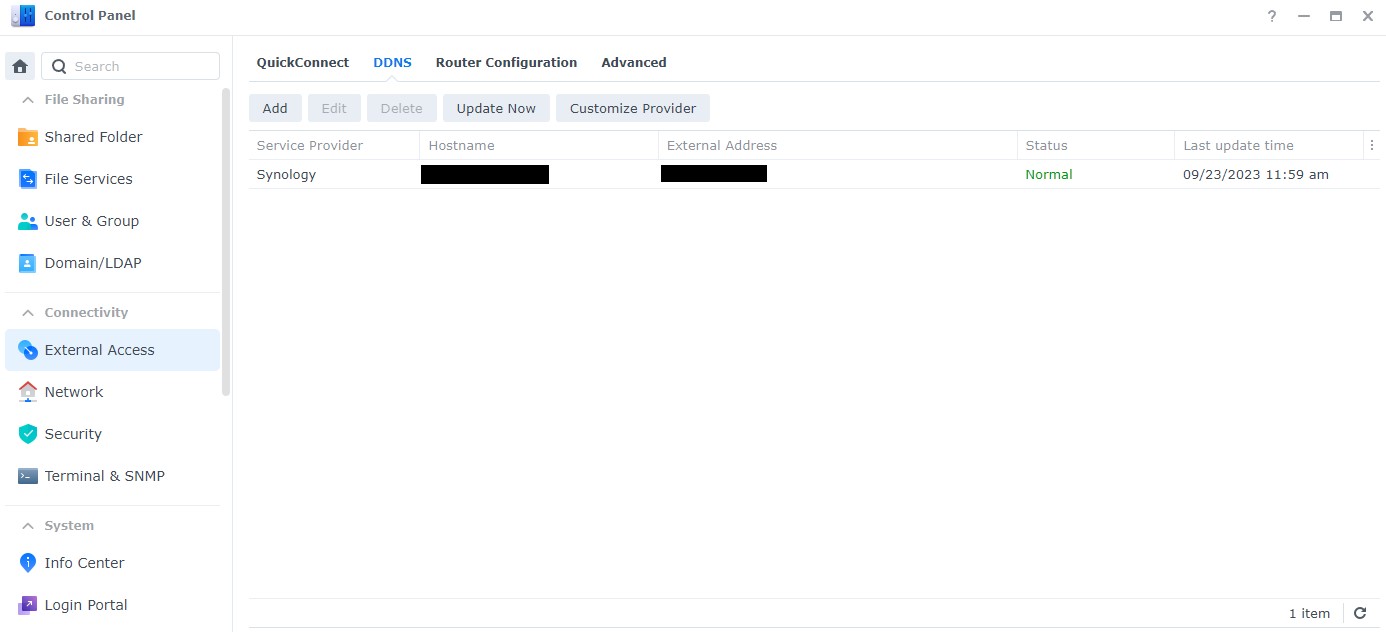
4. After the Jellyfin port has been forwarded, a user outside of the local network can navigate to a domain name or DDNS hostname, then access that service. The easiest way to do this is by using DDNS and a cheap device like a Raspberry Pi.
However, if you can run this on your router (for example, on pfSense or OPNsense), that’s most likely the best location for it. Please keep in mind that there are other devices (like NAS devices) that you can run DDNS on.
The key is that you have a device capable of resolving your external IP address to a hostname.
The final point to understand is that you will be exposing this port to the outside world (meaning anyone can access it). While you’ll be able to access it outside of your local network, so will everyone else (assuming you don’t use a firewall to limit access).
This doesn’t mean they can access the data (as you’ll still need your username/password), but it does mean they might get to the login page.
Example URL: https://ddns_hostname:8920Reverse Proxy: Jellyfin Remote Access
If you’re using a reverse proxy server, you can easily connect a subdomain to your reverse proxy server, pointing to your Jellyfin server.
This is probably one of the easiest approaches if you have the reverse proxy server configured. If you don’t, you’ll have to configure a reverse proxy server, which could make this a little more complex.
With that said, I find this to be one of the best options. You can expose Jellyfin outside of your local network, you’ll be utilizing HTTPS, and it’ll all go through TCP Port 443 (if your reverse proxy server uses that).
The Let’s Encrypt certificate will all be managed automatically as well (rather than having to manually configure it like with port forwarding). Unlike the port forwarding option above, you won’t have to interact with Jellyfin in terms of certificates at all. It will all be handled on the reverse proxy side.
This is an example reverse proxy rule that connects the example domain jellyfin.yourdomain.com to my Jellyfin server.
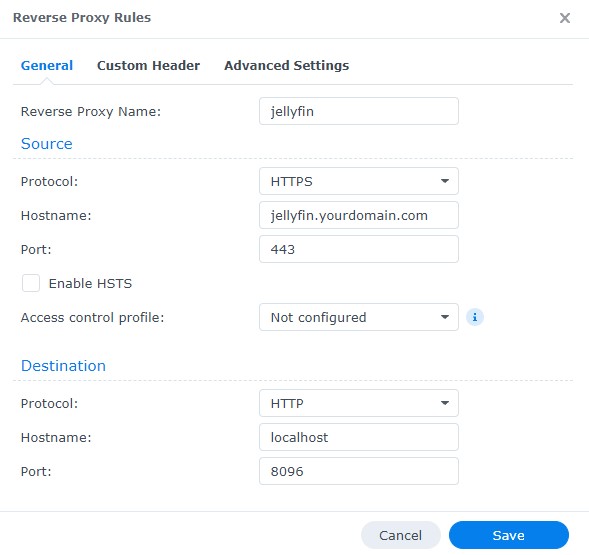
Example URL: https://jellyfin.yourdomain.comVPN: Jellyfin Remote Access
The most secure way of accessing Jellyfin remotely is by utilizing a VPN. A VPN will allow you to access your local network from external locations by utilizing a secure tunnel from your device to your home network.
Some of the most common VPN options are OpenVPN (Raspberry Pi, UniFi, pfSense) and WireGuard (Raspberry Pi, UniFi, pfSense, OPNsense). Please keep in mind that these options require port forwarding on your router, so if you can’t port forward, you’ll have to utilize a zero-config VPN like Tailscale.
As soon as you connect to the VPN, you’ll access Jellyfin the same way that you do when you’re at home.
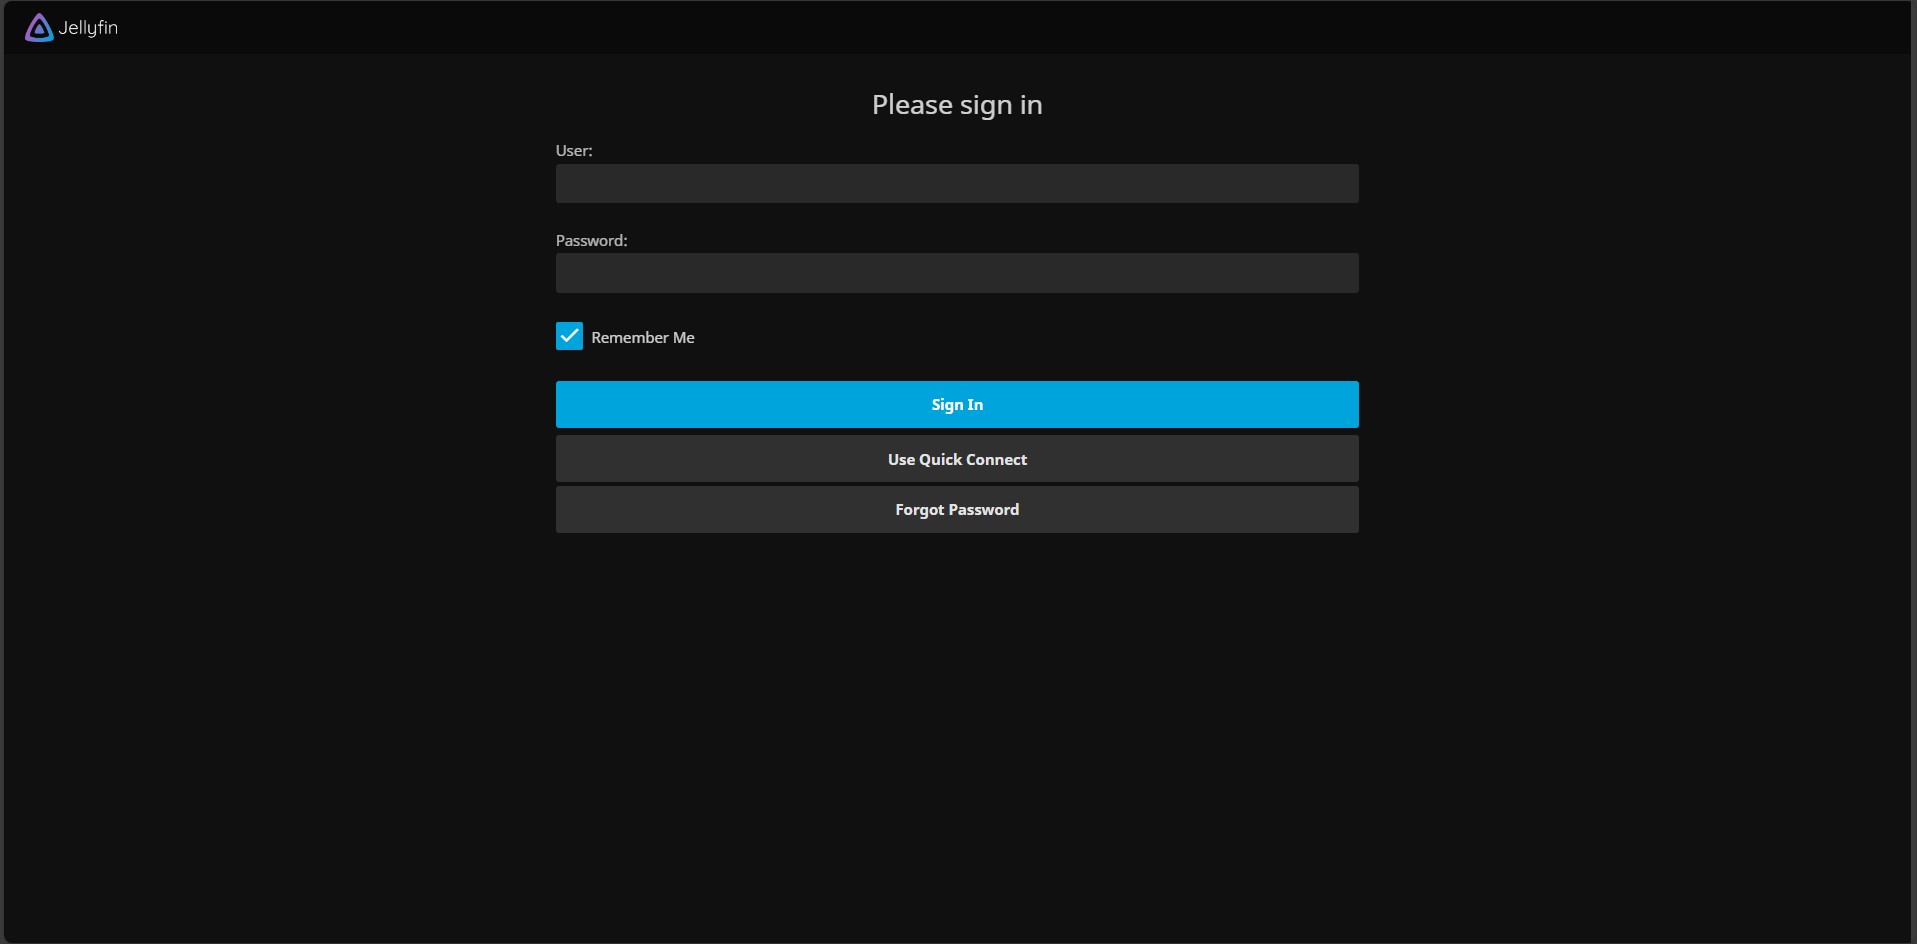
While this method increases the overall security (and is the most secure option you can use), you’re decreasing accessibility because you have to connect to the VPN first before accessing Jellyfin.
This means that if you’re using a smart TV or streaming platform (Fire TV, Apple TV, etc), accessing the Jellyfin server is done after connecting to the VPN (assuming there is a VPN app on the device).
For mobile devices like phones or tablets, this isn’t difficult because you’ll connect to the VPN app, and then connect to Jellyfin.
Example WireGuard Configuration for Android
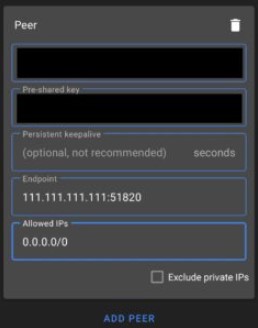
For smart TVs or streaming platforms (Fire TV, Apple TV, etc), this will be cumbersome because you need to connect, and then stream your media, which the user interface isn’t really designed for. For this reason, it’s either the best option or not the best option, depending on exactly how you’ll be connecting.
Example URL: http://jellyfin_ip_address:8096Conclusion: How to Access Jellyfin Remotely
There isn’t a best way to access Jellyfin remotely. In general, you’ll have to check out your requirements and then determine which way makes the most sense. If your workflow supports a VPN, I consider it to be the best and most secure option, but you really need to determine if connecting to it first makes sense.
With that said, utilizing a reverse proxy to access Jellyfin remotely is a great overall option as well, as you don’t have to worry about VPN connections before streaming your media.
Thanks for checking out the tutorial on how to access Jellyfin remotely. If you have any questions on how to access Jellyfin remotely, please leave them in the comments!


