This tutorial will take a look at how to install Plex on a Synology NAS. Plex is one of the best applications that you can run on a Synology NAS. In general, most people who purchase a Synology NAS store their media files in a shared folder, which makes this the best place to run Plex. This setup guide will walk you through the entire process of installing and configuring Plex on a Synology NAS.
Video on How to Install Plex on a Synology NAS
This is a video I created a few years ago on installing Plex on a Synology NAS, but the process hasn’t changed at all. This will walk you through the entire process, but if you’d like written instructions, please follow the steps below!
How to Install and Configure Plex on a Synology NAS
Plex can be installed by utilizing the package inside Synology’s Package Center, and while Docker is required for hardware acceleration, most users won’t use that. Not only because and most Synology devices won’t support it (any Ryzen-based Synology device will not support hardware acceleration).
Step 1: Installing Plex in the Synology Package Center
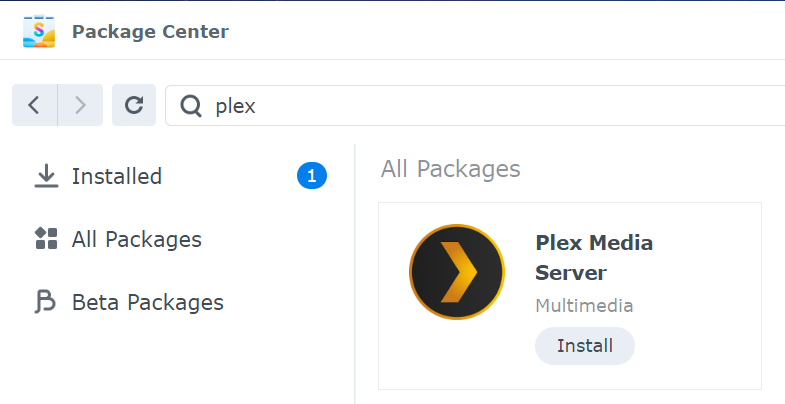
1. Navigate to the Package Center, then search for Plex and install it. The package will download.
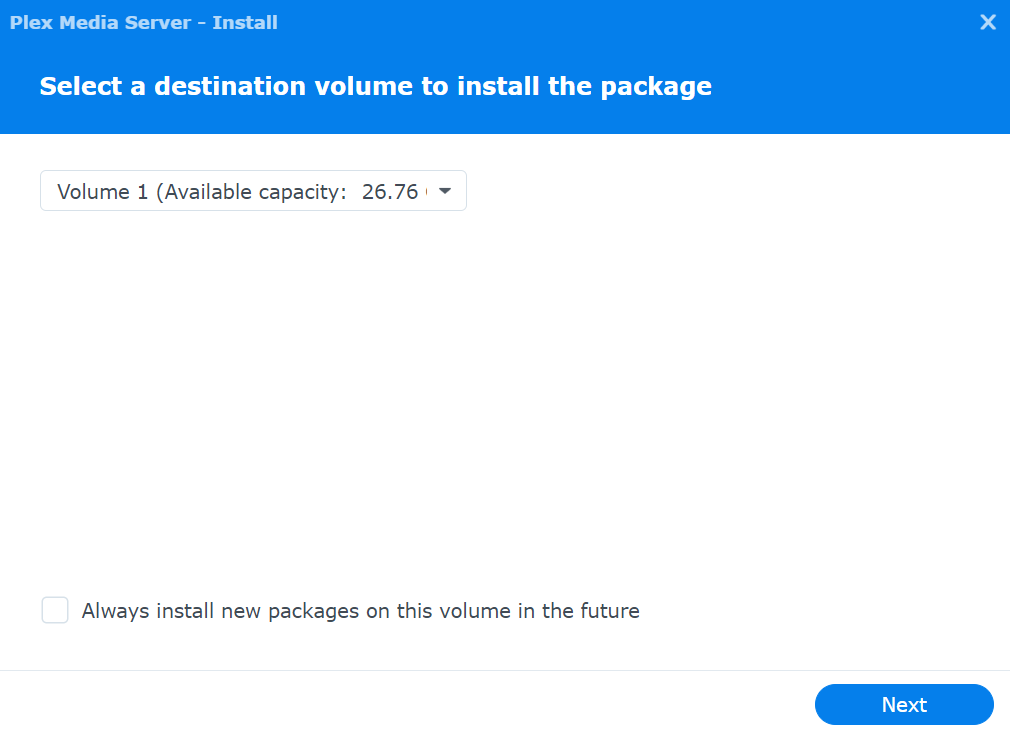
2. Select the volume that Plex should be installed on (you may have completed this step with a prior Package Center install already), then select Next.
Step 2: Claiming the Plex Server with your User Account
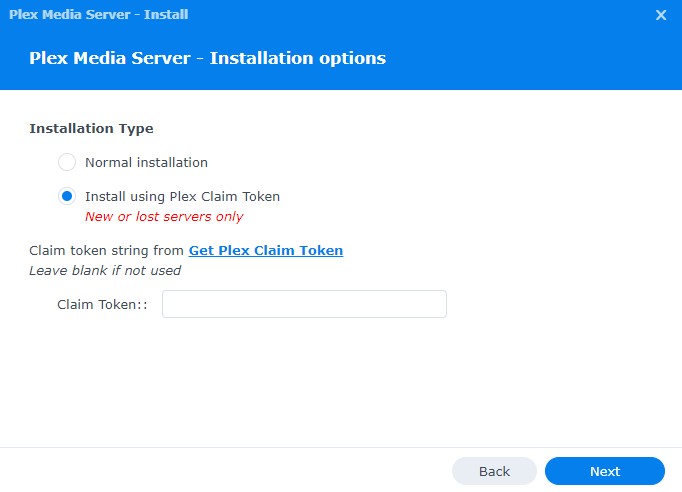
3. You will be prompted with two options. The first is to run the normal installation and claim the server (link it to your Plex user account), or do that at a later time and run the normal installation.
It’s generally easiest to claim the server now so that it’s automatically attributed to your Plex user account as soon as the installation finishes. Select Install using Plex Claim Token and then click Get Plex Claim Token.
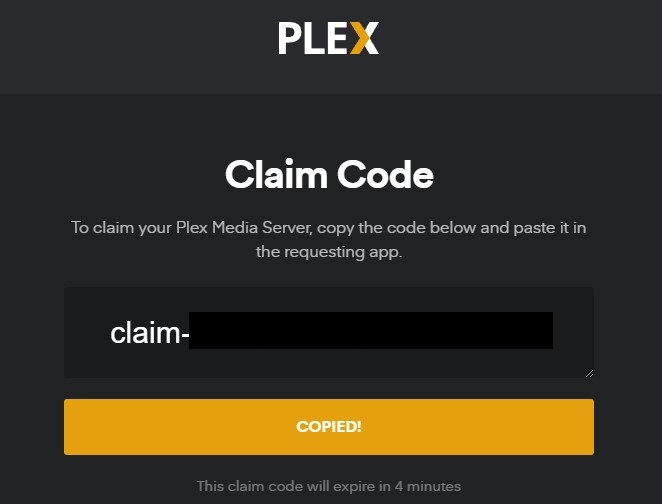
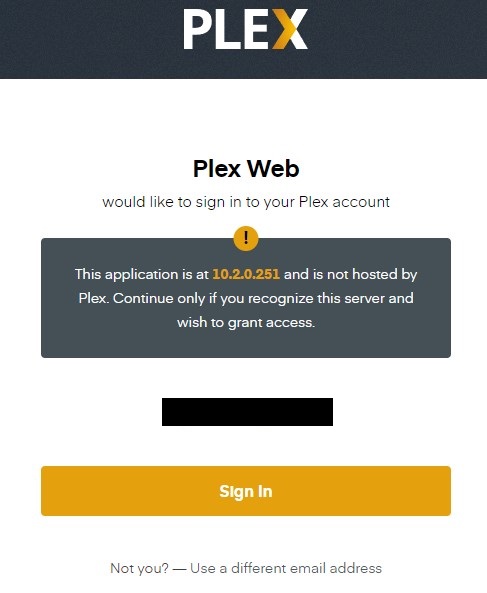
4. Sign in to your Plex user account.

5. After you sign in, a claim token will be shown. Copy the claim code.
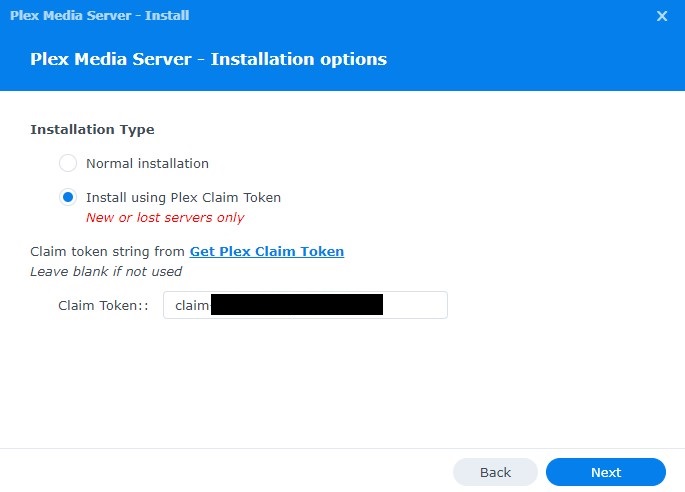
6. In the Plex install section, paste the claim code and select Next.
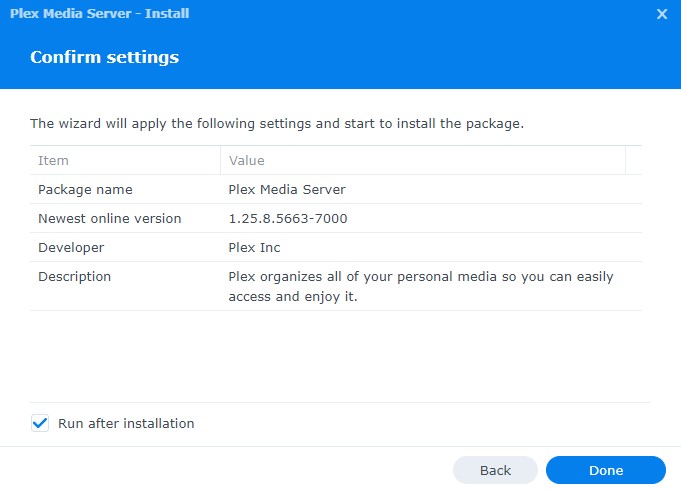
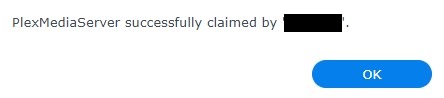
7. Select Done to install Plex on your Synology NAS! Plex will take a few minutes to fully install and when it’s done, you’ll see that it’s successfully claimed by your user account.
This is how the Synology Plex server will look when it’s successfully claimed.
Step 3: Granting User Permissions for your Media
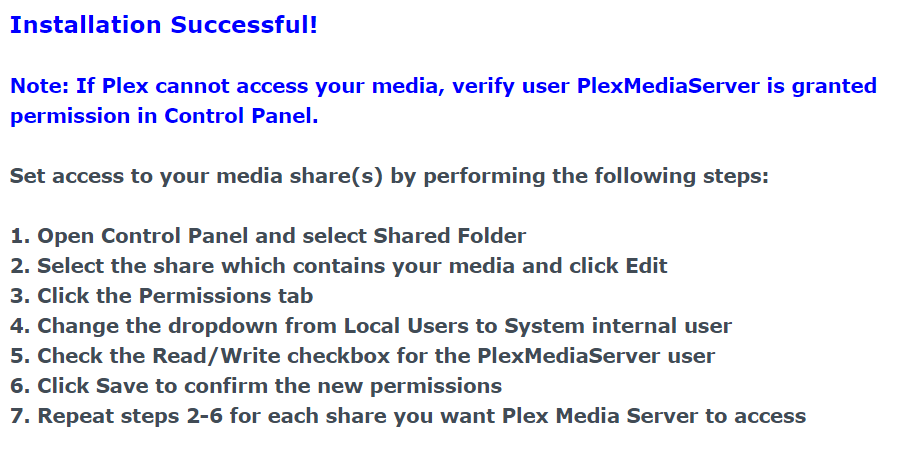
8. You will receive a message stating that permission must be granted in order for Plex to access your media. There are very clear instructions given by the Plex package, but the main thing you need to do is modify the permissions of the shared folders where Plex will be reading your media, and give the PlexMediaServer user the correct permissions.
If you do not modify the permissions, Plex will not be able to see your media files!
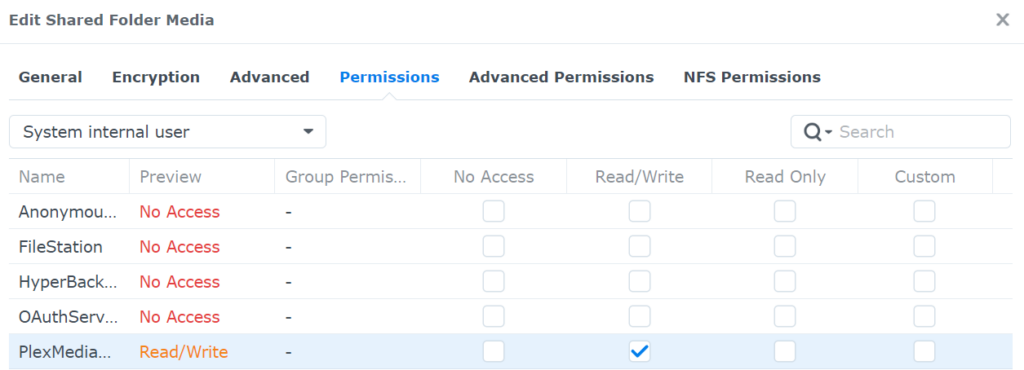
Example of permissions being altered
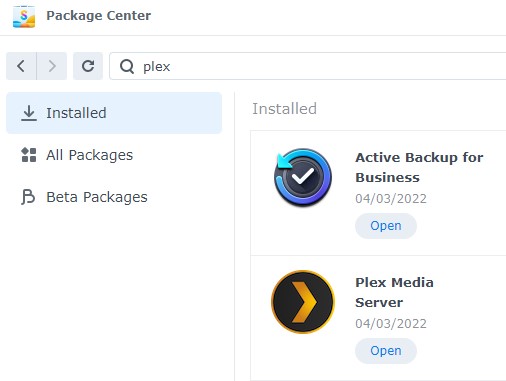
9. After the permissions have been altered, open the Package Center, then select Open to launch Plex. Skip down to the media creation step to continue.
Step 4: Configuring Plex to Read your Media Files
You’ll receive a message stating that Plex would like to sign into your user account. Sign in to proceed.
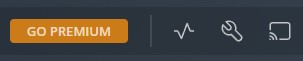
10. Plex will automatically bring you to the home page. Select Settings in the top right (wrench icon).
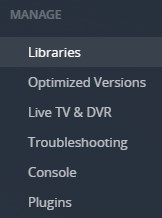
11. Scroll down on the left-hand side and select Libraries.
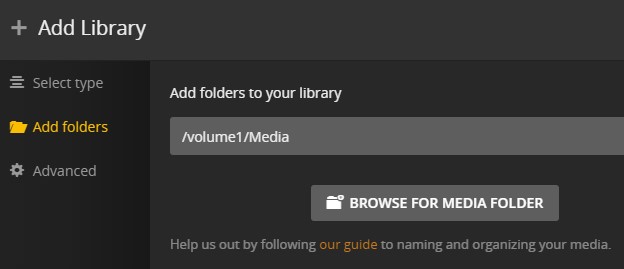
12. Select Add Library, then select the Library Type and add the folder. You’ll have to navigate to the volume you have (most people will have their media in /volume1), then the actual folder holding the media. Please keep in mind that you’ll have to create one for each media type (Movies, TV Shows, Music).
13. Your media files will now start to crawl in the covers and titles! If you ever need to update Plex, you can do that by downloading the package and installing it!
Conclusion & Final Thoughts on the Synology NAS Plex Setup
Plex is arguably the best media server that you can use, and fortunately, the Package makes it extremely easy to install. If you’d like to use Hardware Acceleration (not shown in this tutorial), you’ll be forced to use Docker as the Plex package does not support it, but the package installation method above is great for almost everyone.
Thanks so much for checking out the tutorial on how to install Plex on a Synology NAS!