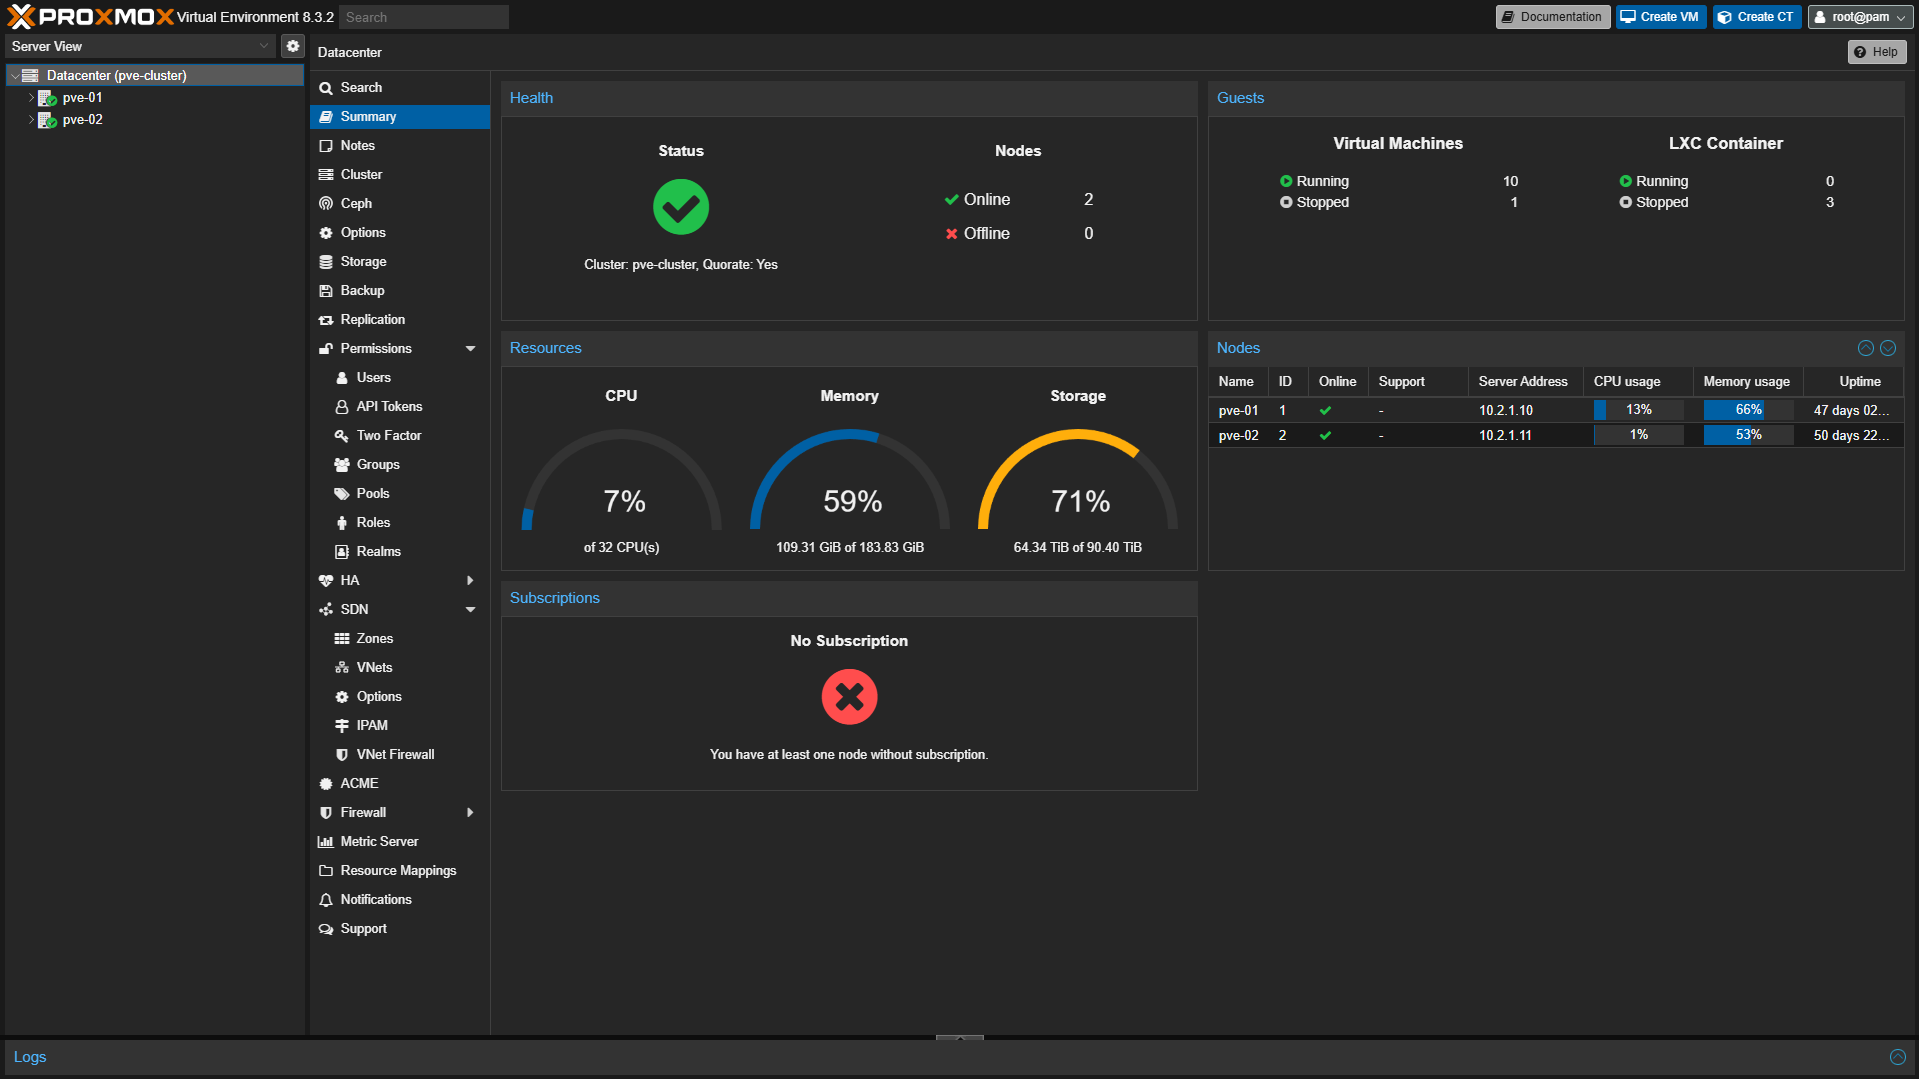
In this article, we’re going to look at how to set up Docker in Proxmox. One of the most common questions you’ll run into when trying to configure Docker in Proxmox is whether you should use a VM (virtual machine) or LXC (Linux Container).
I’ve run Docker using both a VM and an LXC for many years, and they are extremely different from a resource and security perspective, but there’s one clear answer. In this article, we’ll look at whether you should use a VM or LXC for Docker in Proxmox and then how to set up Docker in Proxmox.
Should You Use a VM or LXC in Proxmox for Docker?
Running Docker in Proxmox on a Linux Container saves resources on the host, is faster, and, quite honestly, there’s no other reason to use LXC. In fact, the Proxmox team recommends that you use a VM rather than LXC so that you have the benefit of application containerization. This provides better isolation from the host, increasing the overall hypervisor’s security.
The downside is that a VM uses a fixed set of resources, so if you associate 2GB of RAM with the VM, it will always use 2GB of RAM. With an LXC, you’ll only utilize what the LXC actually needs. This is a huge benefit, which comes along with faster boot speeds, so from a resource usage perspective, an LXC beats out a VM every time. The downside is that from a security perspective, a VM is better isolated (and thus, provides better overall security).
For these reasons, it’s best to use a VM, and that’s what I’ll be recommending. I’ve set up and used LXC containers and had no real issues with them if that’s the path you’d like to take, but for most, a VM is the better option.
How to Set Up Docker in Proxmox
This tutorial to configure a virtual machine for Docker in Proxmox utilizes Ubuntu Server, but you can use just about any distribution you’d like.
Installing the OS on a Virtual Machine (VM)
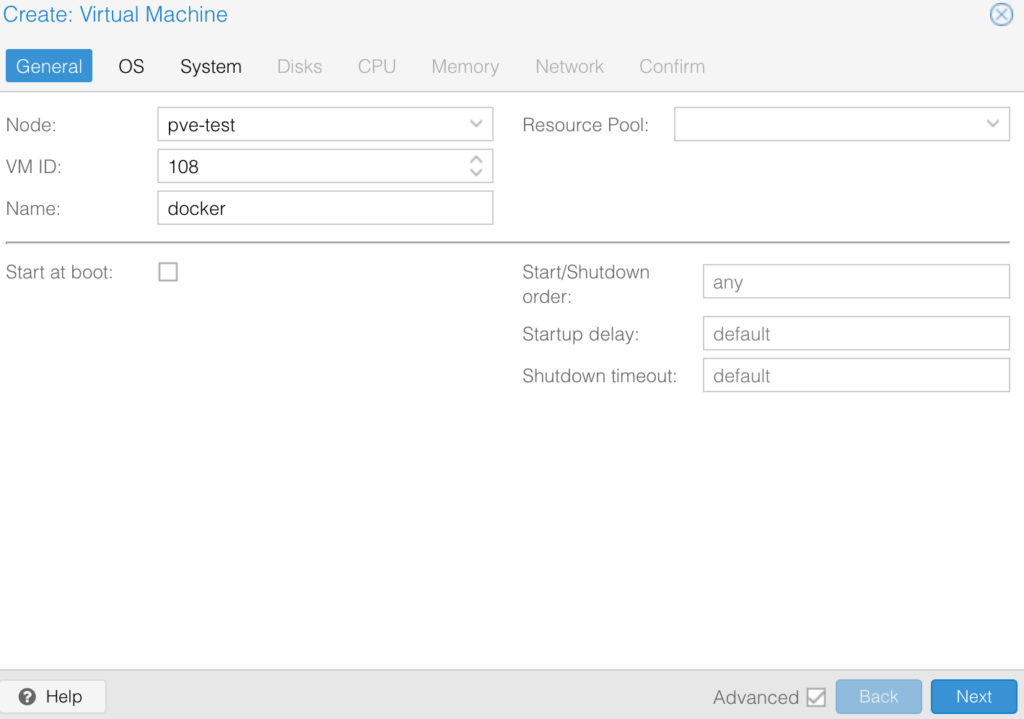
1. Download the ISO image of the operating system you’d like to install, select Create VM, then give the VM a name and select Next.
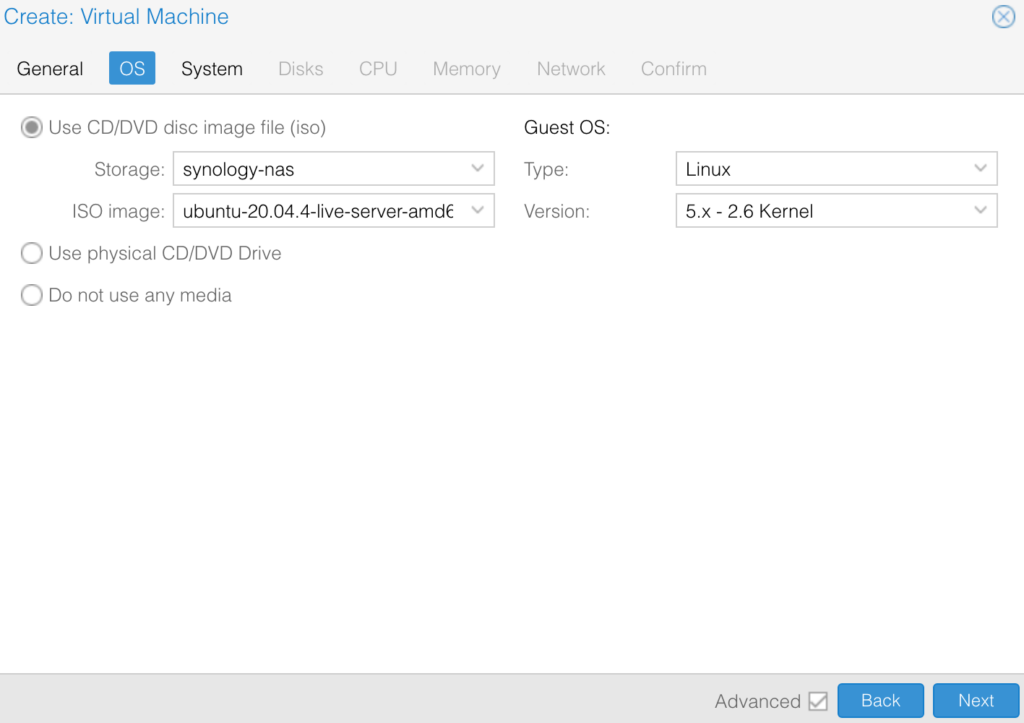
2. Select the Storage location, then the ISO Image, and select Next.
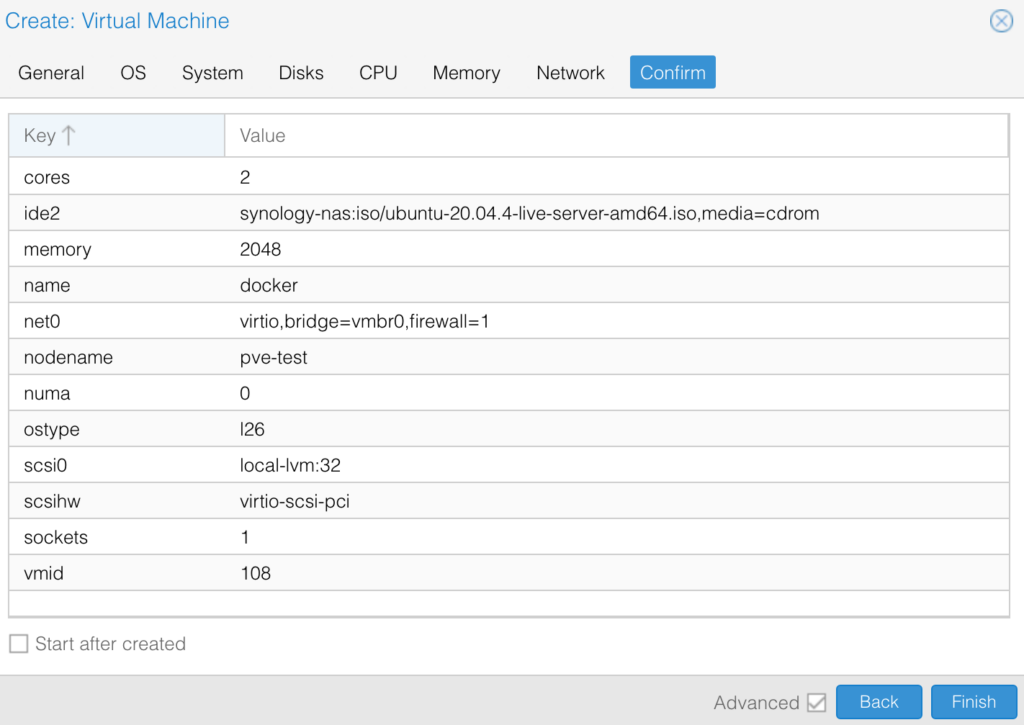
3. Change the System, Disks, CPU, Memory, and Network. After all of the settings have been configured to your specifications, confirm the settings and create the VM!
4. At this point, the operating system will start up, and you can begin to configure it. This will be dependent on the settings you’d like to use (user account name, server name, etc), but run through the installation process and then move on to configuring Docker.
Installing and Configuring Docker and Portainer on the OS
1. After the container or VM starts, log in with the username root and password set in step four (of the LXC configuration) or the account configured with the VM. Run the command below to update the system before installing Docker in Proxmox.
apt update && apt upgrade -y2. After the system is updated, run each of the commands below one by one. These are taken directly from the official Docker documentation and are the prerequisites needed to install the latest version.
sudo apt-get updatesudo apt-get install ca-certificates curlsudo install -m 0755 -d /etc/apt/keyringssudo curl -fsSL https://download.docker.com/linux/ubuntu/gpg -o /etc/apt/keyrings/docker.ascsudo chmod a+r /etc/apt/keyrings/docker.ascAfter the commands above are run, copy and run the entire command below.
echo \
  "deb [arch=$(dpkg --print-architecture) signed-by=/etc/apt/keyrings/docker.asc] https://download.docker.com/linux/ubuntu \
  $(. /etc/os-release && echo "$VERSION_CODENAME") stable" | \
  sudo tee /etc/apt/sources.list.d/docker.list > /dev/null
Finally, update the system.
sudo apt-get update3. After all of the commands above have been run, run the command below to install!
sudo apt-get install docker-ce docker-ce-cli containerd.io docker-buildx-plugin docker-compose-plugin4. At this point, Docker is fully configured, and you’ll be able to create Containers. However, if you’d like a GUI, you can install Portainer using the command below.
docker run -d -p 9000:9000 -p 9443:9443 --name portainer --restart=always -v /var/run/docker.sock:/var/run/docker.sock -v portainer_data:/data portainer/portainer-ce:latest5. If you did install Portainer (and after it’s created), you’ll be able to access Portainer using the IP address of the container and port 9000 (HTTP) or 9443 (HTTPS).
http://[CONTAINER_IP]:9000
https://[CONTAINER_IP]:9443
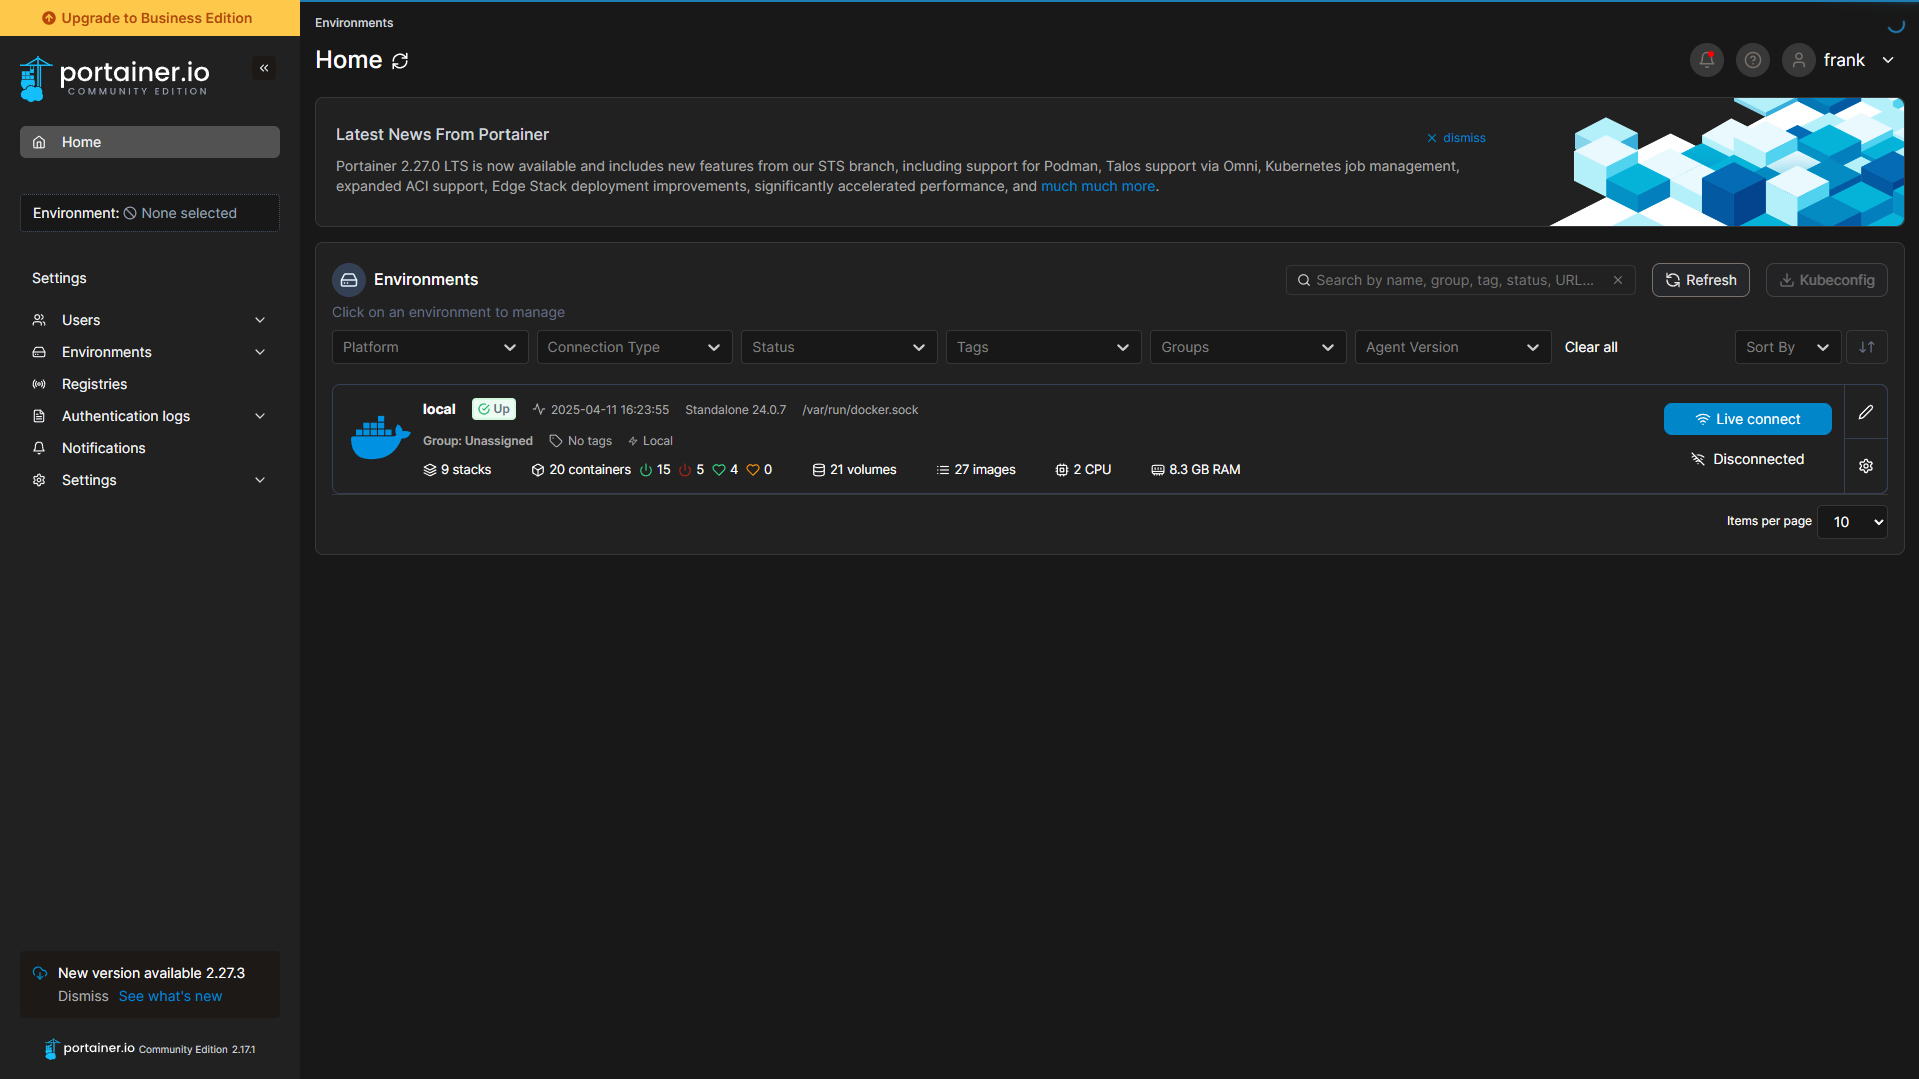
6. Run through the setup process for your user account, and then you can start configuring Docker Containers in Portainer!
Conclusion & Final Thoughts on Docker Containers in Proxmox
Overall, I’ve run Docker on just about every operating system you can imagine. From Raspberry Pi’s, to Synology NAS devices, to TrueNAS, Unraid, and more. This is my favorite way to run Docker, and is the way that I personally run it. With the simplicity for backups and the speed and performance of running Docker in Proxmox, there’s no better option. Thanks for checking out the tutorial on how to set up Docker in Proxmox!
If you’re interested in implementing any Docker Containers, check out our collection of Docker setup guides!