In this tutorial, we will look at how to set up Nextcloud on a Synology NAS. Nextcloud is an extremely popular program but is something that most Synology users don’t implement because there isn’t a default package, and first-party Synology applications like Synology Drive are great.
However, the biggest downside of first-party Synology applications is that you need a Synology for them to operate. When you use a program like Nextcloud, that will no longer be a requirement, meaning that if you purchase a separate device like a TerraMaster NAS or decide to build your own, you’ll be able to migrate your Nextcloud instance to the new device. For this reason, it’s a good idea to at least consider running Nextcloud on your Synology NAS.
If you follow the tutorial below on how to set up Nextcloud on a Synology NAS, you must be willing to install Portainer on your NAS!
How to Set Up Nextcloud on a Synology NAS
We will look at how to set up Nextcloud on a Synology NAS below utilizing Docker and Portainer to install the application. This allows you to easily migrate the application to a separate device in the future if ever needed.
The container that we’ll be creating must be mounted to existing folders on the Synology NAS. These folders are where all of the important Nextcloud data will be stored. Therefore, if you ever want to migrate this Nextcloud instance to a new device, you’ll have to migrate this data as well.
1. Log in to DSM, open File Station, select the docker folder, then create a new subfolder named Nextcloud.

2. Create two subfolders inside of the Nextcloud folder named config and database,

3. After these folders are created, you can move on to the next step which will be the container configuration.
Nextcloud Container Configuration
Due to how Nextcloud operates (meaning that it uses a database), it’s easiest to configure this with Portainer. I have a full tutorial created for the Portainer setup, so that is a prerequisite that must be configured before proceeding.
1. Configure Portainer and make sure that you navigate to the management UI.

2. Select Stacks, then Add Stack to create a new stack. This is what we’ll use to create the Nextcloud container and database.
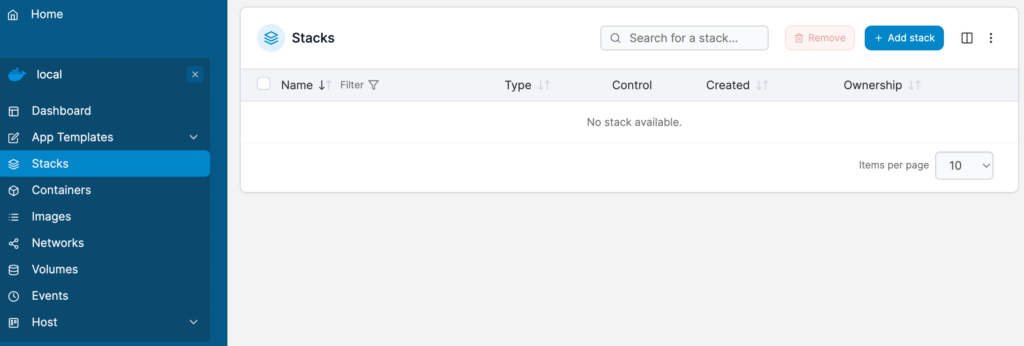
3. Create the stack and set the name as nextcloud.

4. Paste the contents below into the web editor. A few notes:
- If you have multiple volumes on your Synology NAS, you might have to update the volume1 locations below.
- You should update the passwords below. Make sure the MYSQL_PASSWORD matches for the Database and Nextcloud container.
- The volume mounts are case-sensitive, so make sure the folder created on your NAS matches what’s below.
version: '2'

services:
  db:
    image: mariadb:10.5
    restart: always
    command: --transaction-isolation=READ-COMMITTED --binlog-format=ROW
    volumes:
      - /volume1/docker/Nextcloud/database:/var/lib/mysql
    environment:
      - MYSQL_ROOT_PASSWORD=password
      - MYSQL_PASSWORD=password
      - MYSQL_DATABASE=nextcloud
      - MYSQL_USER=nextcloud

  app:
    image: nextcloud
    restart: always
    ports:
      - 8080:80
    links:
      - db
    volumes:
      - /volume1/docker/Nextcloud/config:/var/www/html
    environment:
      - MYSQL_PASSWORD=password
      - MYSQL_DATABASE=nextcloud
      - MYSQL_USER=nextcloud
      - MYSQL_HOST=db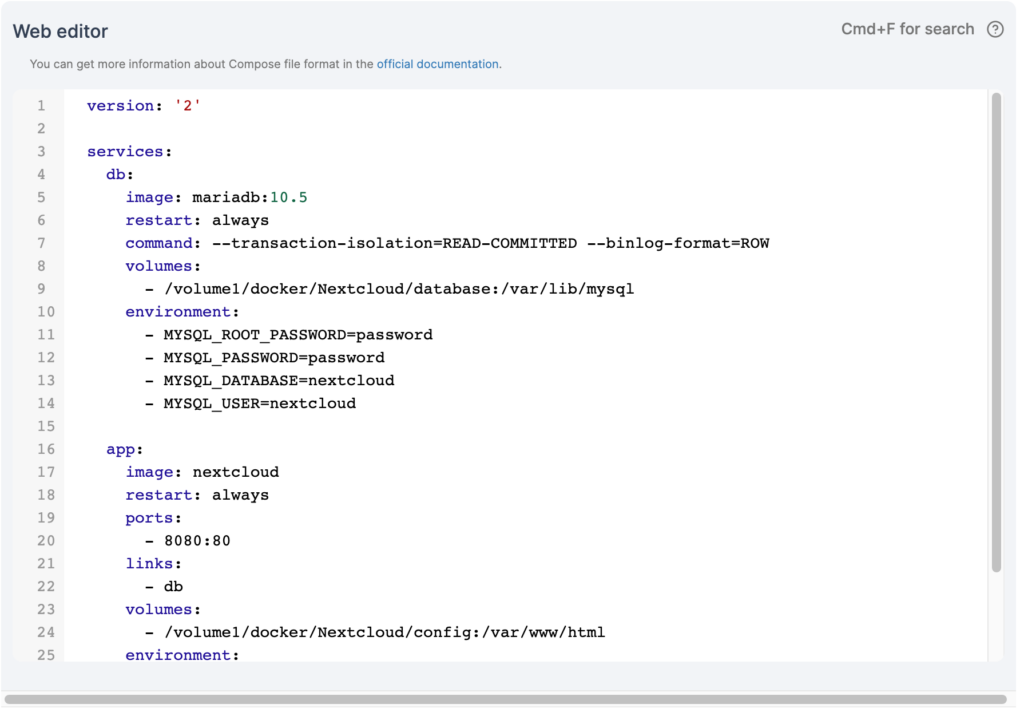
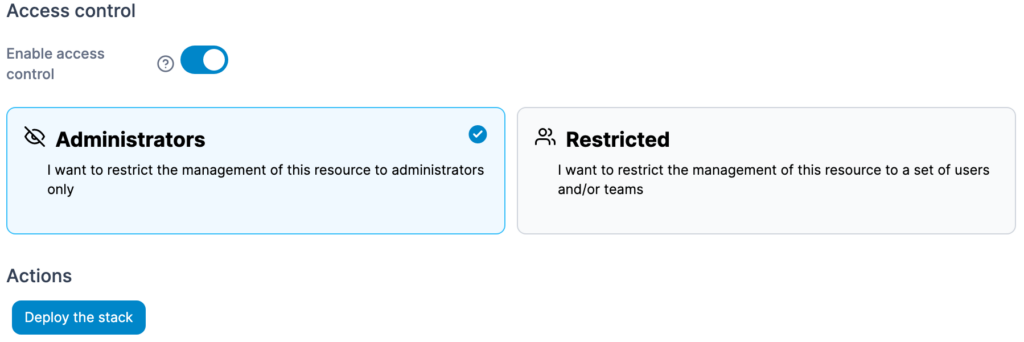
5. After all changes have been made, select Deploy the stack at the bottom to create the two containers.
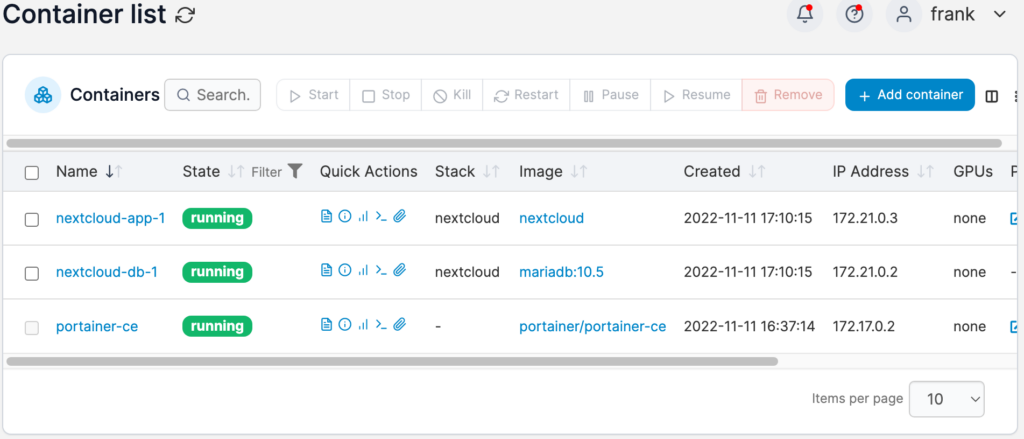
6. The container should now be created! You’ll have one for the Nextcloud container and one for the database.
NOTE: If you’re using Synology’s Firewall, make sure you create two allow rules for TCP ports 8080 and 3306. This is for the application and database.
Nextcloud Configuration
Now that the container has been created, we can proceed to configure Nextcloud.
1. Navigate to your Synology NAS’s IP address and port 8080. Set up a username and password at the first screen, then select Install.
http://[SYNOLOGY_NAS_IP]:8080

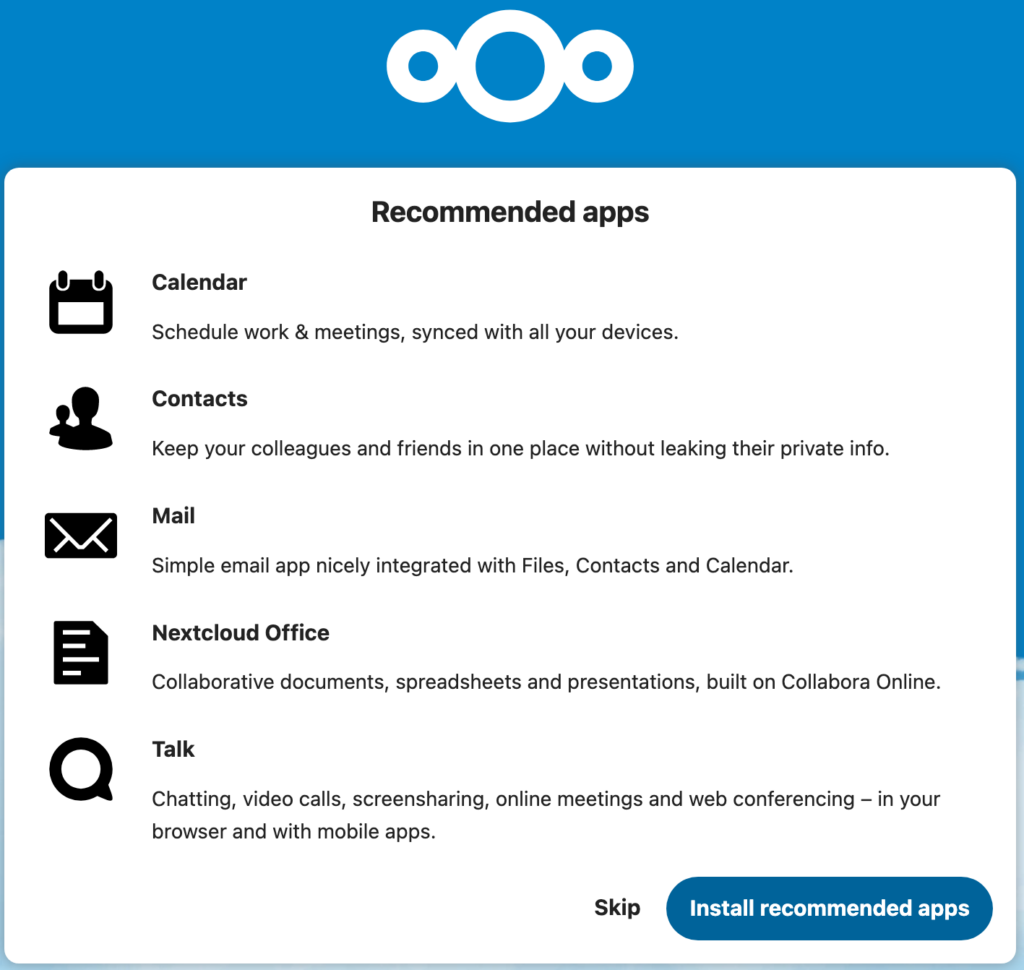
2. Install the recommended apps or skip this step. If you choose to install apps, this step will take a few minutes.
3. Nextcloud will now be ready to use!

Nextcloud Remote Access
After configuring Nextcloud, one of the most important things is being able to access it remotely. While you can use it locally only, you’ll soon find that accessing it remotely is extremely helpful. There are many ways to access Nextcloud remotely, but the two options below are my favorite.
VPN Server
When you access Nextcloud using a VPN, you connect to the VPN, then access Nextcloud the same way you do locally. This is helpful because VPNs are inherently safe, and you’ll be able to access any services you have on your local network (not only Nextcloud). I prefer running VPN servers on my router (if possible), however, there are two ways to configure it on your Synology NAS:
If you are comfortable port forwarding, you can configure OpenVPN on a Synology NAS.
If you’d rather not port forward (or can’t), you can configure Tailscale which is a zero-configuration VPN.
Reverse Proxy
The final option you can utilize is a reverse proxy. I generally prefer utilizing a VPN, but in certain scenarios, that’s not an option which makes a reverse proxy very helpful.
Conclusion & Final Thoughts
This tutorial looks at how to set up Nextcloud on a Synology NAS. The process is extremely easy with Portainer as it allows us to utilize Docker Compose. You can also utilize Docker Compose through SSH as well, but the process is a little cleaner with Portainer in my opinion. Please make sure that the folders configured are backed up properly as they will hold all of the Nextcloud data.
Thanks for checking out the tutorial on how to set up Nextcloud on a Synology NAS. If you have any questions on how to set up Nextcloud on a Synology NAS, please leave them in the comments!

