These instructions will explain how to install Pi-hole on a Raspberry Pi. Using a Raspberry Pi as a DNS server is one of the most cost-effective ways to add a DNS server to your environment. Before we look at how to set it up, let’s look at exactly what it is.
Why Should You Install Pi-hole?
Pi-hole is a DNS sinkhole and installing it on a Raspberry Pi is one of the best places to run it thanks to a handy script that walks you through the whole process. As with all scripts, make sure that you review it to ensure that you’re comfortable running it.
There are many different systems that you can run Pi-hole on, and it’s always a good idea to have more than one DNS server (for redundancy purposes), so check out our other tutorials if you’re interested in running it on another device!
How to Install Pi-hole on a Raspberry Pi
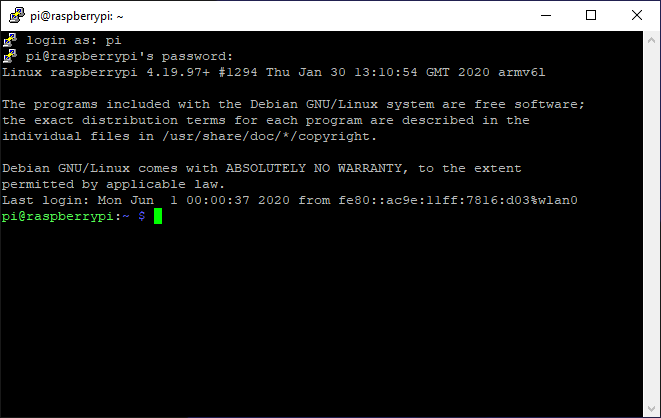
Before we look at how to install Pi-hole on a Raspberry Pi, ensure that you can SSH into your Raspberry Pi with a valid Raspberry Pi operating system.
If you aren’t sure how, please follow these instructions to install Raspbian (Raspberry Pi OS).

1. Run the command below to start the install process. Please review the script to ensure you’re comfortable running it before proceeding (I am not the creator of this script). You can also use this script to update Pi-hole in the future if you’d like.
curl -sSL https://install.pi-hole.net | bash
2. Press Enter until you get to the Static IP address setup. It is extremely important for Pi-hole to have a static IP address. It’s recommended to set up a static IP on your router, but you can do it inside of the setup process as well at a later step.

3. Select the correct interface to use.

4. If you didn’t set a static IP address above, you can either use the existing settings, set your own, or skip this step.

5. Select an Upstream DNS Provider. The Upstream DNS Provider is where DNS requests (which are not found locally) will be forwarded.

6. Select Yes to use the default block list. Please keep in mind that this can be configured later, and you do not have to use this list if you don’t want to.

7. Select Yes to install the admin interface. This is how you’ll manage Pi-hole.

8. Select Yes to install the Admin Web Interface.

9. Query logging is a personal preference (this is what will determine if DNS requests are logged), so select Yes or No based on your preference.

10. If you selected yes above, you’ll be asked to determine the privacy of DNS requests. Select the option you’d like, then press Continue.

11. The install process will now start! Give it a few minutes to ensure that it’s fully configured. When it’s complete, you’ll receive a confirmation page where you can select OK to proceed. Please note the password given so that you can log in to the web interface!

Connecting to Pi-hole & DNS Configuration
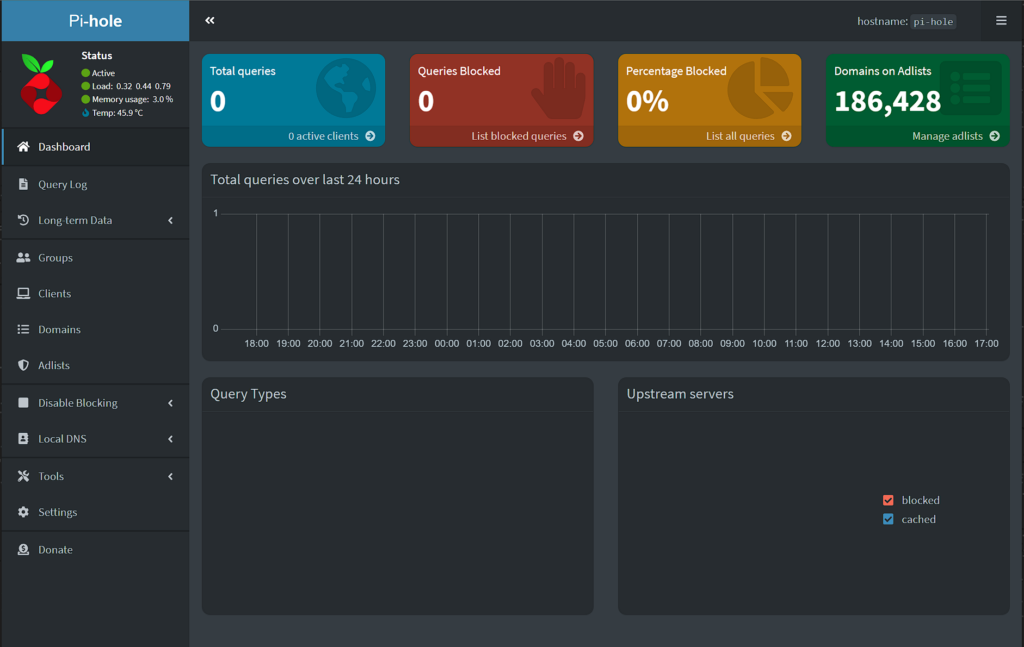
1. Connect to the admin webpage at one of the addresses below:
http://pi.hole/admin http://[IP_ADDRESS]/admin.
2. Pi-hole is now successfully installed and accessible. It is now necessary for you to point your devices to this DNS server. The first way of doing this is by configuring each device to use your newly created DNS server.
The second option is to configure your router to use your Pi-hole DNS server by default, which is my preferred method. Configuring the system this way forces all devices to automatically use this DNS server, which means any device connected to your router will automatically be using Pi-hole!
NOTE: The screenshot below is old, so using the information above, the IP address of the DNS server would be 10.2.0.196 as opposed to 192.168.1.197.

3. After you configure your systems, you have a few different options: you can add new blacklists, whitelist specific sites, add local DNS records, etc. At this point, Pi-hole is fully configured and should be blocking ads (assuming the block lists are configured properly)!
DNS Servers & Importance of Redundancy
Now that we looked at how to install Pi-hole on a Raspberry Pi, it’s important to note that if you use one DNS server only (meaning an individual Raspberry Pi), you’ll lose DNS resolution when you reboot the Raspberry Pi.
For most networks, redundant (two total) DNS servers will be more than enough, but there are cases where people will run as many as three or more DNS servers. This allows any of the devices to go down, and as long as one DNS server is available, the network will not lose DNS resolution.
Losing DNS resolution has similar symptoms to losing internet. The best way to test is to use an nslookup and ping command as shown below.
nslookup google.com
ping 8.8.8.8
If you do NOT get an IP address response from the nslookup command but DO get a response from the ping command, you do NOT have DNS resolution.
Conclusion & Final Thoughts on Installing Pi-hole
This tutorial explained how to install Pi-hole on a Raspberry Pi. The best reason to install Pi-hole is that an older or less powerful Pi is perfectly capable of handling the DNS load, so an old device can be repurposed for this reason.
Thank you for checking out the tutorial on how to install Pi-hole on a Raspberry Pi. If you have any questions, feel free to leave them in the comments!


