
In this tutorial, we are going to look at how to set up Pi-hole on a Synology NAS using Container Manager and a macvlan network interface. It is incredibly important to note that having redundant DNS servers is very important. Losing DNS resolution has similar consequences to losing internet from your ISP – you might think the internet is down, but you really just lost DNS resolution.
I highly suggest that you purchase a cheap Raspberry Pi and configure Pi-hole on it so that you have two DNS servers. This will ensure that when your NAS is rebooted, your clients do not lose DNS resolution services.
Video Tutorial on Installing Pi-hole on a Synology NAS
Watch our step-by-step video tutorial on how to set up Pi-hole on a Synology NAS. We’ve embedded our full YouTube walkthrough below.
How to Set Up & Configure Pi-hole on a Synology NAS
Before we configure the container for Pi-hole on a Synology NAS, we need to create a few folders which we’ll mount the container volumes.
Creating a Folder for the Pi-hole Configuration Files
The first step in configuring Pi-hole on a Synology NAS is creating the folders needed for the volume mappings (which store all the configuration for the container).
1. Install Container Manager from Synology’s Package Center. This will automatically create a docker shared folder on your NAS. This is what we’ll use to configure Pi-hole on a Synology NAS.
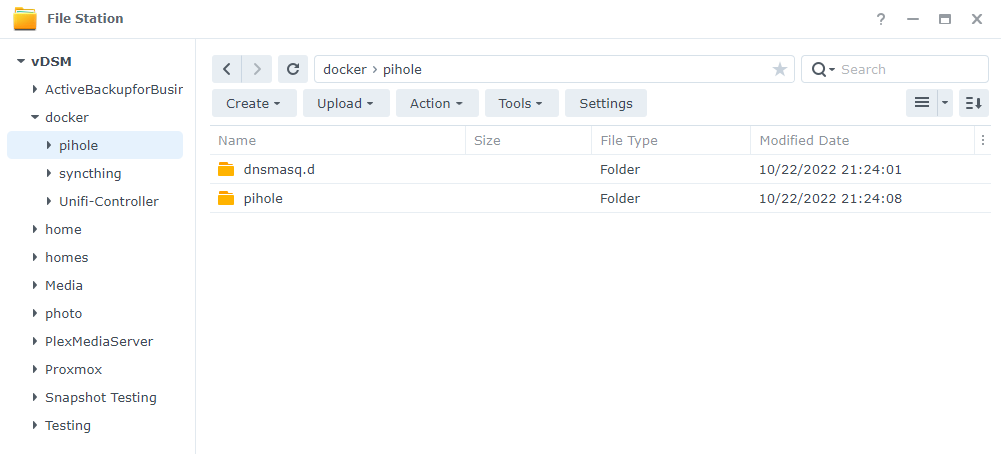
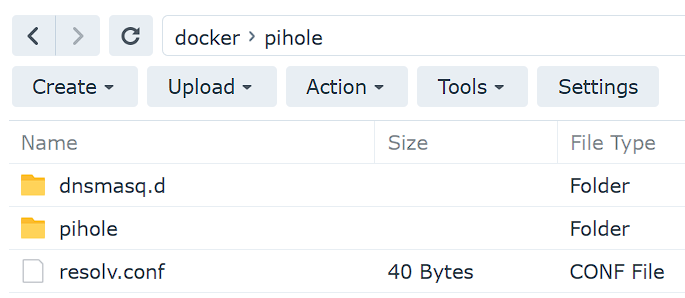
2. There are two folders that we will map our Docker image to that we need to create. Inside of the docker folder, we are going to create a folder named pihole.
Inside that folder, we are going to create two subfolders. Create one folder named pihole and another folder named dnsmasq.d. From a navigational perspective, the paths will look like this:

Pi-hole Container Creation with Docker Compose in Container Manager
We will be utilizing a Docker Compose file to create the entire container for Pi-hole on a Synology NAS, which will contain all of its configurations.
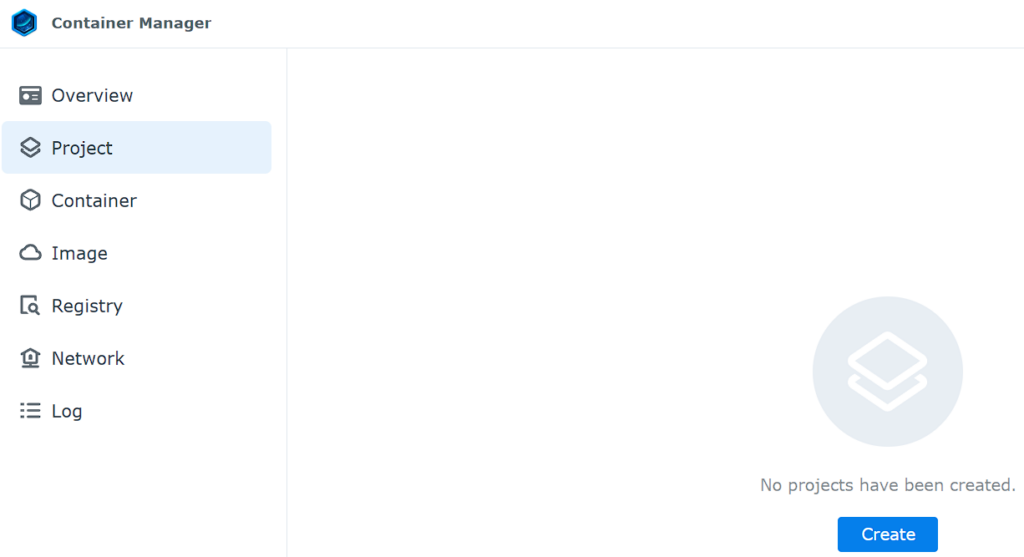
1. Open Container Manager, select Project, then Create.
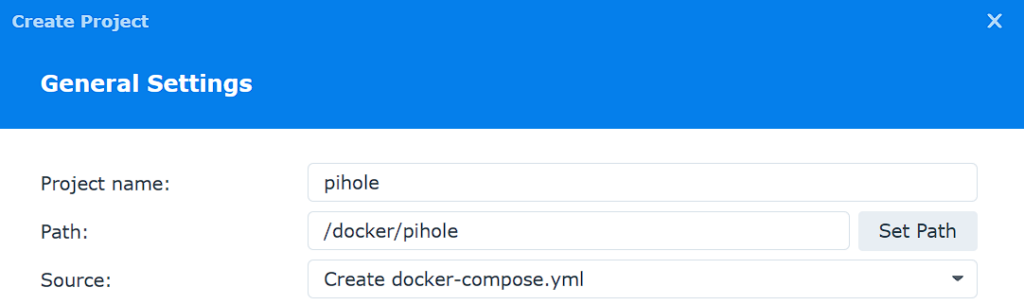
2. Enter pihole as the Project Name, then select the pihole folder and select Create docker-compose.yml.
3. There are a few changes you might have to make to the docker compose file before creating it:
You might have to update the interface name (eth0 below). You can get this by connecting to your NAS through SSH, and running the command below:
Substitute your subnet, as well as the IP address you’d like to use for Pi-hole (192.168.1.198).
ifconfig
Take the interface name related to your IP (eth0 and 192.168.1.220 is the IP address of the NAS in the image above) and substitute it in the Docker Compose file below. You might want to update the FTLCONF_webserver_api_password (new Pi-hole V6 requirement) and TZ as well.
version: "3"
services:
pihole:
container_name: pihole
image: pihole/pihole:latest
ports:
- "53:53/tcp"
- "53:53/udp"
- "67:67/udp"
- "80:80/tcp"
networks:
ph_network:
ipv4_address: 192.168.1.198
priority: 1000
ph_bridge:
ipv4_address: 192.168.100.2
priority: 900
environment:
TZ: 'America/Chicago'
FTLCONF_webserver_api_password: 'password'
DNSMASQ_LISTENING: local
volumes:
- '/volume1/docker/pihole/pihole:/etc/pihole'
- '/volume1/docker/pihole/dnsmasq.d:/etc/dnsmasq.d'
cap_add:
- NET_ADMIN
restart: unless-stopped
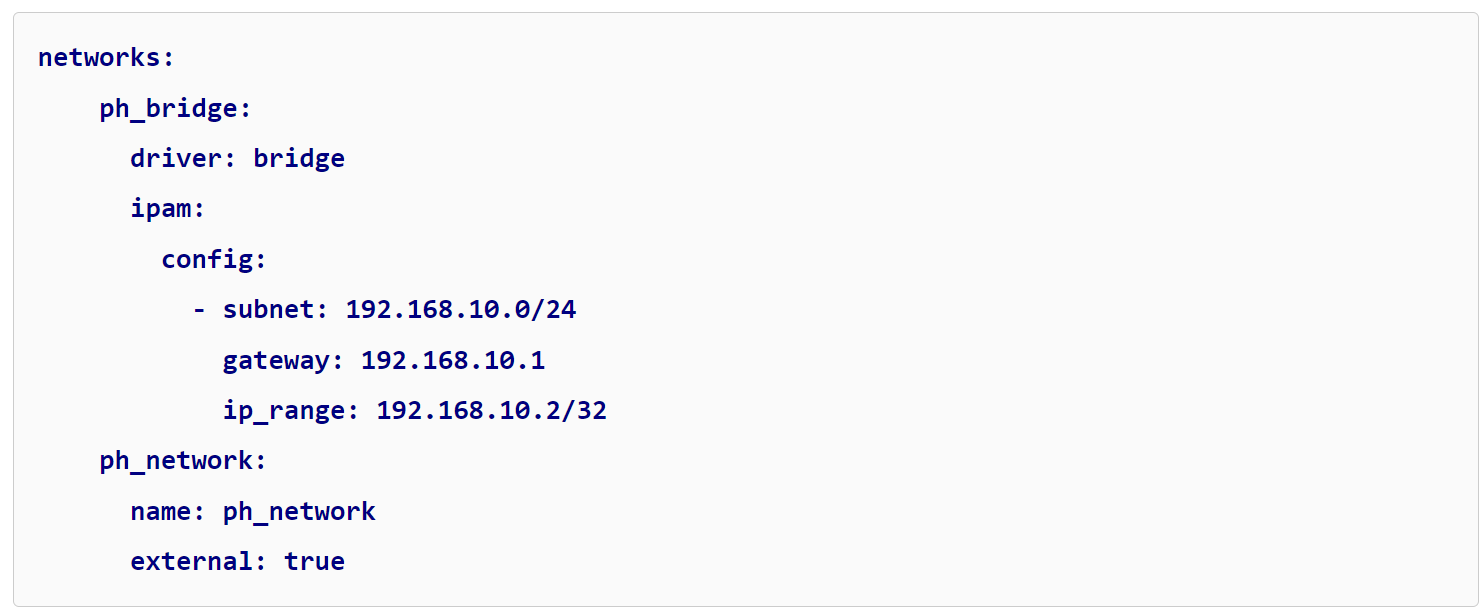
networks:
ph_bridge:
driver: bridge
ipam:
config:
- subnet: 192.168.100.0/24
gateway: 192.168.100.1
ip_range: 192.168.100.2/32
ph_network:
name: ph_network
driver: macvlan
driver_opts:
parent: eth0
ipam:
config:
- subnet: 192.168.1.0/24
ip_range: 192.168.1.0/24
gateway: 192.168.1.14. Add the Docker Compose file above with your changes to the editor, and select Next.
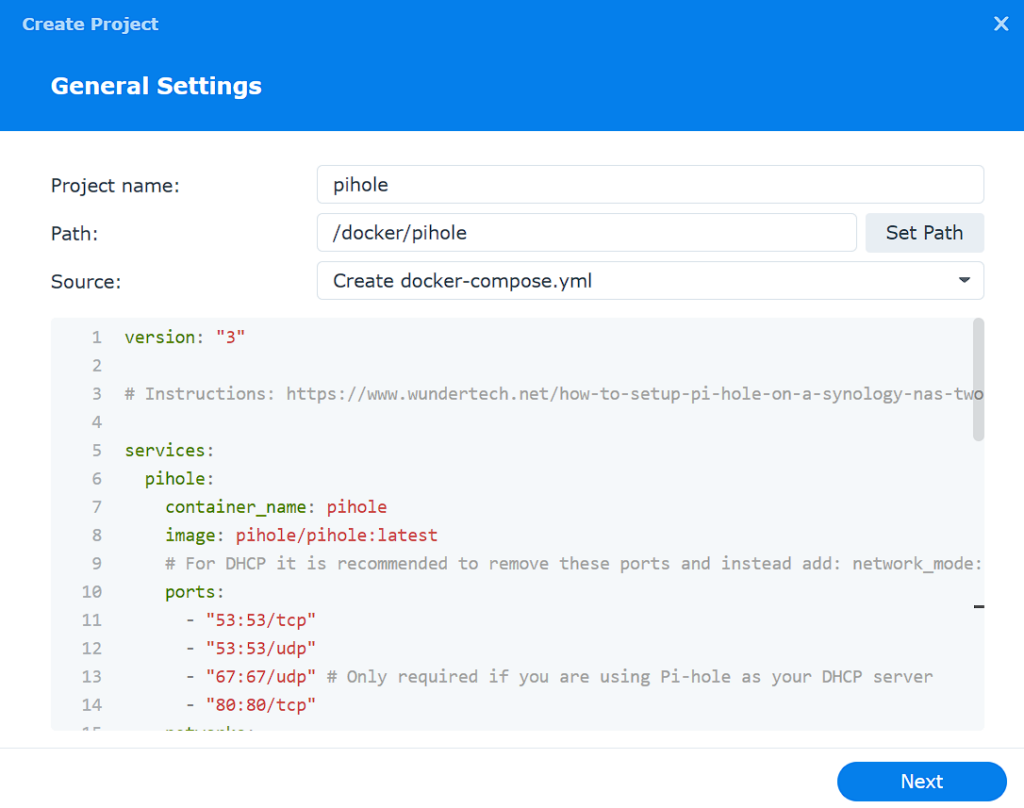
5. Select Next until you can view the summary, then select Done to create the container.
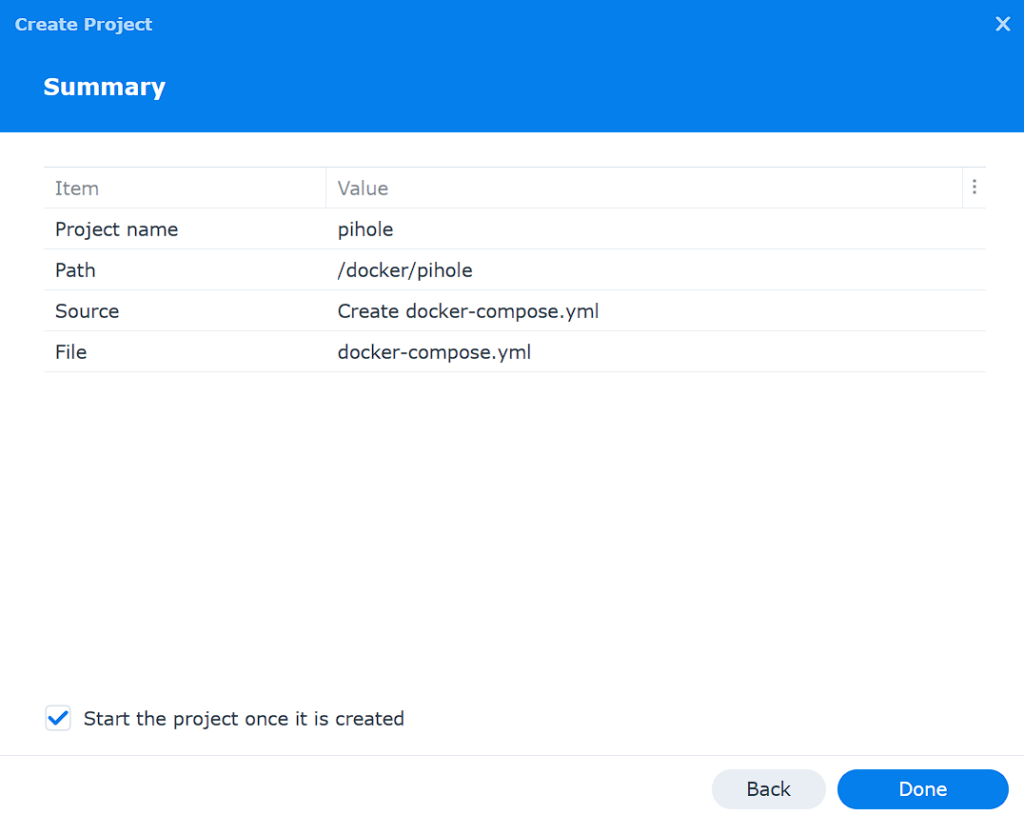
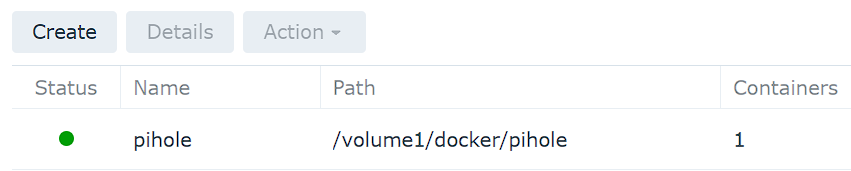
6. The container is now created and Pi-hole is running!
Accessing the Pi-hole Web Interface
Pi-hole is now installed and can be accessed by following the IP address of your macvlan network interface and signing in with the password specified above!
http://[ph_network_IP_ADDRESS]/admin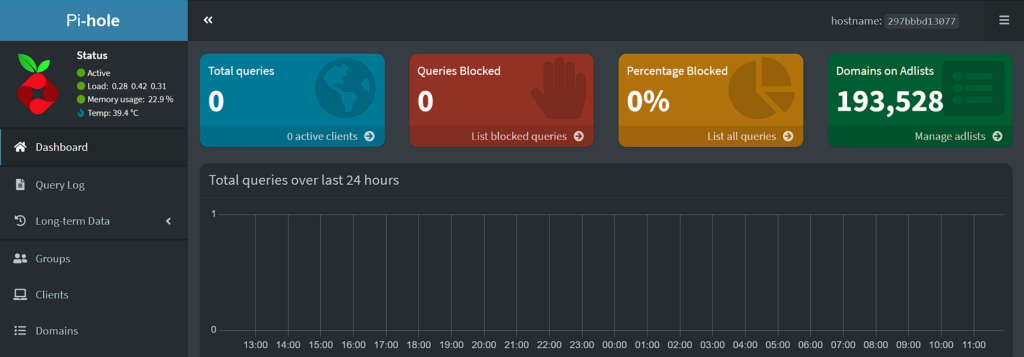
From here, you can configure Local DNS Records, and add or change various blocklists! Pi-hole is now functional, but there are still DNS changes that must be made.
Updating the DNS Server to Utilize Pi-hole for Ad-blocking
Now that the setup is complete for Pi-hole on a Synology NAS, we need to determine a way to point our clients to our DNS server. There are two main ways to do this:
- Point your router’s DNS server to your Pi-hole server IP address. This will ensure that any device connected will use Pi-hole as its DNS server.
- Point each client to your DNS server. This is beneficial if you only want certain clients to use Pi-hole as a DNS server.
I point my router’s DNS servers to my Pi-hole server as I want to ensure every device connects to it. This is different for every router, so you might have to look up where exactly it is on your device.
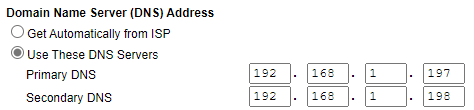
Now, all devices on my local network will automatically use these DNS servers and Pi-hole adblocking will work for all devices!
Synology NAS to Pi-hole Communication (Bridge Network Interface)
If you are interested in connecting directly from the NAS to the Container for DNS, you MUST use the Bridge network interface created in the Docker Compose file. This is because the NAS cannot communicate with the container on the macvlan network interface, but can on the bridge network interface (which is why we created it).
The IP address in this tutorial is 192.168.10.2. If you use this IP address from the NAS directly (and only the NAS), you will be able to use Pi-hole as the DNS server.
Troubleshooting Steps for Pi-hole on a Synology NAS
In prior versions of DSM and the Pi-hole container, I had DNS issues with the container itself. In situations like this, I found that manually specifying the DNS servers was necessary. Follow the steps below if you’re having issues with the container starting.
1. SSH into your Synology NAS and run these commands, but substitute your volume.


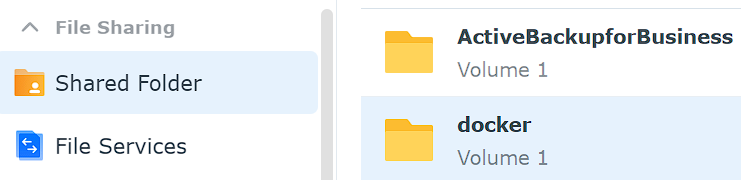
If you aren’t sure what volume you’re using, open the Control Panel, select Shared Folder, then look at what’s listed for docker folder and use that number:
2. In the file that is created, enter the two lines below and save the file. If you aren’t sure how to use the vi editor, you can learn how to use it here.
In summary, from the editor, press i (for insert mode), add the nameservers listed below, then press the ESC key (to exit editing), then type :wq, then enter to write the changes and exit.
NOTE: If you have trouble with this, just create a local file named resolv.conf with the two lines below and upload it to your pihole folder in DSM.


After the file is created, you should see it (resolv.conf) in the pihole folder in DSM.
3. Recreate the container using the Docker Compose found above, but add the line below for the resolv.conf volume mapping.

Conclusion & Final Thoughts for Pi-hole on Synology
The process of setting up Pi-hole on a Synology NAS isn’t too bad and Pi-hole is awesome! I’ve been using it for a while, and while I run into the occasional issue where it blocks something I need, finding it and whitelisting it are fairly easy processes.
Once again, I will point out the importance of redundant Pi-hole servers. There are so many benefits to having a second DNS server, and with Raspberry Pi Zero kits being as cheap as $25, it’s worth it for redundancy purposes.