Today we are going to look at how to configure notifications on a Synology NAS.
By default, Synology NAS devices have a bunch of different ways that they can be monitored. However, monitoring does very little if you aren’t being notified of issues that have occurred on your NAS. This should be part of Synology’s initial setup due to its importance, so if you haven’t set it up, consider following this tutorial and enabling it!
There are three different ways that you can set up notifications: email, SMS, and Push Service. SMS requires you to set up a service provider (all are paid, I believe), so we won’t be focusing on that in this tutorial. However, the email and push notifications work very well.
1. Synology NAS Notifications
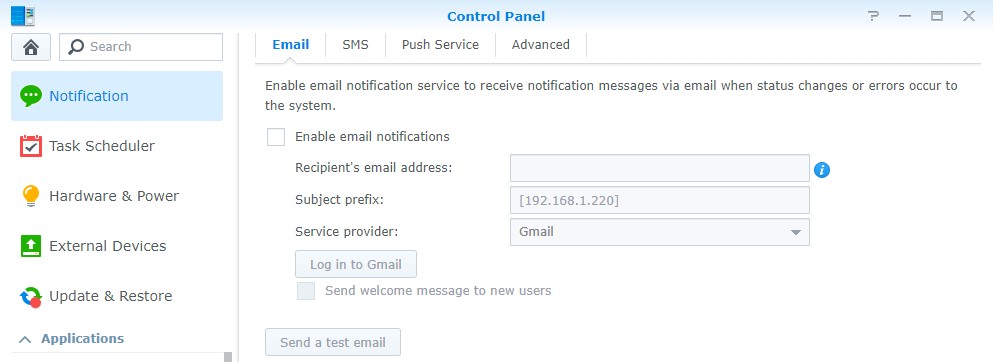
To edit the notifications on a Synology NAS, log in to DSM, open the control panel, and select Notification. This is where we will edit the Email and Push notifications.
1.1 Gmail Instructions
1. Select Enable email notifications.
2. Select Gmail as the Service Provider.
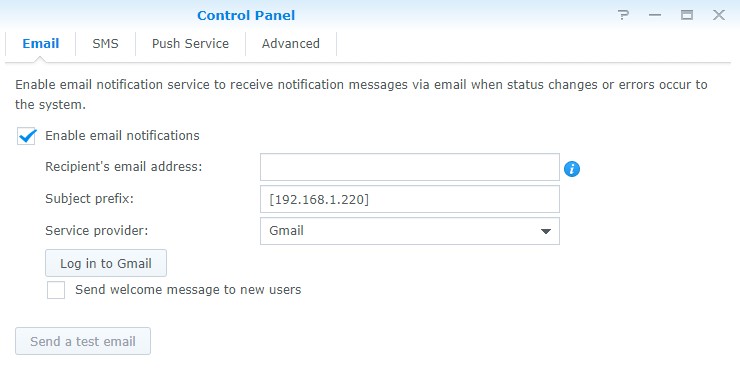
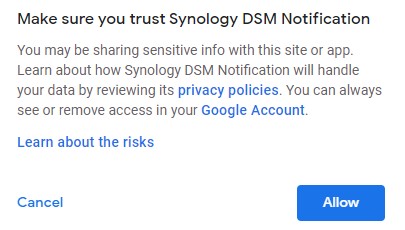
3. Select Log in to Gmail, log in with your email account, and then Allow access to your account.
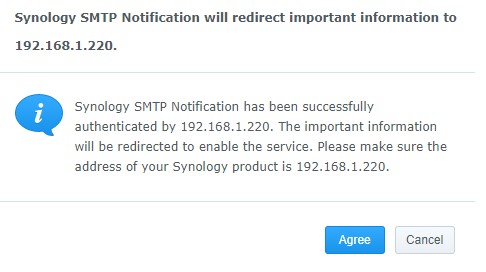
4. Select Agree.
5. You should now be able to send a test message! If you receive it, everything is set up properly!
6. Skip to the Email Notification Settings section to configure your notifications.
1.2 Outlook Instructions
As of the writing of this tutorial, if you have two-factor authentication enabled on your Outlook account, you will need to create an app password. Entering your password will not work.
1. Select Enable email notifications.
2. Select Outlook as the Service Provider.
3. Enter your username and password. As noted above, your password will need to be an app password.
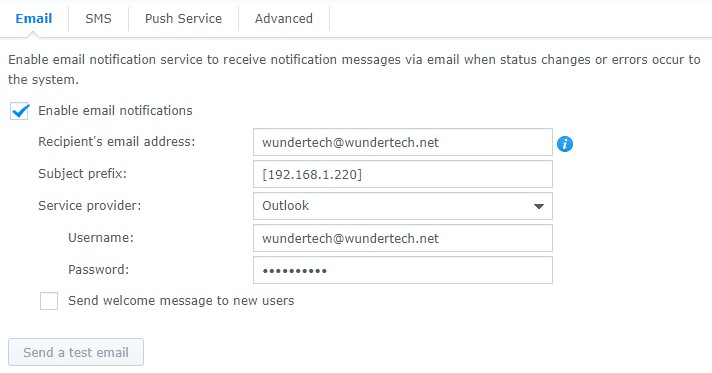
4. You should now be able to send a test message! If you receive it, everything is set up properly!
5. Skip to the Email Notification Settings section to configure your notifications.
1.3 Custom SMTP Server
Setting a custom SMTP server allows you to use practically any email client that you’d like.
1. Select Enable email notifications.
2. Select Custom SMTP Server as the Service Provider.
3. Enter the SMTP information. This will be different based on the provider you’re using.
4. Enter your username and password.
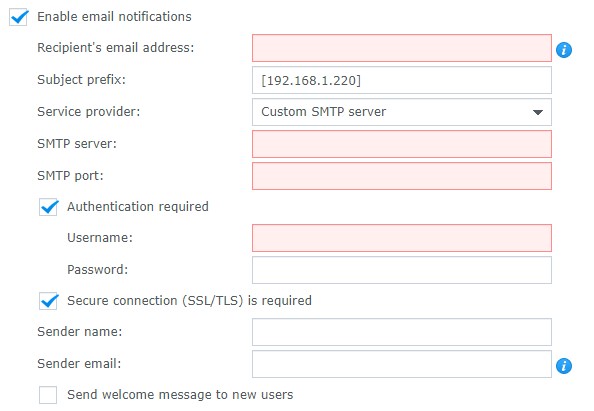
5. You should now be able to send a test message! If you receive it, everything is set up properly!
6. Skip to the Email Notification Settings section to configure your notifications.
1.4 Free SMS Notifications? Synology NAS Notifications
Synology offers SMS notifications, but you need to subscribe to a service to get them to work. A lot of cell phone providers allow you to receive text messages from an email provider. The setup process is straightforward and can be done by looking up your cell phone provider and determining what email address you’d use. You can then enter your cell phone numbers email address in the recipient’s email address section and you will receive the alerts, for free, on your cell phone! Keep in mind that any email notifications that you normally receive will be sent to your cell phone. NOTE: You can enter two email addresses by separating them with a semi-colon!
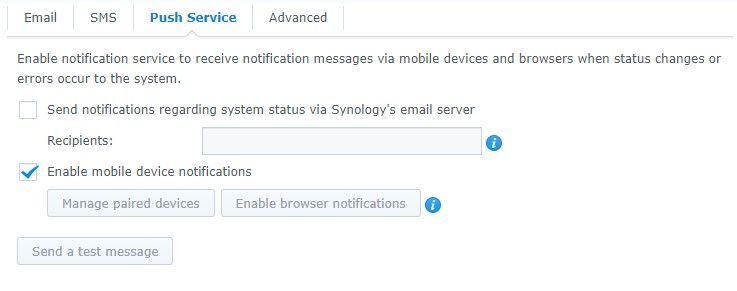
2. Push Notification Settings
Synology has a pretty good “push service”, which integrates with your phone and will automatically send you a notification depending on the alerts you specify.
1. Select Push Service and Enable mobile device notifications.
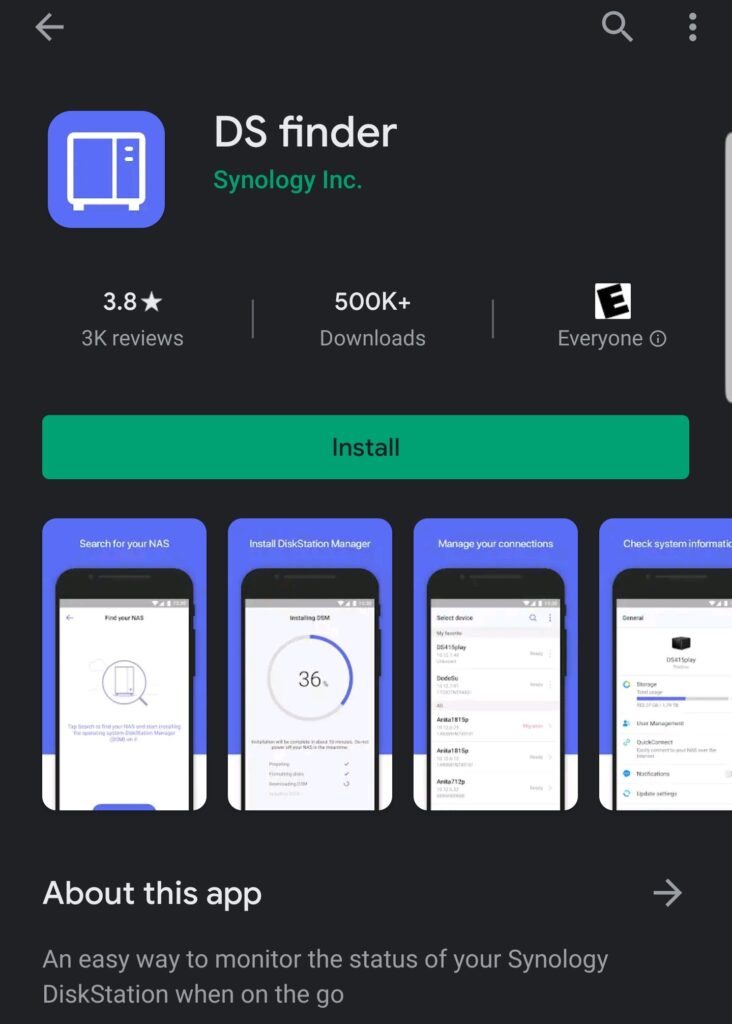
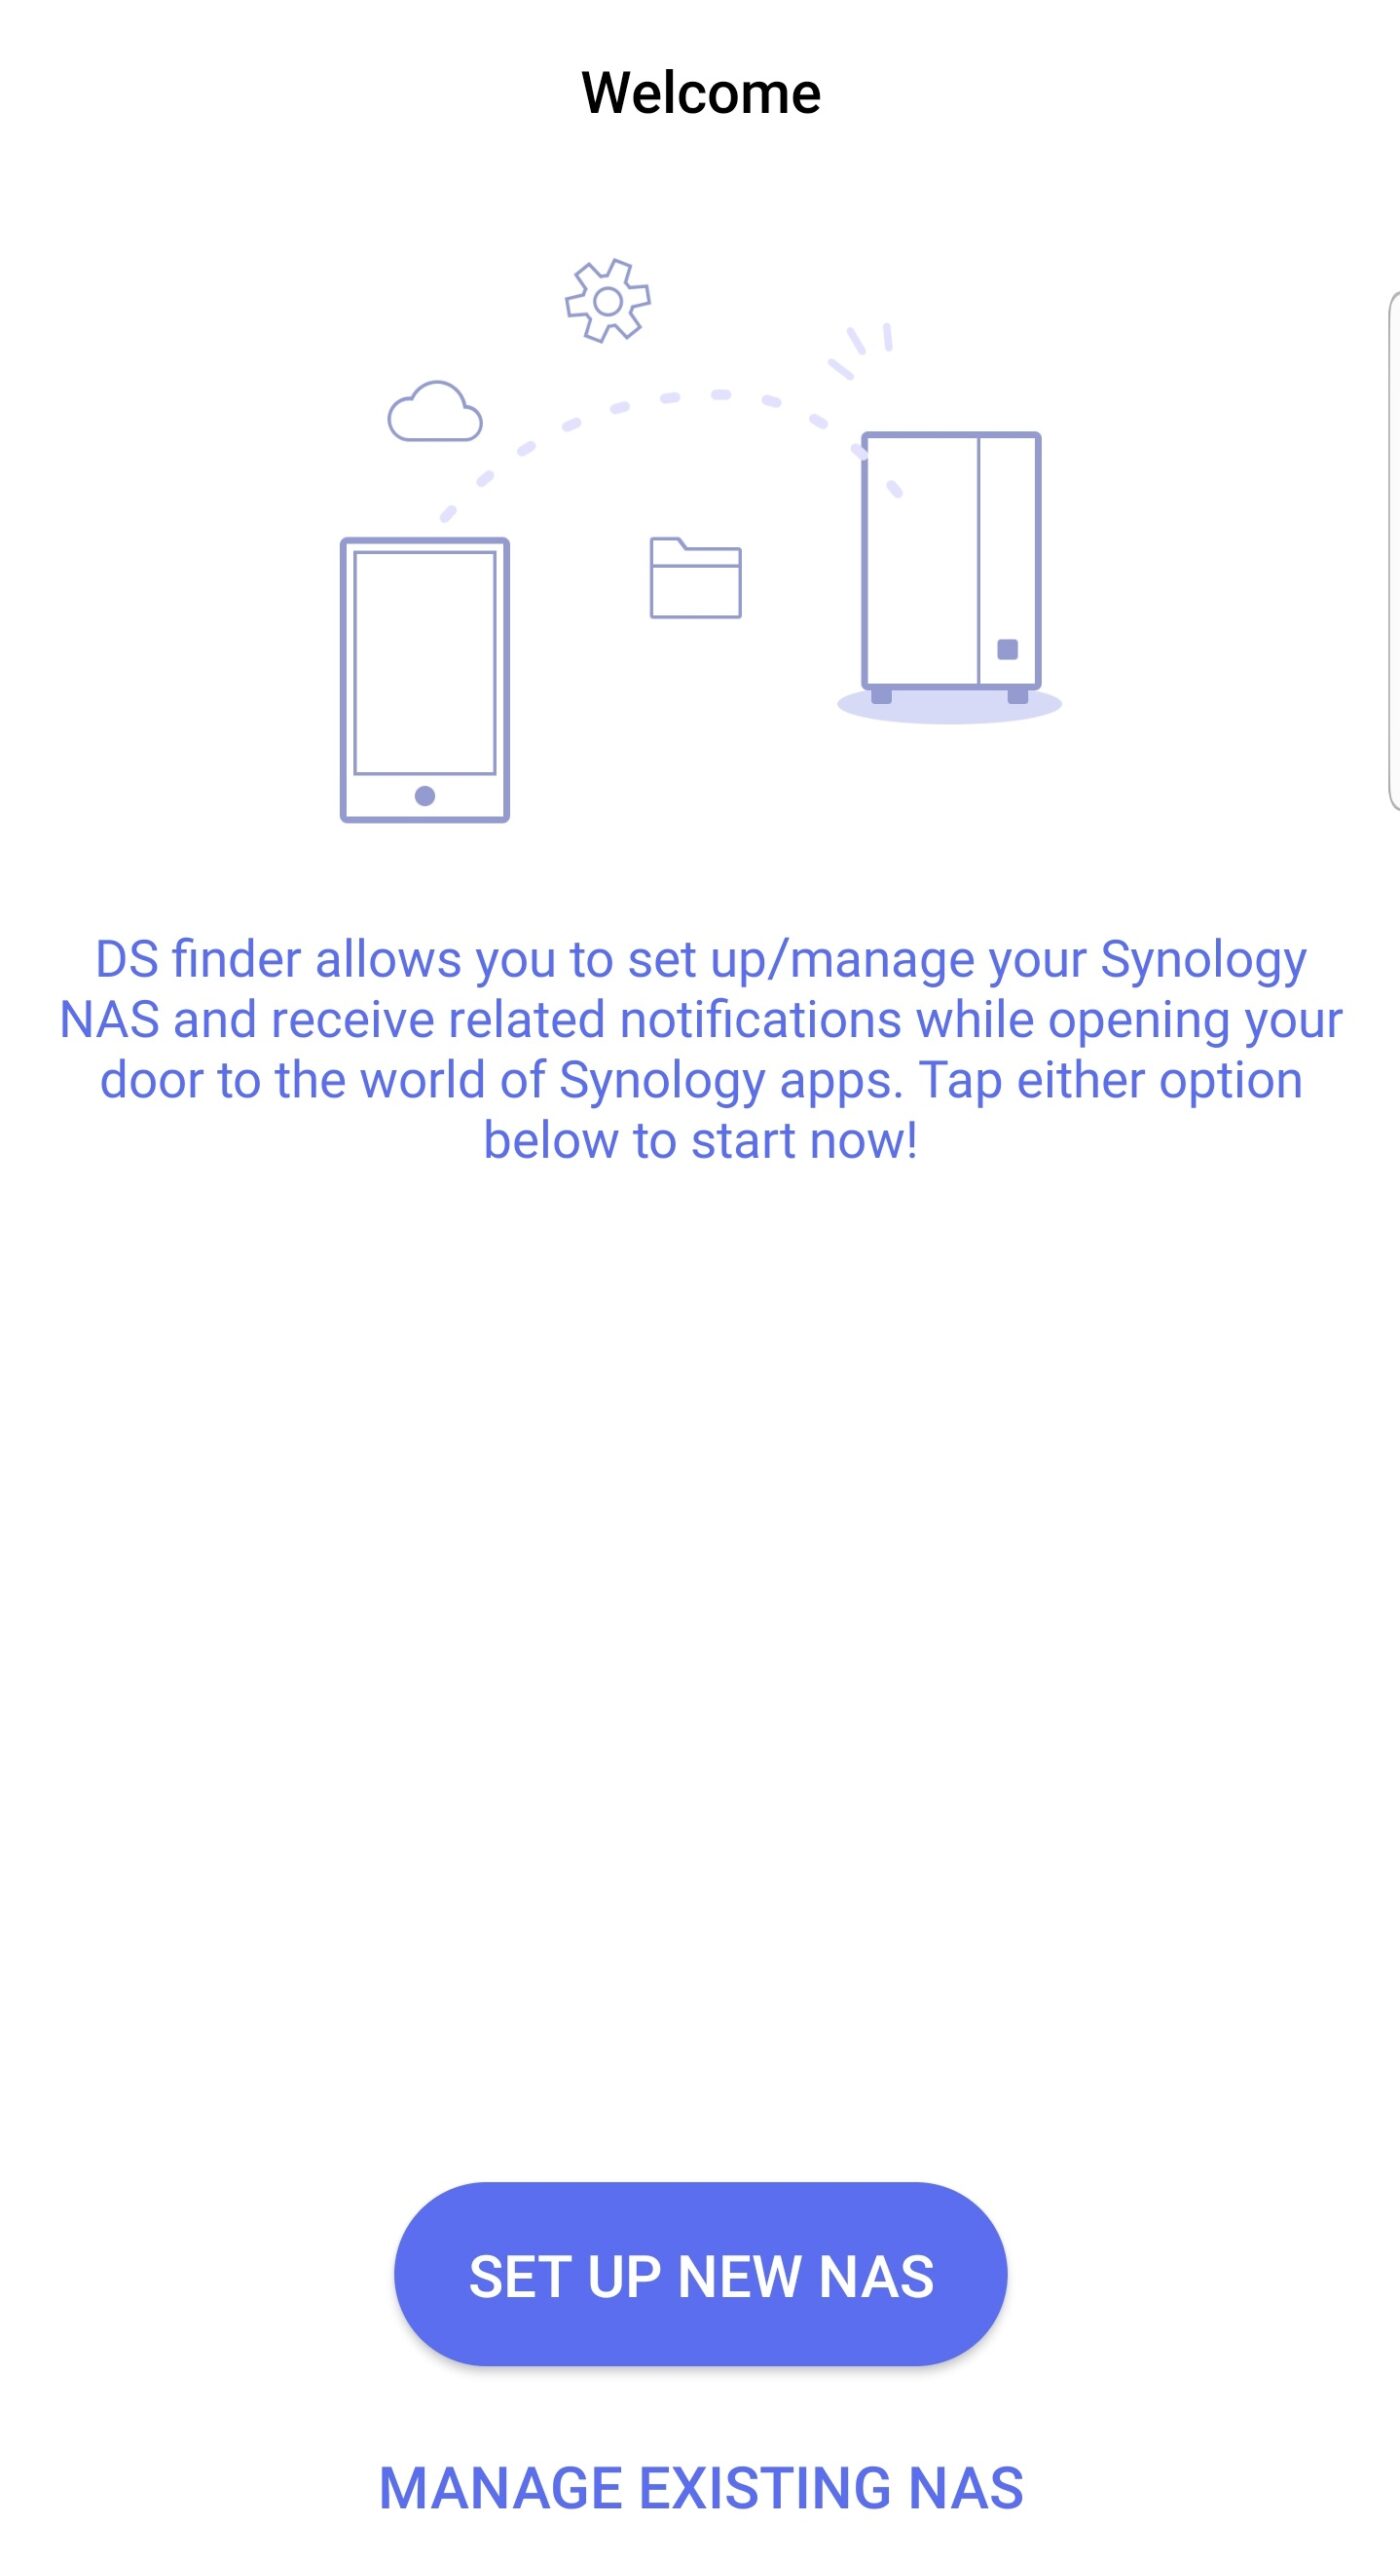
2. On your mobile device, download the DS Finder application.
3. Select Manage Existing NAS.
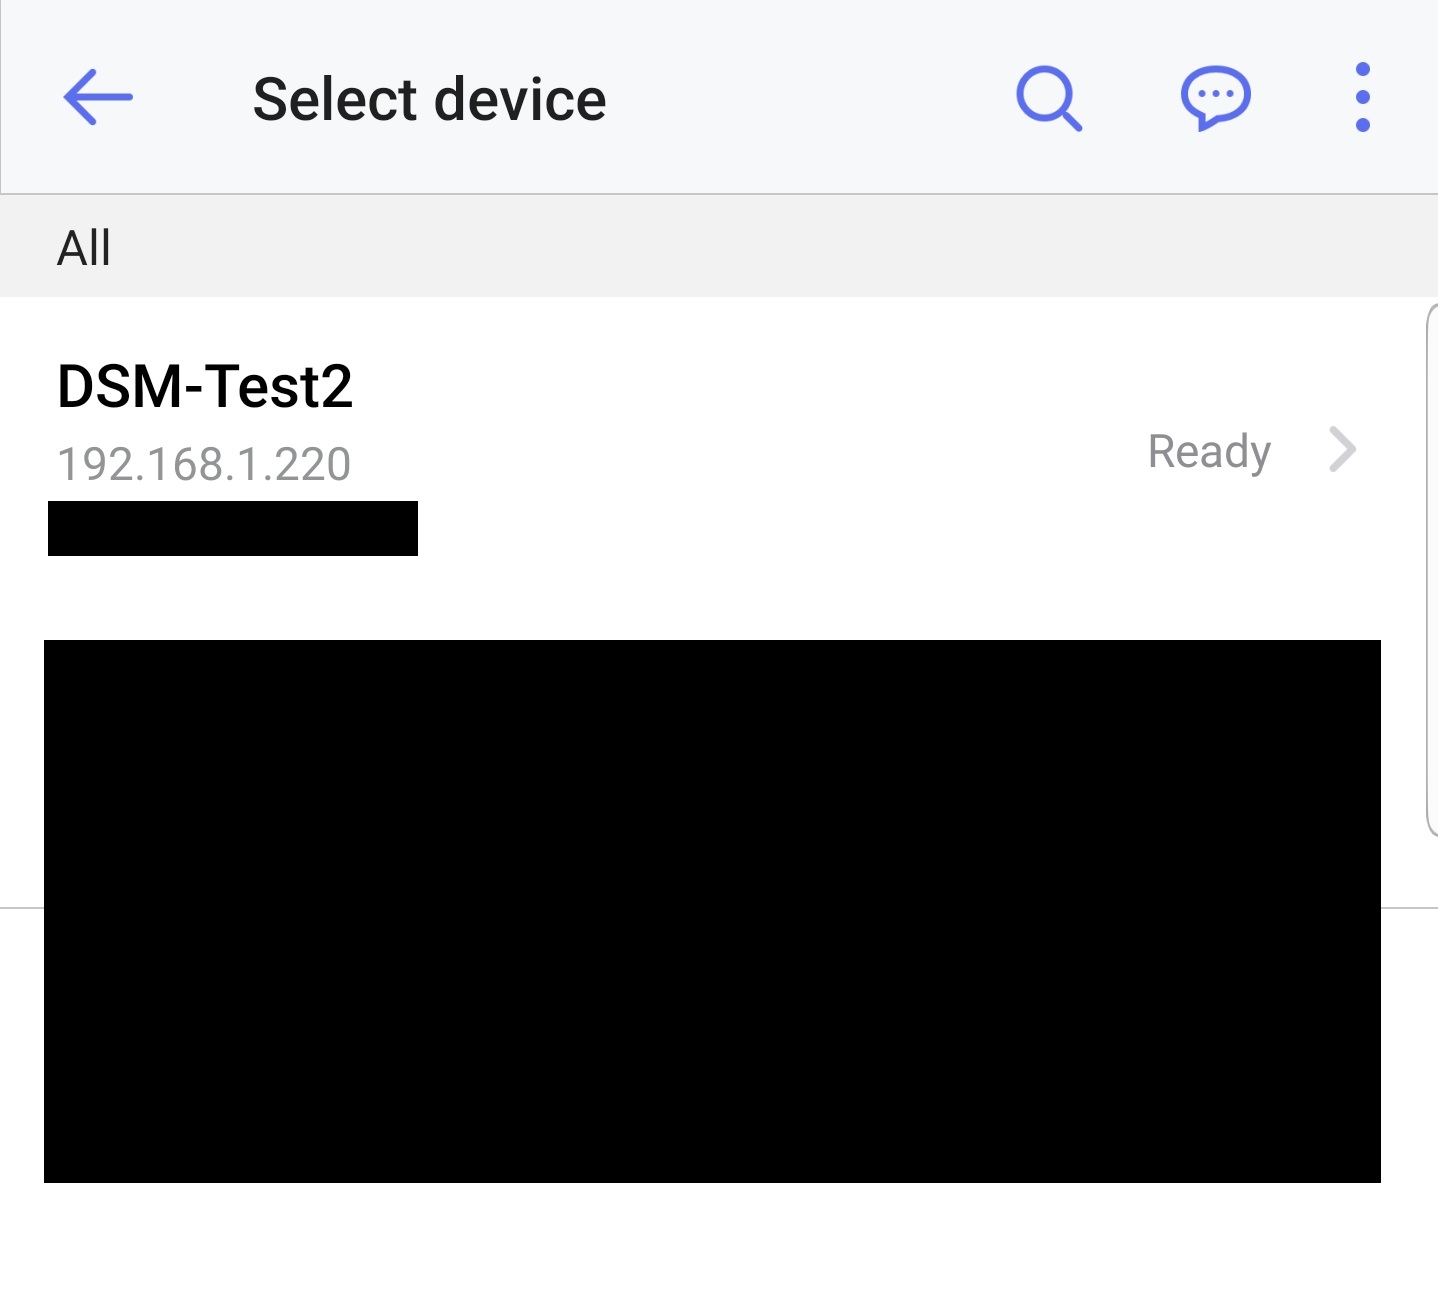
4. Find your NAS, select it, then press Continue.
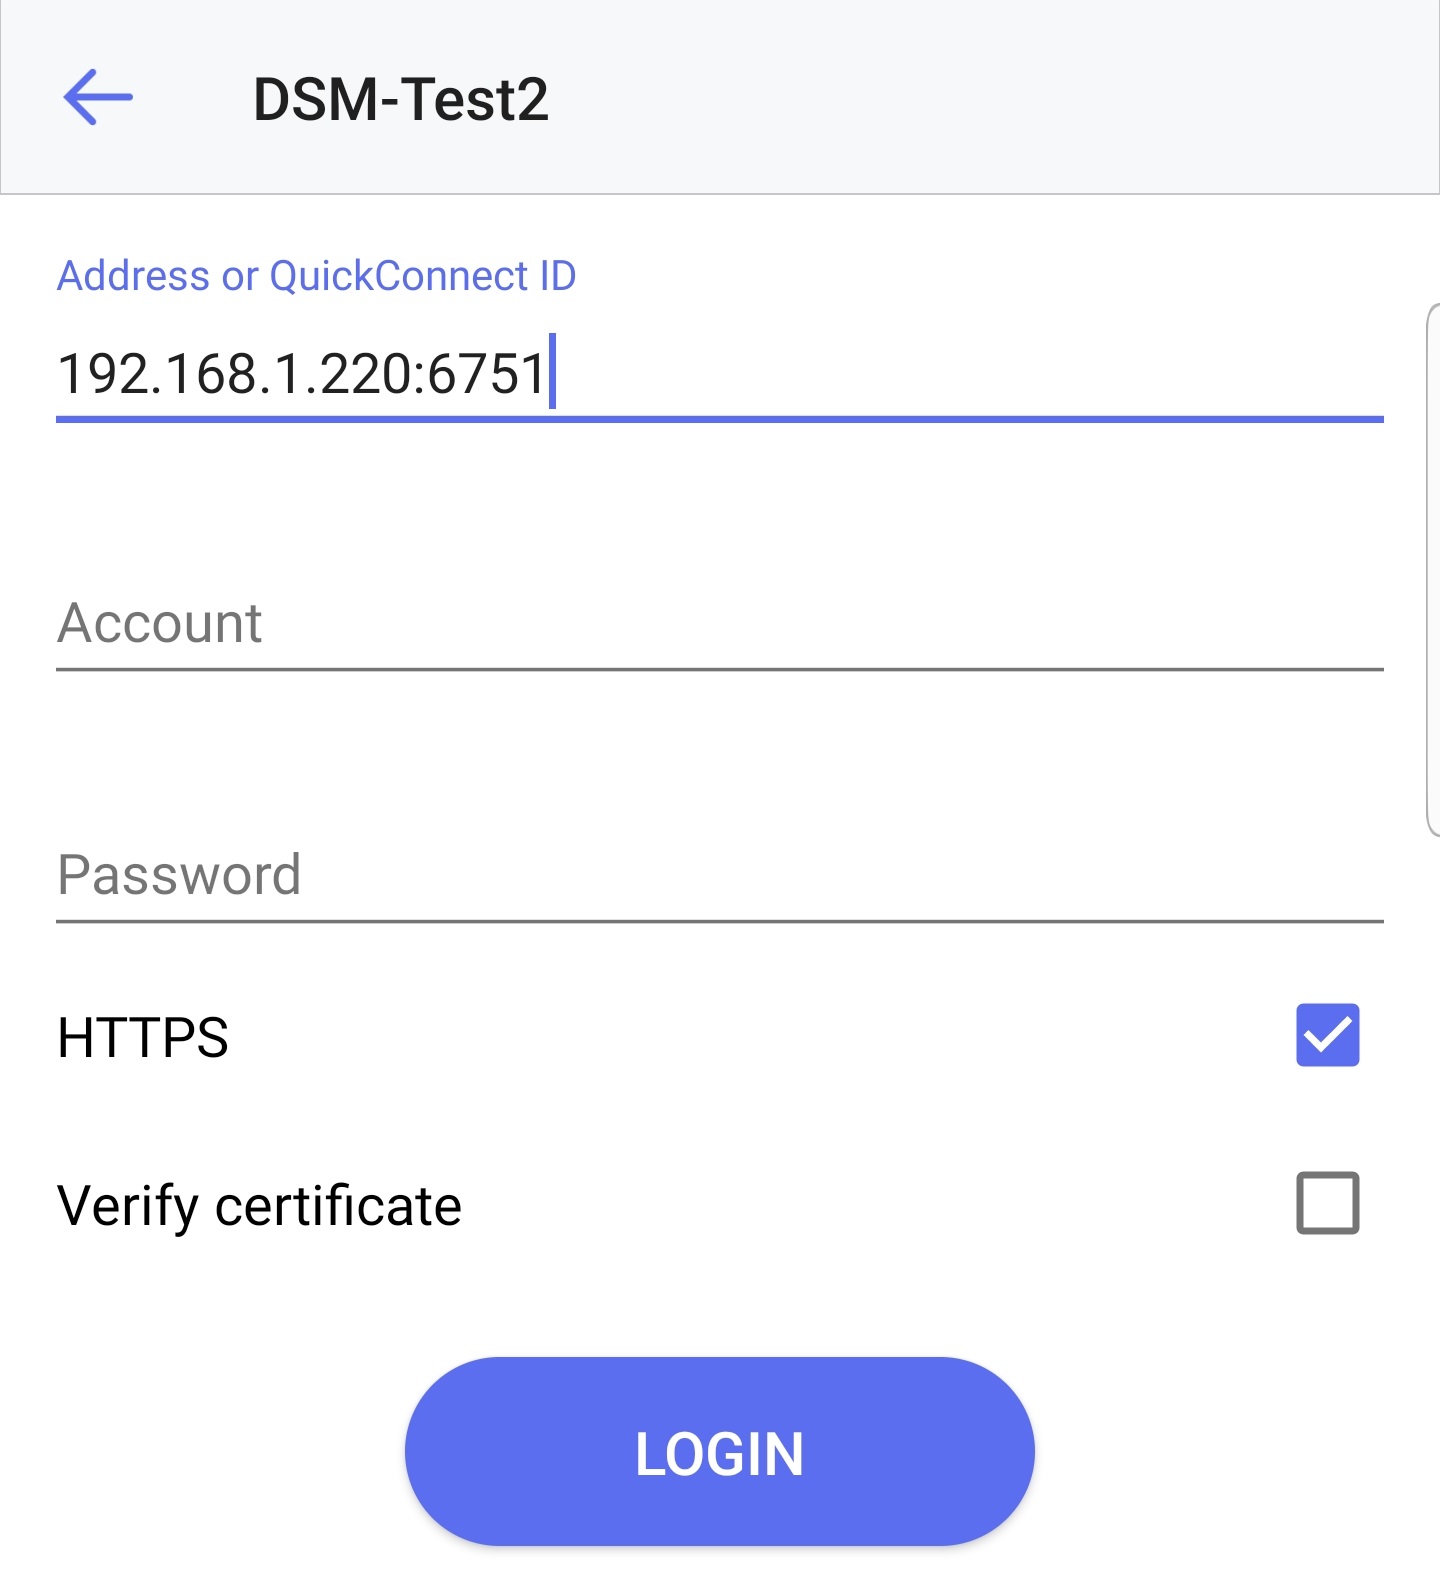
5. Enter your IP address/hostname and port, then enter your username and password.
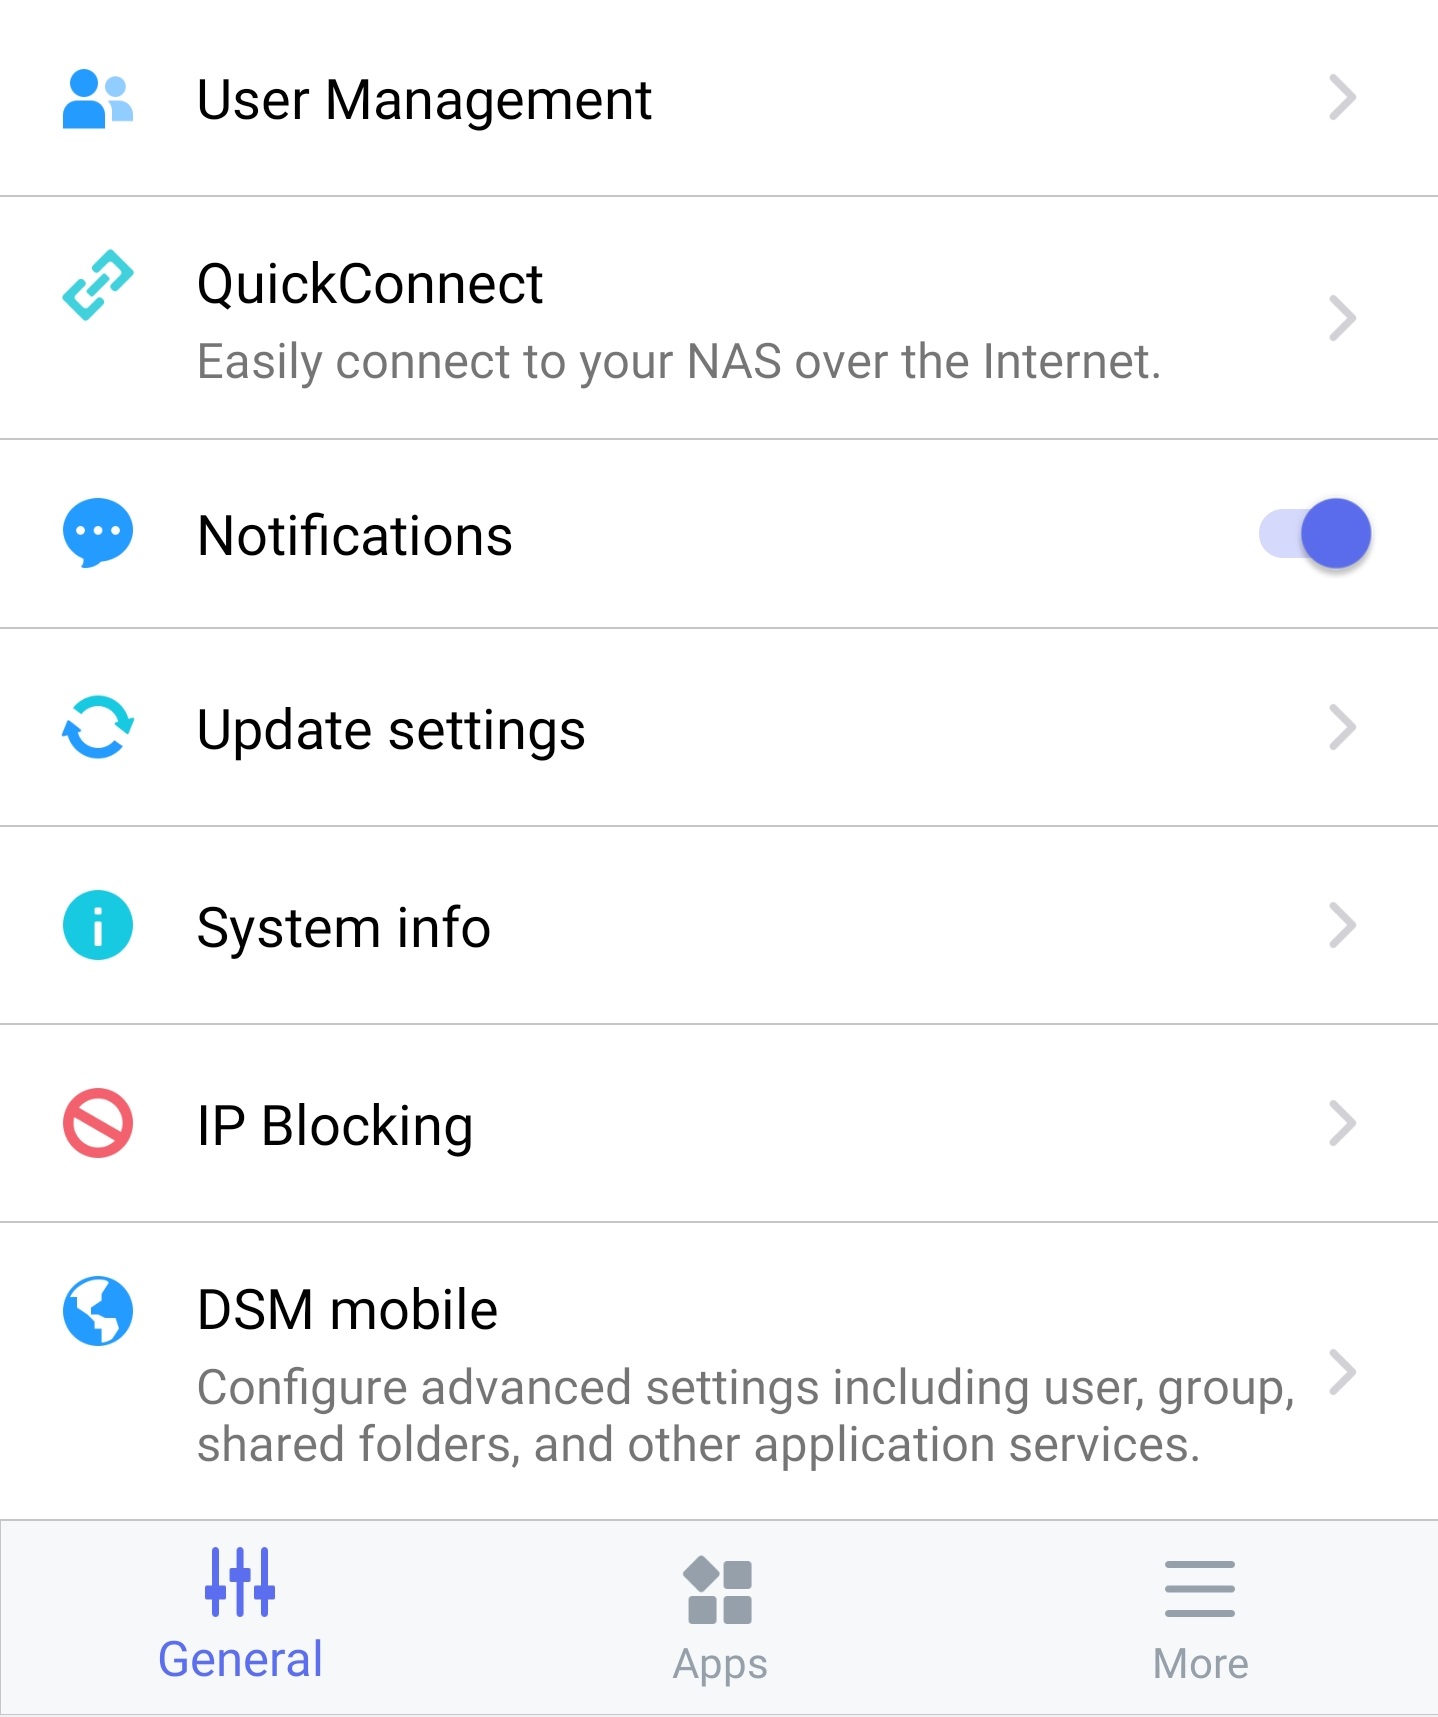
6. When your NAS loads, ensure that you enable notifications. If you don’t enable notifications, you won’t be able to receive the push notifications.
7. Select Send a test message. You should receive the push notification on your phone!
3. Notification Preferences
By default, there are a ton of different notifications that are selected for you to receive. My personal belief is that you want to try and limit notifications to important events so you don’t disregard them. In general, when a user gets a ton of notifications, they tend to turn into “white noise” as opposed to the alert they’re intended for. For this reason, I suggest that you go through each entry and determine when you’d like to be alerted and when you don’t want to be. These settings are completely user-specific and should be determined from your notification desires.
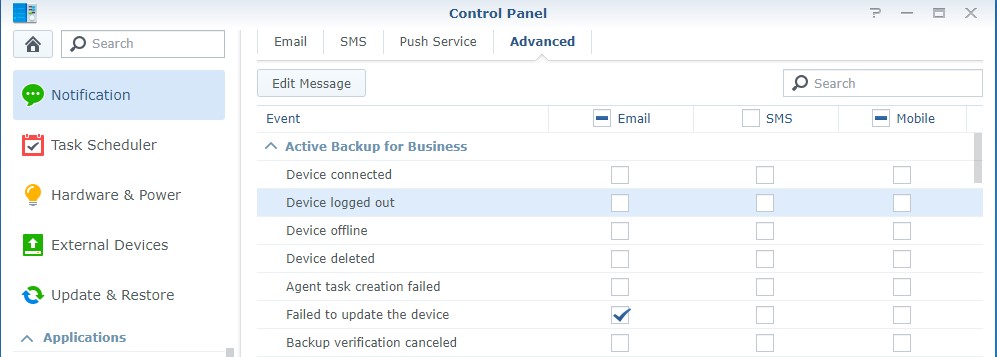
1. Select Notifications and Advanced.
2. Expand each category and determine when you’d like to receive Email/SMS/Mobile notifications.
4. Conclusion – Synology NAS Notifications
Setting up notifications is integral to ensuring your NAS is operating properly. There have been times where I haven’t logged into my NAS for weeks and if something went wrong, I would have never known. This is such an easy way to ensure that you are always notified of the most important events that occur – even if you don’t log in!
Thank you for reading the tutorial. If you have any questions, please leave them in the comments.